Introduction
Once you have your Framework Laptop 13 set up following the Quick Start Guide, you’re ready to install your preferred OS. Ubuntu 22.04 LTS works fantastically well.
NOTE: This is an Officially Supported Linux Distribution. Learn more here.
If you are installing Ubuntu LTS onto the Intel Core Ultra Series 1, we highly recommend installing Ubuntu 24.04.
Tools
No tools specified.
Parts
-
-
First, download the latest Ubuntu 24.04 LTS Desktop image from Ubuntu's website. We'll go through the steps in this Guide assuming you have a simple installation scenario of a fresh install on a blank drive.
-
Download balenaEtcher as a tool to create the USB installer from the ISO. balenaEtcher is available for MacOS. Install it.
-
Launch balenaEtcher. Insert your USB drive (8GB or larger). Click on "Flash from file" and select the ubuntu-22.04-desktop-amd64.iso that you downloaded. Click on "Select target" and choose your USB drive. Click "Flash" and wait a minute or two for it to complete.
-
Once the USB drive creation is complete, you can close balenaEtcher and eject the USB drive from your OS.
-
-
-
First, download the latest Ubuntu 24.04 LTS Desktop image from Ubuntu's website. We'll go through the steps in this Guide assuming you have a simple installation scenario of a fresh install on a blank drive.
-
New line.Download Rufus as a tool to create the USB installer from the ISO - select the top download option from the link provided. Rufus is available for Windows. Install it.
-
Launch Rufus. Insert your USB drive (8GB or larger). Click on "Flash from file" and select the ubuntu-24.04-desktop-amd64.iso that you downloaded. Click on "SELECT" and choose your USB drive. Click "START" and wait a minute or two for it to complete.
-
-
-
If you have secure boot enabled in BIOS, Ubuntu is going to ask you to check the box indicating YES on installing 3rd party drivers. This is expected behavior if you wish to have secure boot enabled. Enabling secure boot is completely optional and not necessary for normal operation, it's a personal choice.
-
Insert the USB drive into your powered off Framework Laptop 13, and then power on. If you have an existing OS installed on the Storage drive in your laptop, immediately after the power light comes on begin rapidly tapping (continuously ) the F12 key - you must begin tapping well before you see the Framework logo.
-
Select Linpus lite (General UDisk) with your arrow keys. Enter key.
-
Next select Try or Install Ubuntu. Hit the enter key.
-
After a few seconds, you're in! If you just want to try Ubuntu out, you can click on the Try Ubuntu button and browse through the live USB version of it without touching the internal storage drive. If you do want to install Ubuntu to the internal storage drive, go on to the next step.
-
-
-
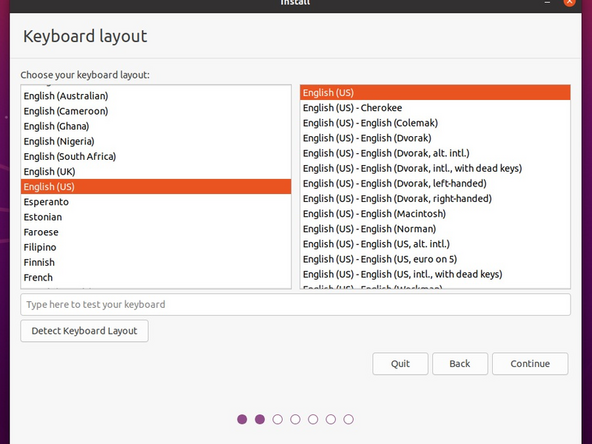
Select the keyboard language you'd like to use. On the next screen after clicking Continue, connect to your WiFi network if available.
-
While connected to your network, select Normal installation, Download updates while installing Ubuntu and Install third party software, then press continue. This process may take a few minutes and appear to idle a bit, then the next screen appears - installation type.
-
-
-
Next we’ll choose the installation type. Erase everything is the correct choice for users with a new DIY Framework Laptop 13 looking to use the entire hard drive for Ubuntu.
-
Press Install Now, then when prompted, then click on Continue.
-
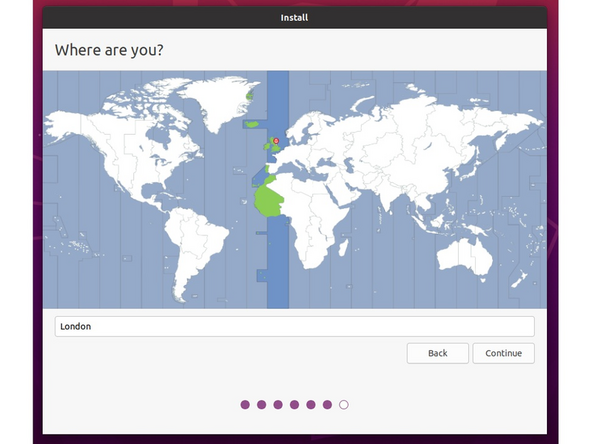
Next you’ll be prompted to choose your location on the world map. Select your time zone location, click Continue.
-
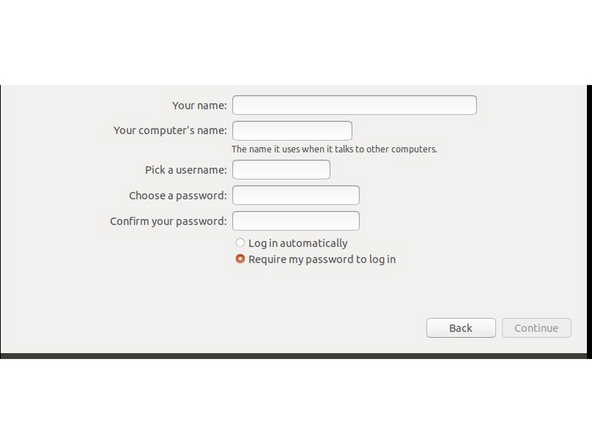
Create a username, a computer name (anything will do), and a password to login with. Also make sure you select Require a password to log in. Then press Continue.
-
-
-
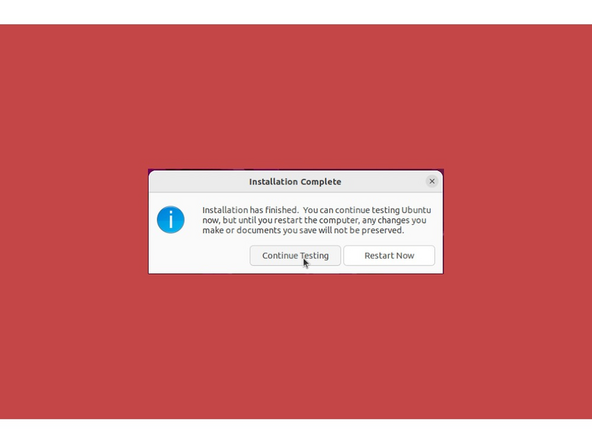
Once the Ubuntu installer is completely done, you will see a box indicating that it's complete and time to reboot. Click Continue testing if you prefer or if you're comfortable and done testing, click the Reboot Now button.
-
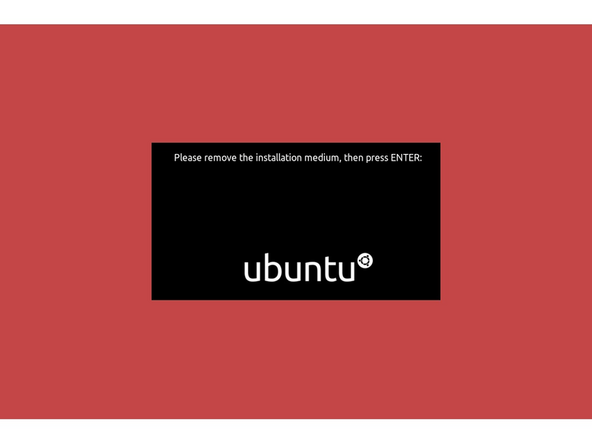
After pressing the Restart Now button, it will sit at a black screen for a bit, then you will be prompted to "Remove the installation Medium, then press Enter."
-
-
-
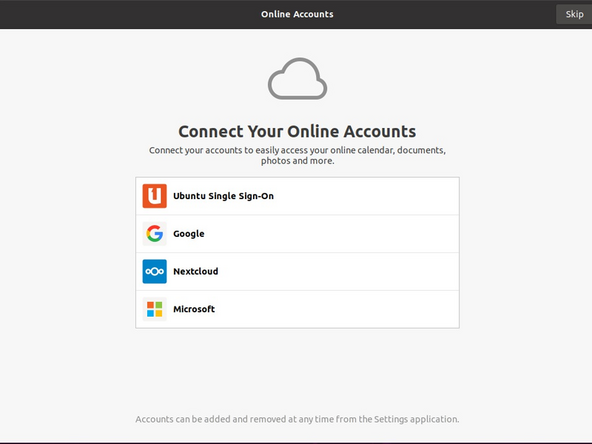
Once rebooted, you’ll be prompted to login, do so with your username and password. You’ll then be prompted to login with your cloud accounts. I recommend skipping this as it’s completely unnecessary. Press the skip button.
-
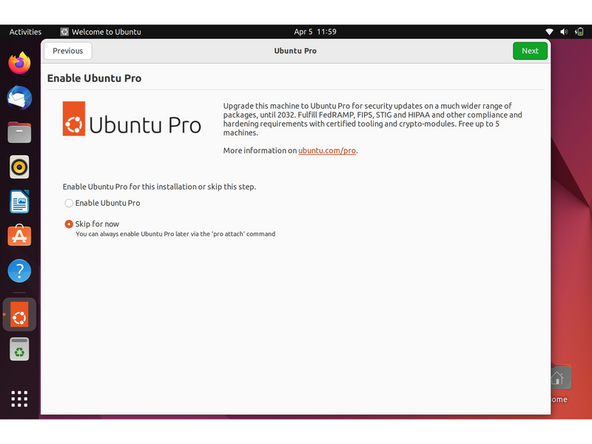
Repeat this process with the other screens as seen in the provided images, while making selections and choices that best match your needs.
-
-
-
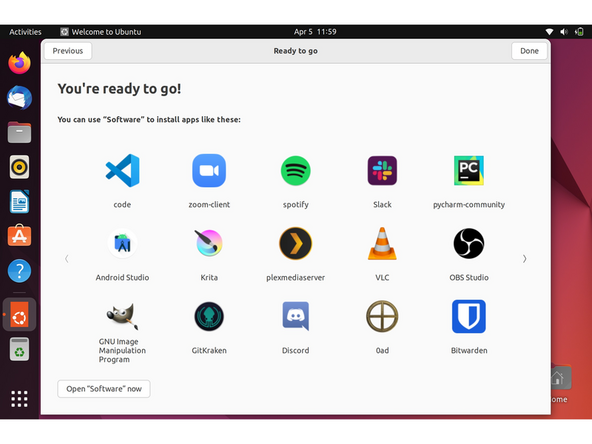
Continue making your preferred selections through the Privacy page until you arrive at the "You're ready to go" screen.I recommend not installing software at this stage, instead clicking the Done button on the window.
-
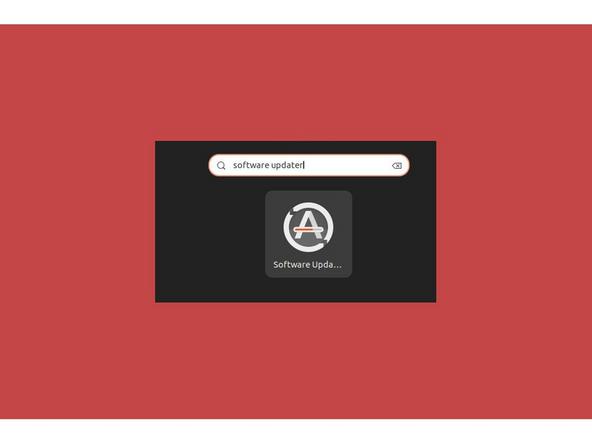
After clicking on the Done button, browse to Activities in the upper left, search Software Updater. Open the application.
-
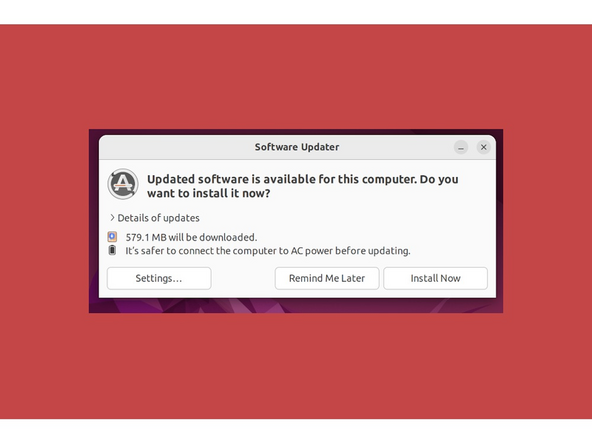
You may already have a window like the third image shown on the left appear before opening the updater - this happens and is totally fine. If this happens, go ahead and select Install now.
-
-
-
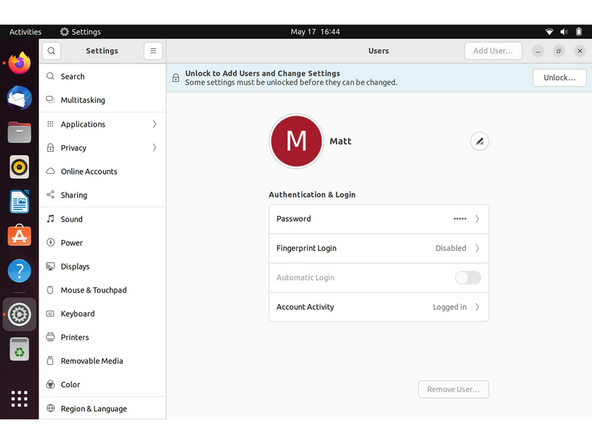
Let's setup fingerprint login. Click on Activities, search for user.
-
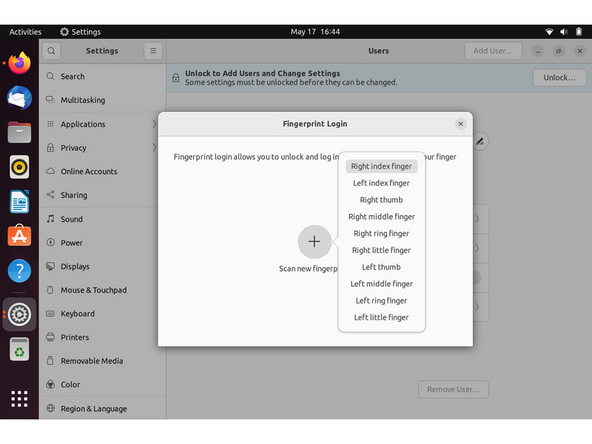
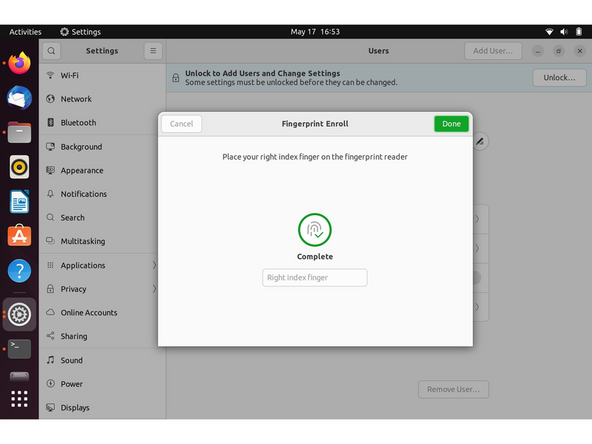
Choose Fingerprint Login. Then select Scan new fingerprint. Select your desired fingerprint. Carefully tap your finger tip on the sensor (power button). You may need to try a few attempts as everyone's prints are different.
-
Once it's successful, you will see the word Complete.
-
If you're experiencing issues getting your fingerprint reader working, please follow our help guide to get your reader working for you on Ubuntu.
-
-
-
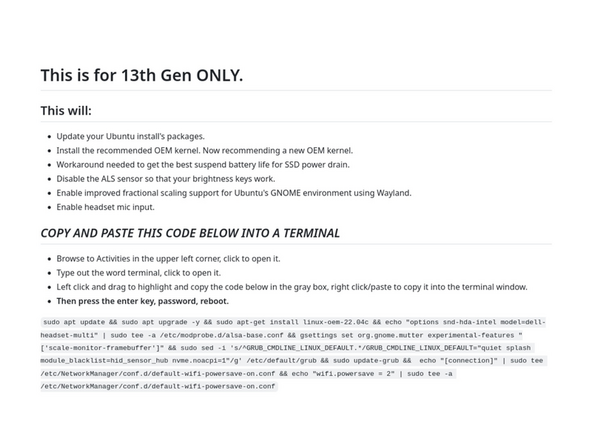
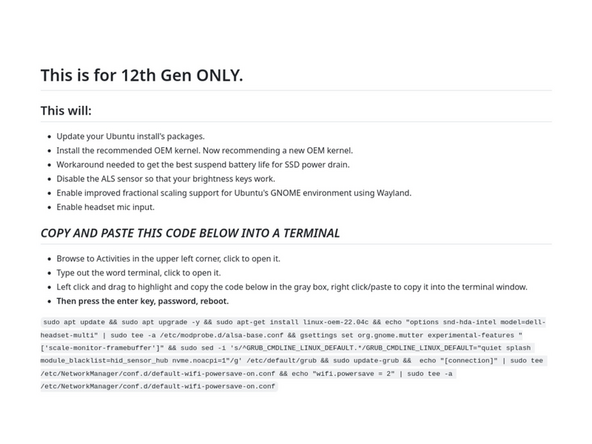
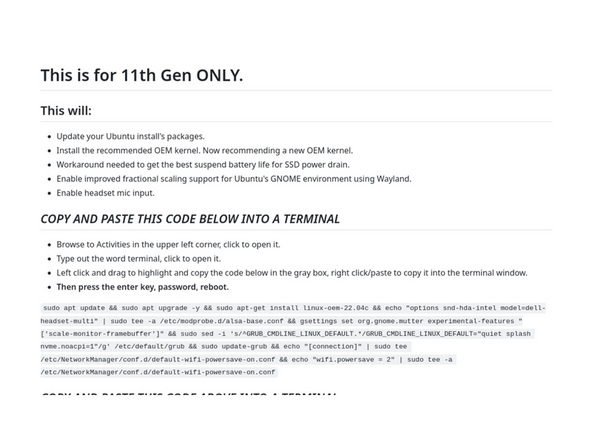
We're almost done. Please follow the links to your individual Framework Laptop 13 model (11th, 12th or 13th Gen Intel Core)
-
Click here for the completion guide for 13th Gen Intel Core
-
Click here for the completion guide for 12th Gen Intel Core.
-
Click here for the completion guide for 11th Gen Intel Core.
-
Click here for the completion guide for AMD Ryzen 7040 Series.
-
We recommend installing Ubuntu 24.04 for Intel Core Ultra Series 1.
-
Our recommendations for Optimizing Ubuntu Battery Life.
-
-
-
Before updating to the latest firmware, let's make sure we verify which BIOS were running. Please follow this guide.
-
If you have Intel 11th Gen Intel Core, you can check here for the latest firmware.
-
If you have Intel 12th Gen Intel Core, you can check here for the latest firmware.
-
If you have Intel 13th Gen Intel Core, you can check here for the latest firmware.
-
If you have AMD Ryzen 7040 Series, you can check here for the latest firmware.
-
-
-
Expecting two-finger right clicking and need help? The touchpad help guide is here.
-
Please visit our troubleshooting guide first.
-
If you need additional help, feel free to visit our active support community.
-
Enjoy using Ubuntu on your Framework Laptop 13! If you have any questions or run into any issues, we recommend bringing them to the Community in the Ubuntu 22.04 topic. Members of the Framework team participate in discussions there.
Enjoy using Ubuntu on your Framework Laptop 13! If you have any questions or run into any issues, we recommend bringing them to the Community in the Ubuntu 22.04 topic. Members of the Framework team participate in discussions there.
Cancel: I did not complete this guide.
28 other people completed this guide.
17 Comments
I have the AMD Ryzen 7040u with Ubuntu 22.04 LTS installed with latest kernel update 6.5.0-1020-oem . After booting it connects to my wifi automatically. If I manually disconnect or try to choose a different network the wifi program won't connect and just keeps searching for a network with no results. So now I'm stuck using ethernet through an adapter. I also tried to install 24.04 LTS when I first got the laptop and it would not take. This needs a fix fast. Anyone else have this issue?
Could it be, that the latest kernel supports the Framework 13th GEN Ryzen platform? I had some error messages booting from the 6.2.0-37-generic kernel. But not with the provided 6.1.0-1027-oem, or the latest 6.2.0-39-generic kernel from ubuntu. Is it still recommended to boot the oem kernel?
THX for your help and kind regards!
For the link AMD “for the completion guide for AMD Ryzen 7040 Series” just curious the benefits of running those updates? Just was not clear to me what it fixes.
Thanks
Alfred Nutile - Resolved on Release Reply
I had issues with my fingerprint reader not working. Follow the guide to install the newer fingerprint firmware, but when you get to the part about installing the cab file, if you have issues you may want boot into a root shell through recovery mode. It seems like some process is starting up and taking over the fingerprint reader preventing you from updating it. That's what worked for me anyways.
Captain Hypertext - Resolved on Release Reply


