Introduction
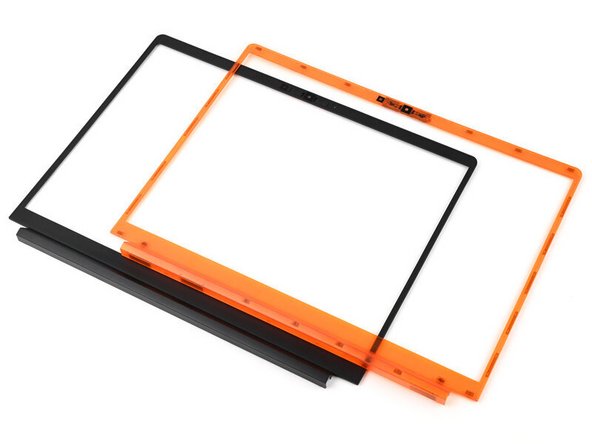
The magnetic Framework Bezel is one of the easiest components to swap. No tools needed, just align it to the Display and you are all set. We plan on having more color options as we go so that you can further customize your very own Framework Laptop.
-
-
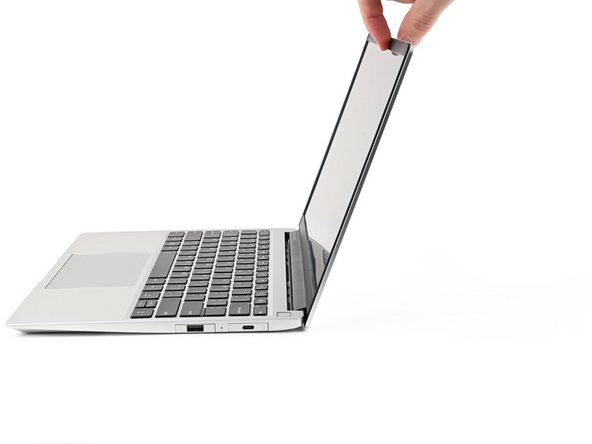
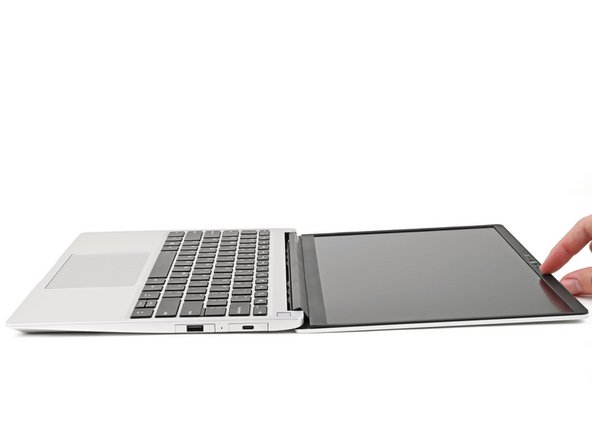
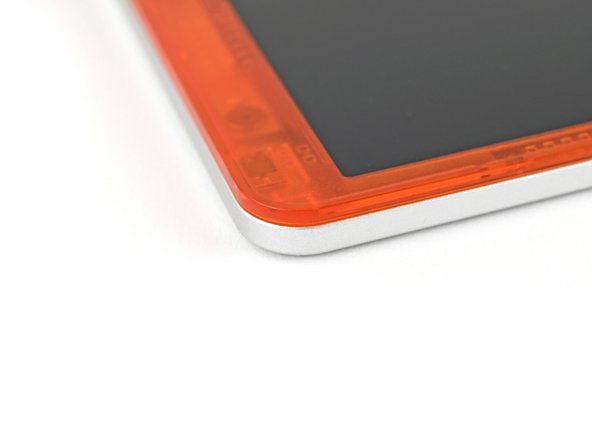
Open the Laptop so the screen sits flat on your work surface.
-
-
-
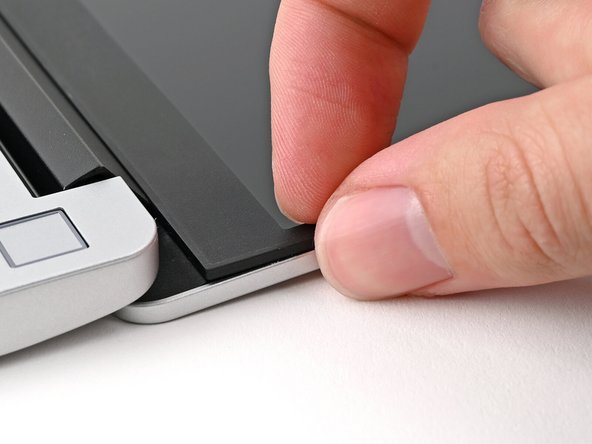
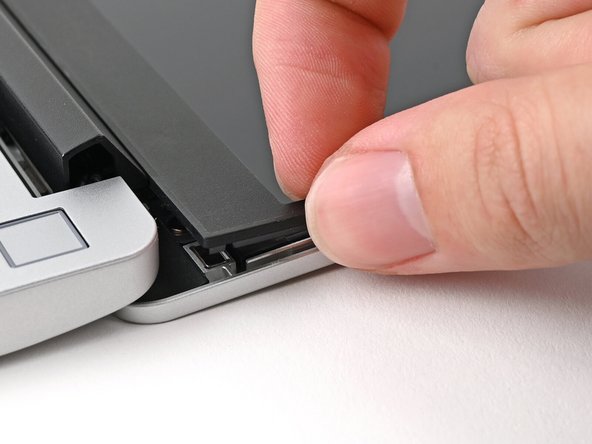
The Bezel is secured with magnets.
-
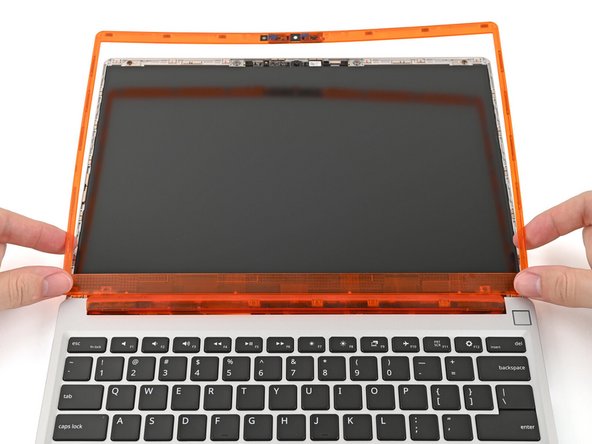
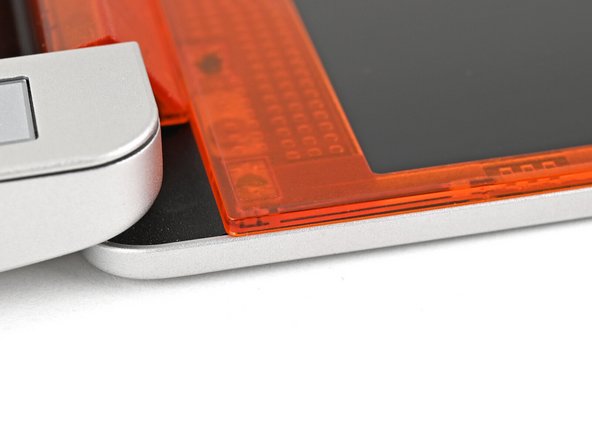
Slide your fingernail under the inside edge of either bottom corner of the Bezel.
-
Pull the Bezel away from the screen to release the first few magnets.
-
-
-
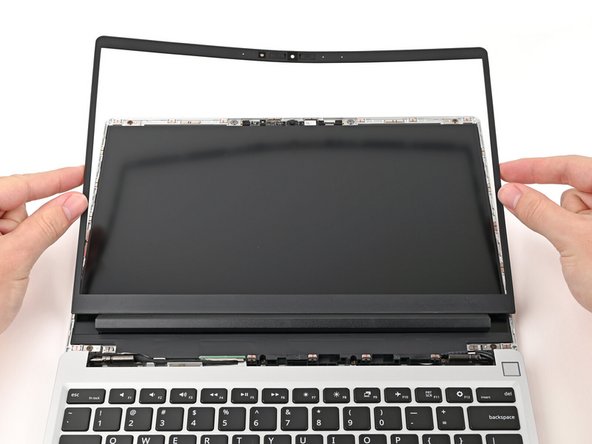
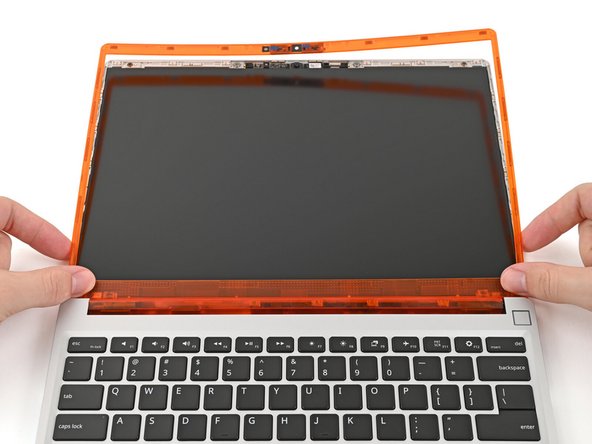
Lift the Bezel around the perimeter of the screen until all of its magnets are released.
-
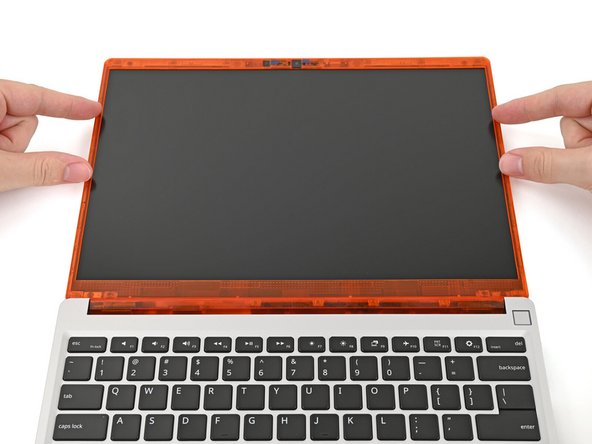
Remove the Bezel.
-
-
-
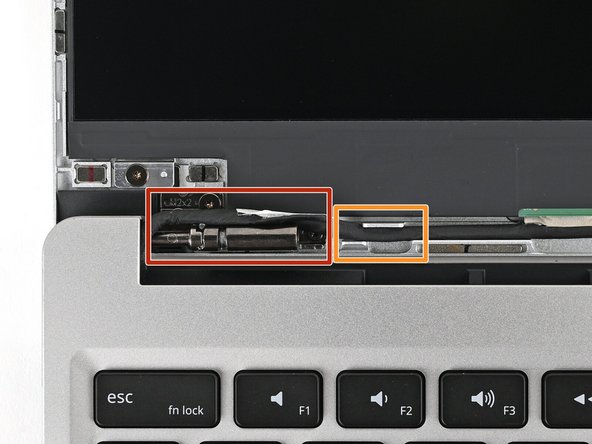
Before continuing, check if cables next to the hinges are routed properly:
-
The Display Cable should be routed just above the hinge without any large gaps.
-
Your Display Cable might come with a white sticker. This doesn't affect the routing.
-
The Display Cable should be routed between the metal clips.
-
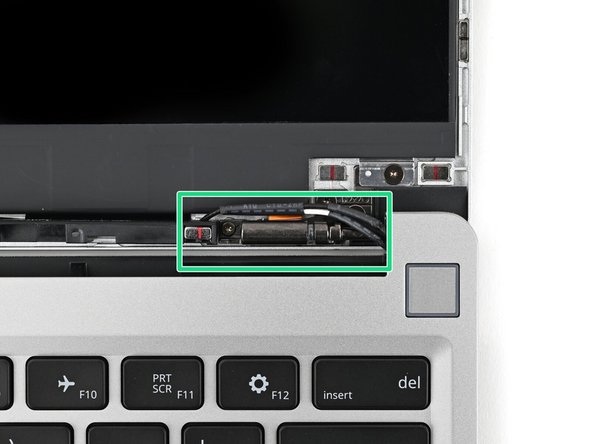
The Webcam Cable should be routed just above the hinge without any large gaps and shouldn't overlap with the antenna cables.
-
If the cables aren't routed properly, the Bezel won't sit flat and you risk damaging the Bezel and the Display during reassembly.
-
-
-
If there's any liners covering adhesive on the back of the Bezel, remove them now.
-
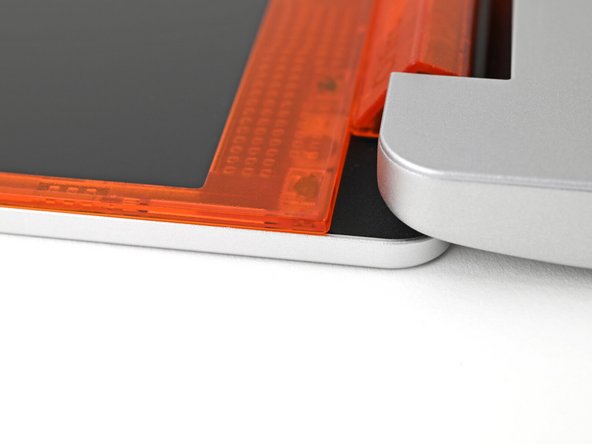
Align the bottom edge of the Bezel with the top edge of the Input Cover and press down so the Bezel covers the hinges and cables.
-
The bottom edge of the Bezel should sit flat and the magnets at its edges should "snap" into place.
-
Lay the rest of the Bezel over the screen and let the magnets pull it into place.
-
-
-
Check that all four corners of the Bezel sit flat on the Top Cover. If they're uneven, do the following:
-
Use your fingers to press around the edge of the Bezel. The magnets should easily snap into place.
-
If the Bezel is still uneven, remove the Bezel and reseat it. Refer to this step for how the cables should be routed.
-
-
-
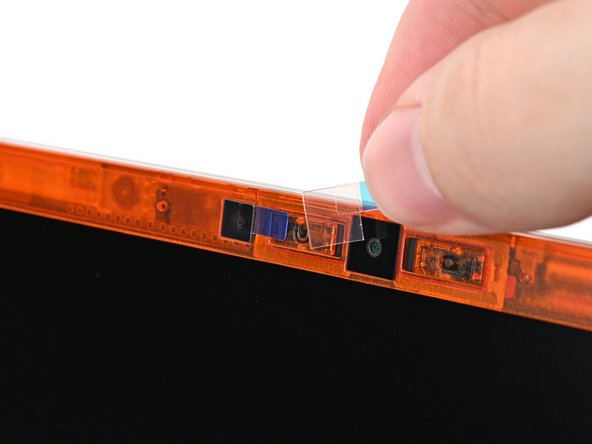
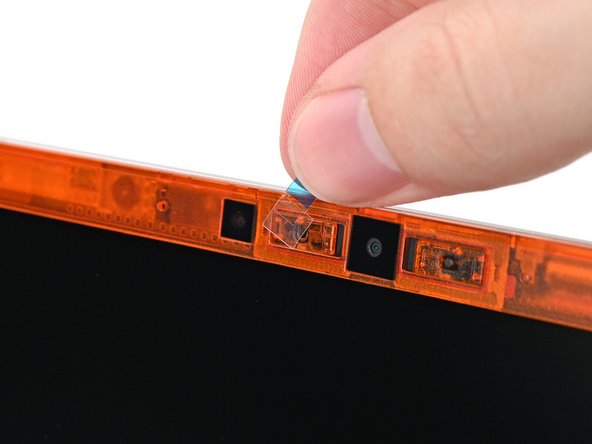
If there are any plastic liners covering the webcam and microphone, remove them.
-

You finished fixing your Framework Laptop!
Take your e-waste to an R2 or e-Stewards certified recycler.
If you need help, contact Framework support.
You finished fixing your Framework Laptop!
Take your e-waste to an R2 or e-Stewards certified recycler.
If you need help, contact Framework support.
Cancel: I did not complete this guide.
22 other people completed this guide.
3 Comments
This one caused more problems/annoyance for me, than initially expected. It becomes very easy however, after you get the hang of it.
1. The captive screws stick out when the top cover is removed, interfering with opening the display 180 degrees. It's best to open the device 180 degrees, whilst holding it bottom up in the air. This way the captive screws fall inside their holes, and don't interfere with the hinges anymore.
2. My display back-light didn't work, initially. Got it to work by gently pressing the on-screen side display connection, hidden under the bezel. So not the connector on the mother-board, but the other side of the cable where it connects to the screen. I'm a bit wary about this, but will see how long it lasts. So it's best to test if everything works, before installing the bezel!
3. Be careful when opening and closing the lid the first couple of times, the bezel could bend and break at the bottom of the screen if it isn't installed correctly.