Introduction
Once you have your Framework Desktop set up following the Quick Start Guide, you’re ready to install your preferred OS.
Ubuntu 25.10 is past its End of Life date, it is no longer a supported release and will not receive security or maintenance updates. Please follow our Ubuntu 26.04 install guide instead.
-
-
Ubuntu 25.10 "Questing Quokka" has reached its End of Life (EOL) on July 1, 2026. It will no longer receive security patches or maintenance updates.
-
Do not install Ubuntu 25.10 on a system intended for daily use. Please use our Ubuntu 26.04 install guide instead.
-
-
-
First, download the latest Ubuntu 25.10 Desktop image from Ubuntu's website. We'll go through the steps in this Guide assuming you have a simple installation scenario of a fresh install on a blank drive.
-
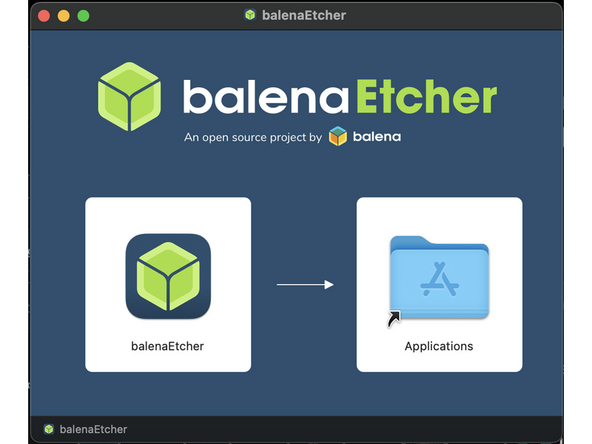
Download balenaEtcher as a tool to create the USB installer from the ISO. balenaEtcher is available for MacOS. Install it.
-
Before booting to the Live USB drive, a note about secure boot.
-
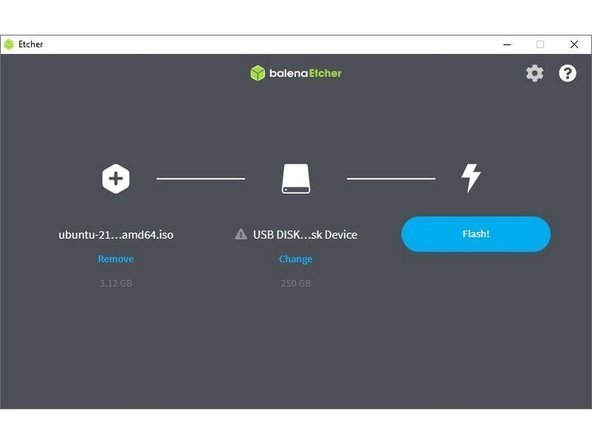
Launch balenaEtcher. Insert your USB drive (8GB or larger). Click on "Flash from file" and select the ubuntu-25.10-desktop-amd64.iso that you downloaded. Click on "Select target" and choose your USB drive. Click "Flash" and wait a minute or two for it to complete.
-
Once the USB drive creation is complete, you can close balenaEtcher and eject the USB drive from your OS.
-
-
-
This process will delete all data from the flash drive being used! Ensure any important data that may be kept on those drives is backed up before continuing.
-
First, download the latest Ubuntu 25.10 Desktop image from Ubuntu's website. This guide will follow a basic setup that automatically uses the entire disk.
-
Download Rufus as a tool to create the USB installer from the ISO. The first item in this list will be a link to install installer for the latest version. Install Rufus using this.
-
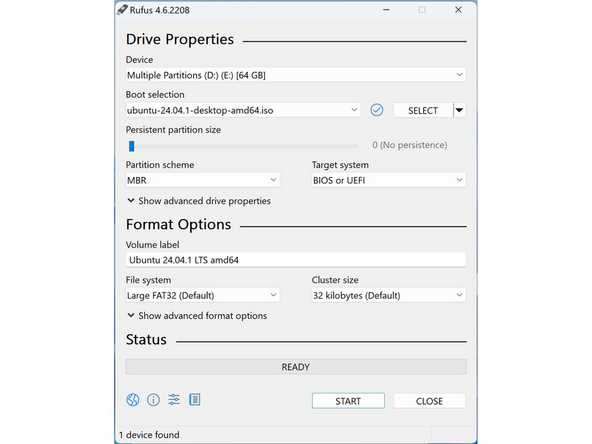
Open Rufus, from the Device drop-down, select the USB flash drive stick.
-
In order to use devices like external hard drives, external solid state drives, or the Framework Storage Expansion Card to create a live USB, List USB Hard Drives must be enabled under Show advanced drive properties.
-
Use the Select Button next to Boot selection to choose the downloaded Ubuntu ISO.
-
Set Partition scheme to GPT to ensure the live USB is properly recognized at boot.
-
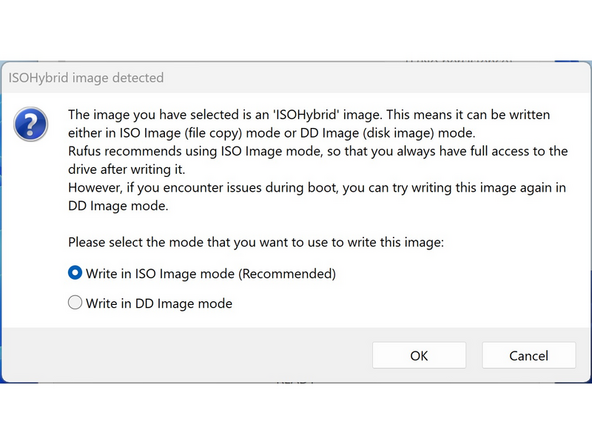
Click Start. A window will pop up to prompt for a choice between dd image mode and ISOHybrid image mode. Select ISOHybrid image mode then OK.
-
-
-
Ubuntu works with Secure Boot out of the box. Ubuntu Live USBs will boot regardless of whether or not it is disabled. Users who intend to dual-boot with Windows should not disable Secure Boot!
-
If a user has a reason to disable Secure Boot, such as specialized third party devices that require unsigned drivers:
-
Boot into BIOS by tapping F2 just before the Framework splash screen.
-
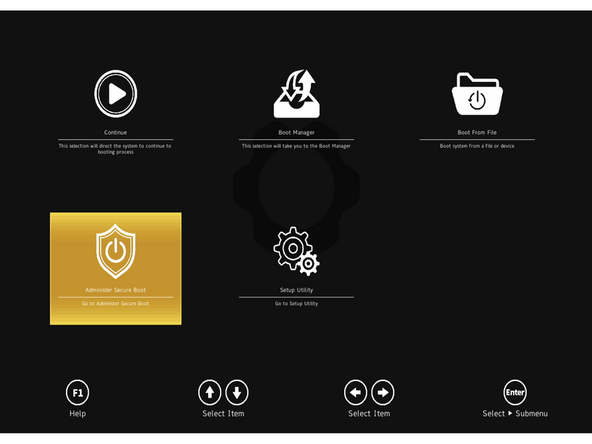
Arrow down to Administer Secure Boot. Press enter.
-
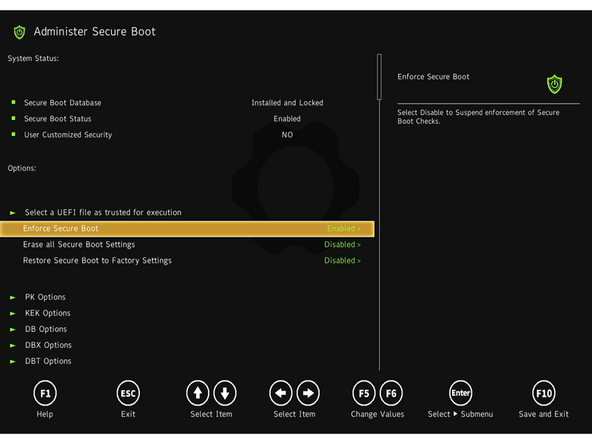
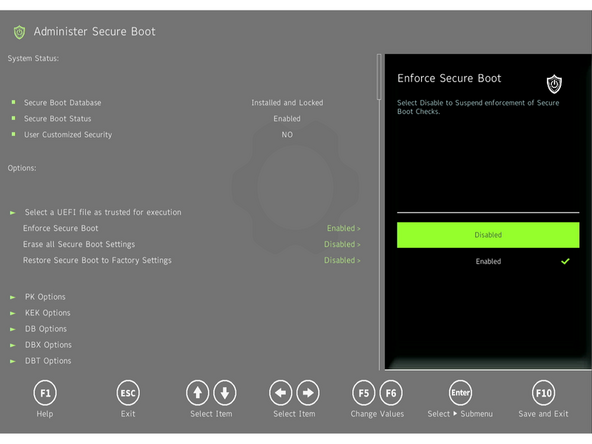
Arrow down to Enforce Secure Boot. Press enter, select Disabled, and press enter.
-
Press F10 to save and reboot. With Yes selected, press Enter.
-
To enable Secure Boot again, repeat the above steps but select Enable this time.
-
-
-
Boot to Live Ubuntu USB: Insert the USB drive into the powered-off machine, then power it on.
-
If an OS is already installed, immediately begin tapping F12 as soon as the power light comes on. Start tapping before the Framework logo appears.
-
At the Boot Option Menu, use arrow keys to select your USB drive (shown as "EFI USB Device (USB Disk)" or similar) and press Enter. On the black GRUB menu, confirm "Try or Install Ubuntu" is highlighted and press Enter.
-
If Windows is already installed on the system attempting to boot into a Linux Live USB may result in a "Device is Active" error. This will provide guidance to overcome this error.
-
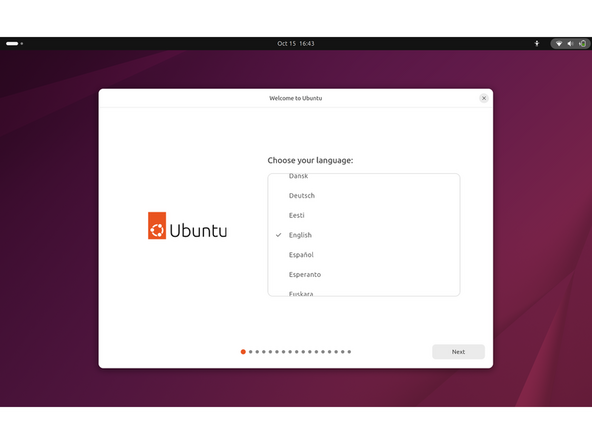
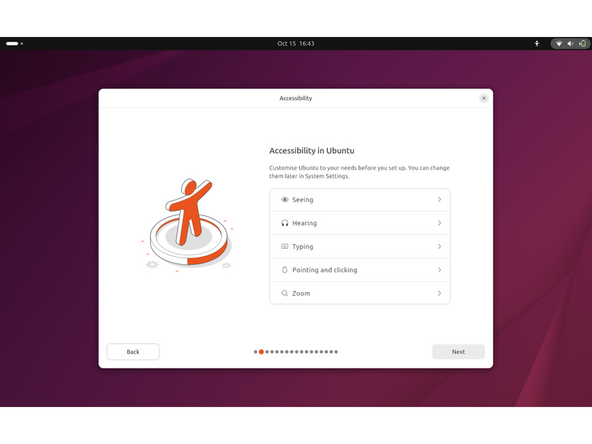
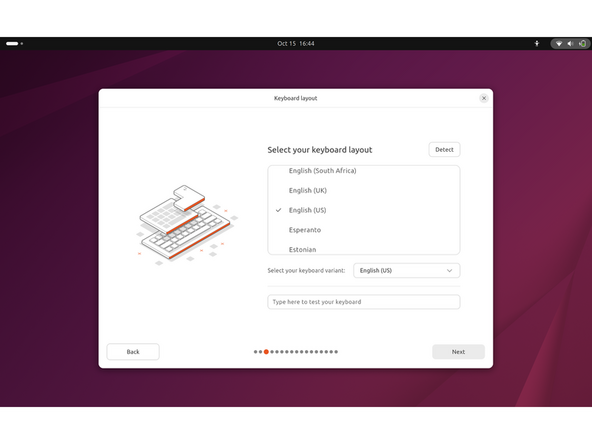
The Live USB will boot to the Desktop then automatically open the installer. Select a Language as well as any needed accessibility options. Then select a keyboard layout.
-
Important for non-US keyboard users! Please open this link in a new tab and read carefully.
-
Set up an internet connection. There may be a prompt to update the installer. Do so if connected to the internet. Close the installer, then open it again from the desktop on the lower right corner.
-
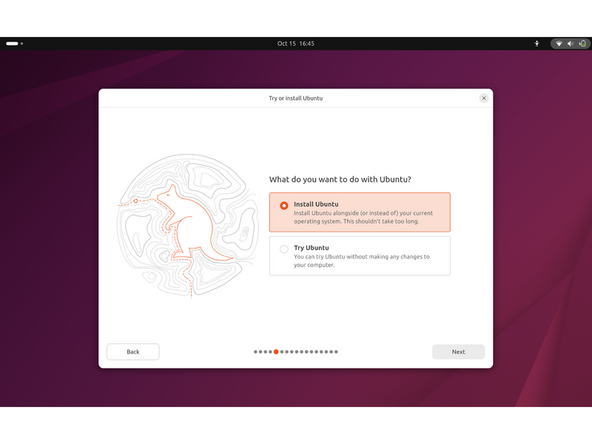
If the installer has been updated, open the installer again after it closes to complete the update. Repeat the steps on this page from the start. Then select installation type. This guide follows the Interactive option.
-
-
-
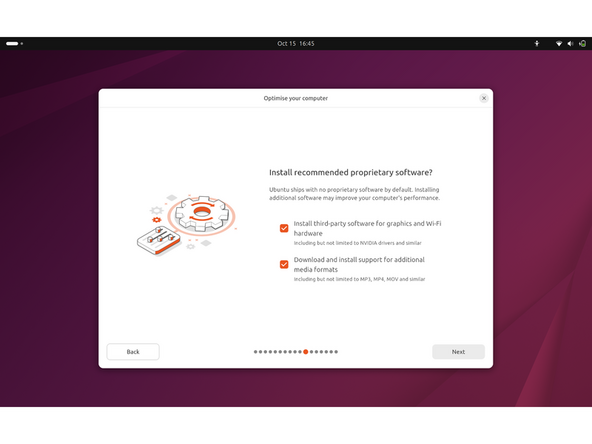
While connected to your network, select Normal installation, Download updates while installing Ubuntu and Install third party software, then press continue. This process may take a few minutes and appear to idle a bit, then the next screen appears - installation type.
-
-
-
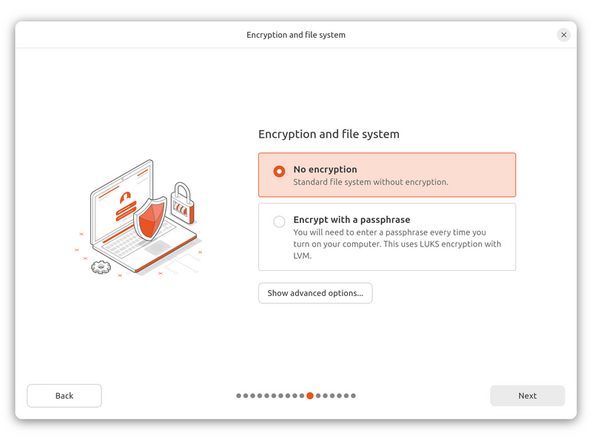
Ubuntu 25.10 allows users to setup LUKS encryption.
-
This is optional, but will prevent the data from being viewed without the LUKS passphrase.
-
To use LUKS, select Encrypt with a passphrase. Click Next.
-
Think of a passphrase that is secure, but that you absolutely will never forget. Enter it once, then again in the confirmation text box. Click next.
-
DO NOT FORGET YOUR PASSPHRASE. If you lose this passphrase, you lose the data on the drive and you will need to format the drive and start over with a new installation.
-
Using LUKS is optional and is NOT required. Just select "No Encryption" to continue with setup without LUKS encryption if you prefer.
-
-
-
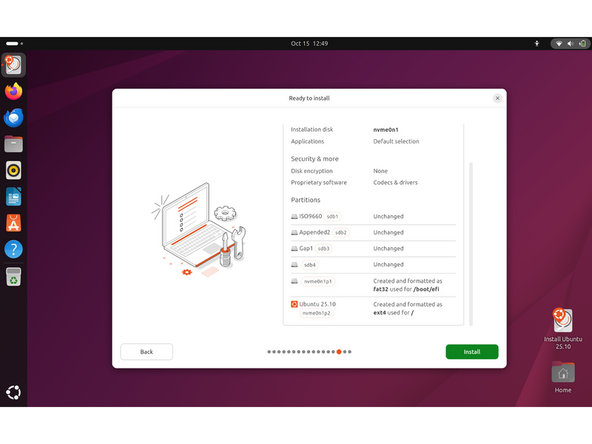
Next we’ll choose the installation type. Erase everything is the correct choice for users with a new Framework Desktop looking to use the entire hard drive for Ubuntu.
-
Press Install Now, then when prompted, then click on Continue.
-
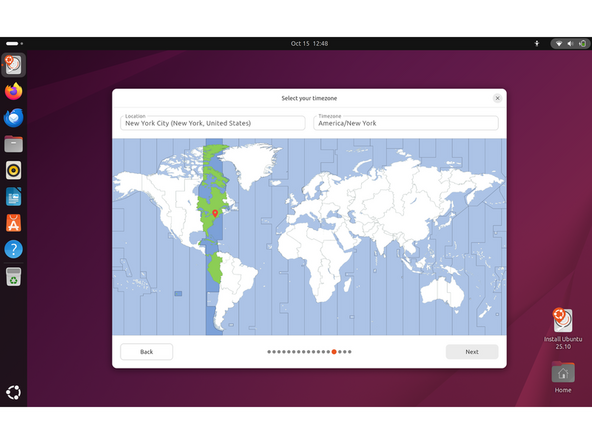
Next you’ll be prompted to choose your location on the world map. Select your time zone location, click Continue.
-
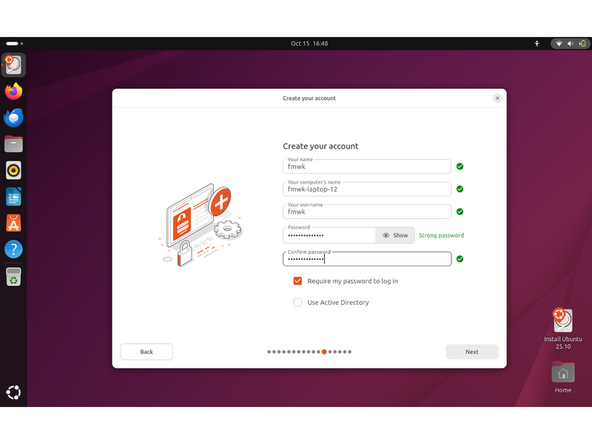
Create a username, a computer name (anything will do), and a password to login with. Also make sure you select Require a password to log in. Then press Continue.
-
-
-
Once rebooted, simply follow the prompts for whether or not you are using Ubuntu Pro and if you wish to send back error reports.
-
Repeat this process with the other screens as seen in the provided images, while making selections and choices that best match your needs.
-
-
-
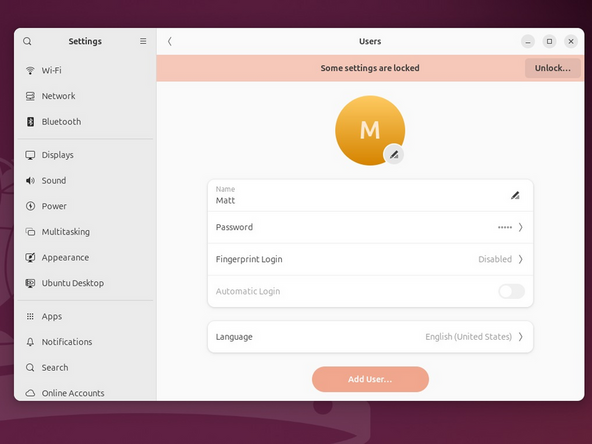
Let's setup fingerprint login. Click on the horizontal bar in the upper left, search for user.
-
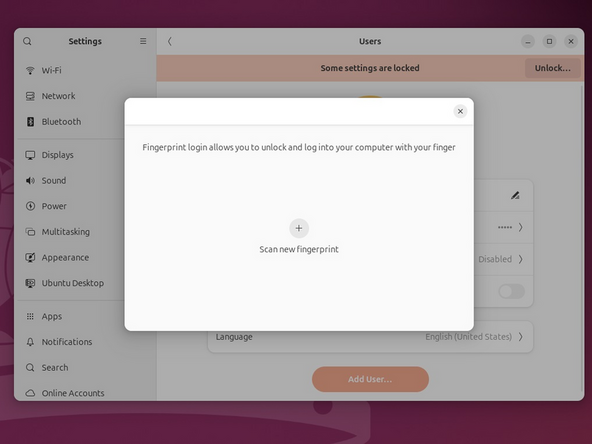
Choose Fingerprint Login. Then select Scan new fingerprint. Select your desired fingerprint. Carefully tap your finger tip on the sensor (power button). You may need to try a few attempts as everyone's prints are different.
-
Once it's successful, you will see the word Complete.
-
-
-
Click here for the completion guide for the Framework Desktop.
-
Important expansion card behavior.
-
-
-
Go to and click upper left corner where you see the horizontal line, search terminal and launch it. Please follow this link to copy and paste the code into your terminal, then press enter.
-
The output will tell you which Framework Desktop BIOS version you're using.
-
Framework Desktop firmware update link.
-
-
-
Please visit our troubleshooting guide first.
-
If you need additional help, feel free to visit our active support community.
-
Enjoy using Ubuntu on your Framework Computer!
Enjoy using Ubuntu on your Framework Computer!


One Comment
I am interested in treating my Framework Desktop more as a home AI server, and my plan is that it will be running some cron tasks daily, ideally without interruption. I’d like to install Ubuntu 24.04 LTS so that I can potentially put off the headaches of frequent upgrades. (I run Fedora for my laptop/dev environment, which I see as a use case that can absorb more frequent upgrades.)
The only Ubuntu support guide that I can find for Framework Desktop is 25.10…is 24.04 on Desktop officially supported?
jeromecovington@gmail.com - Open Reply