
Introduction
Follow this guide to remove and replace the Front Panel in your Framework Desktop.
If you want to install or remove Tiles, follow this guide instead.
-
-
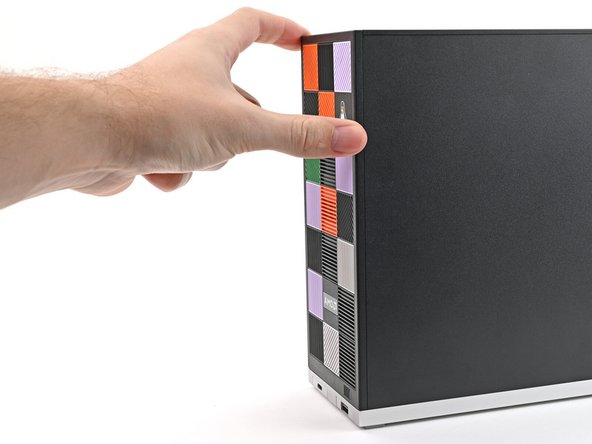
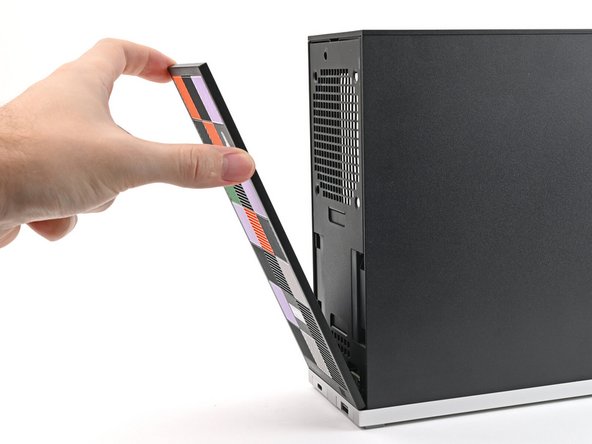
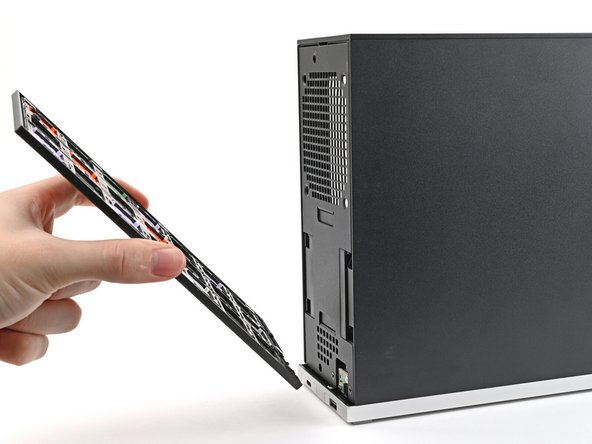
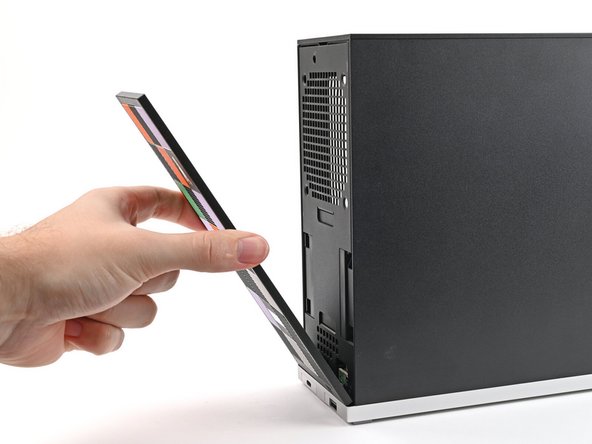
Use your fingers to pull the Front Panel off the magnets securing it to the chassis.
-
-
-
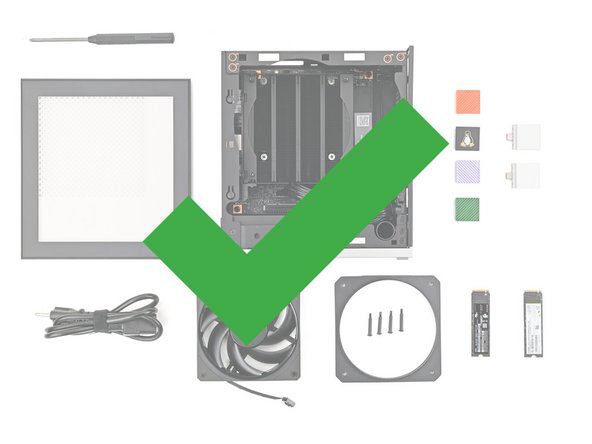
Congratulations on completing disassembly! The remaining steps will show how to reassemble your Framework Desktop.
-
-
-
Lay the bottom of the Front Panel on the small, protruding lip in the silver base to align its tabs.
-
Press the Front Panel flat to the chassis and let it align to the magnets.
-
Almost done!
If you need help, contact Framework support.
Conclusion
If you need help, contact Framework support.