
Introduction
How exciting, you finally got your hands on a Framework Laptop Chromebook Edition! This guide will walk you through each step from unboxing to powering on your laptop so you can start using it right away. As with all our guides, make sure you read the directions in each step and view the images before starting.
-
-
Unbox your Framework Laptop Chromebook Edition. Hold off on powering it on until you complete the rest of the guide.
-
-
-
Locate the Framework Screwdriver in the package underneath the Framework Laptop Chromebook Edition and keep it handy - it's the only tool you'll need replace or upgrade any part of the product!
-
-
-
After unboxing it, assemble the Power Adapter. Connect the AC cable and the USB-C cable to the Power Adapter body.
-
You can plug the USB-C cable in from either end of the cable. Choose whether you want the right angle connector plugged into the adapter or into your laptop.
-
-
-
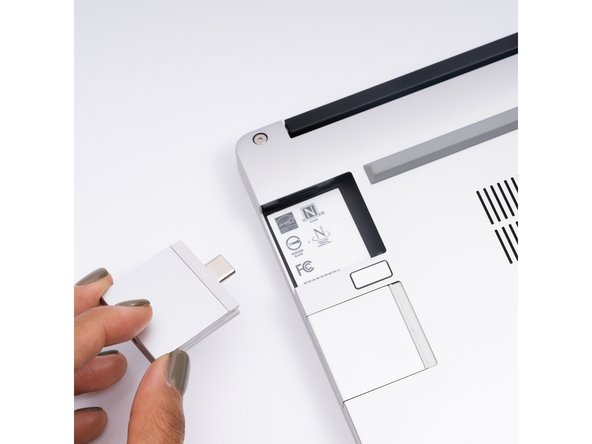
Insert the Expansion Cards of your choice into any of the empty bays.
-
Slide the Expansion card into the bay, pushing until it clicks.
-
The first few times you insert or remove a card, it'll take a little more force.
-
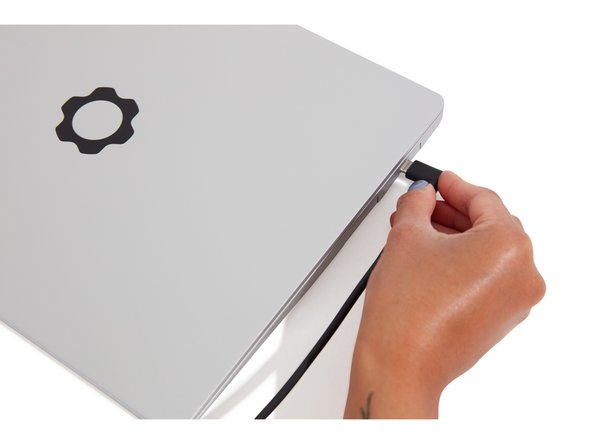
Connect the USB-C cable from the Power Adapter into the USB-C Expansion Card. Connect the AC Cable to a power source.
-
The Framework Laptop Chromebook Edition ships in a mode where the battery is disabled until power is first plugged in, so you really do have to plug in power at this step!
-
-
-
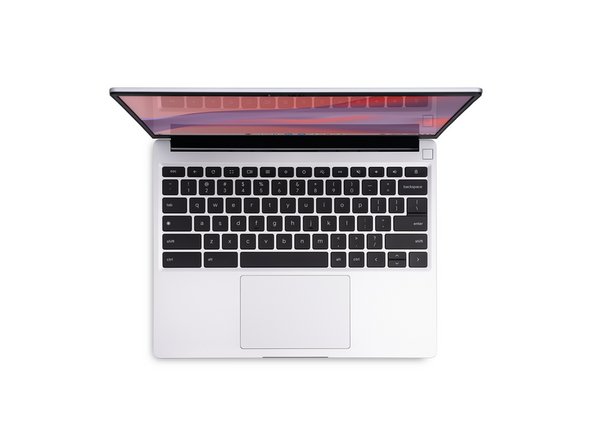
Turn the Framework Laptop Chromebook Edition over and open it.
-
Power on the laptop by pressing the power button, and get ready to start using your Framework Laptop!
-
The first boot may take a bit longer (10-30 seconds) while the system recalibrates the installed memory.
-
-
-
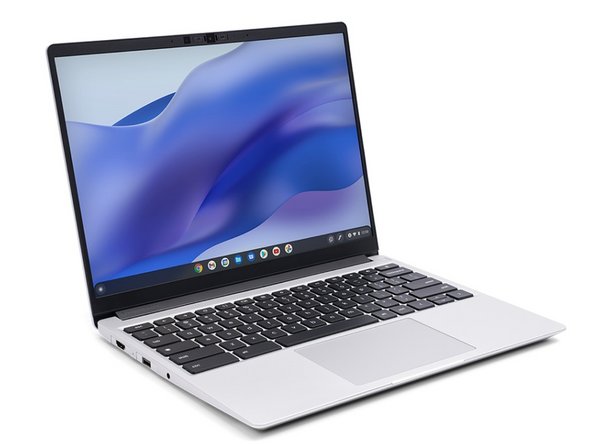
Follow the on-screen instructions to set up ChromeOS and log in.
-


- To purchase a Framework Laptop visit the Framework website
- Want to learn more about the Framework Laptop? Take a look at our blog
- If you have any questions or concerns, feel free to reach out to Framework Support
- To purchase a Framework Laptop visit the Framework website
- Want to learn more about the Framework Laptop? Take a look at our blog
- If you have any questions or concerns, feel free to reach out to Framework Support
Cancel: I did not complete this guide.
11 other people completed this guide.
2 Comments
Is the 1 terabyte expansion card that can download steam games?
John wilson - Resolved on Release Reply