
Introduction
Congratulations on getting the Framework Laptop 16 Pre-Built Edition! Follow this quick start guide to assemble your laptop and get it running.
-
-
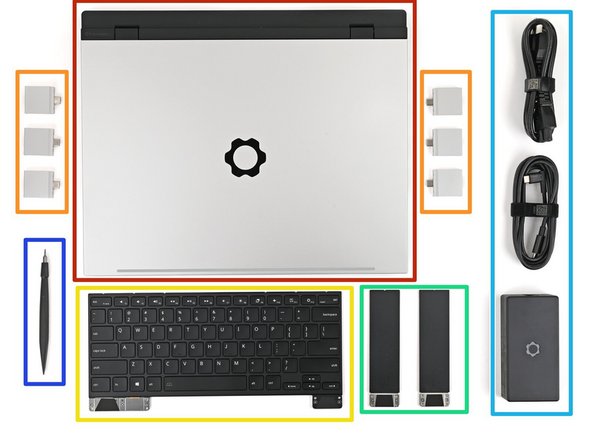
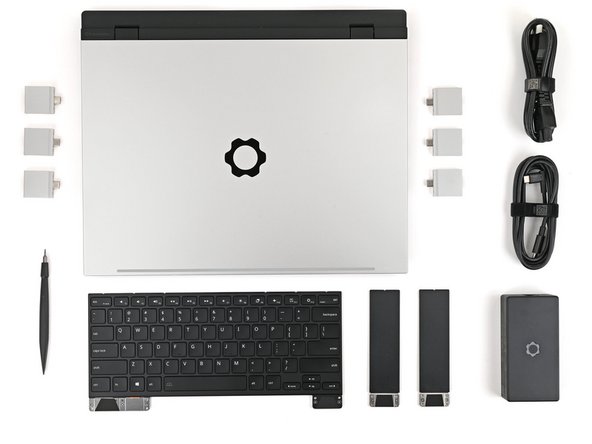
Unbox your Framework Laptop and make sure you've received the following items:
-
Framework Laptop chassis with pre-installed Mid Plate, Bezel, Memory, Storage, Touchpad Module, and Touch Spacers.
-
Expansion Cards
-
Keyboard
-
Input Modules
-
Power Adapter
-
Framework Screwdriver
-
-
-
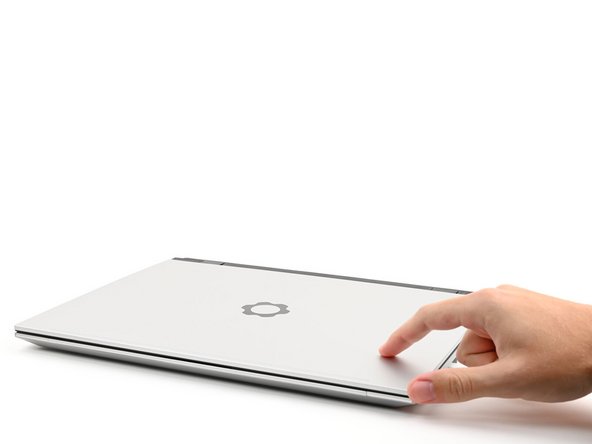
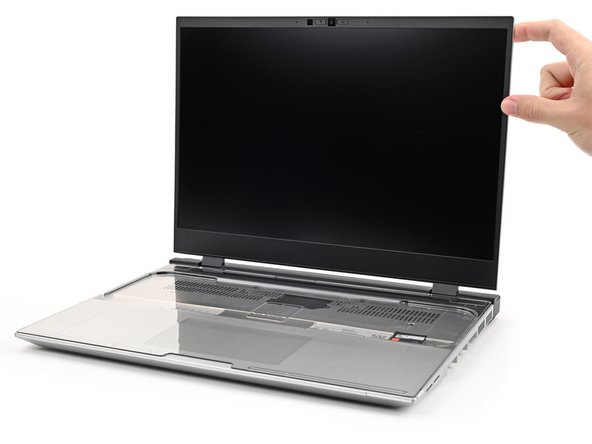
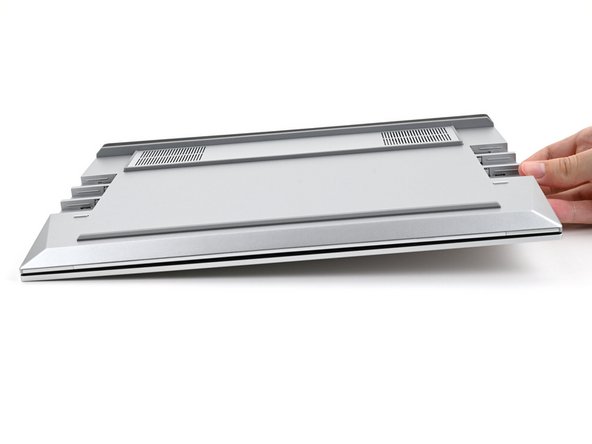
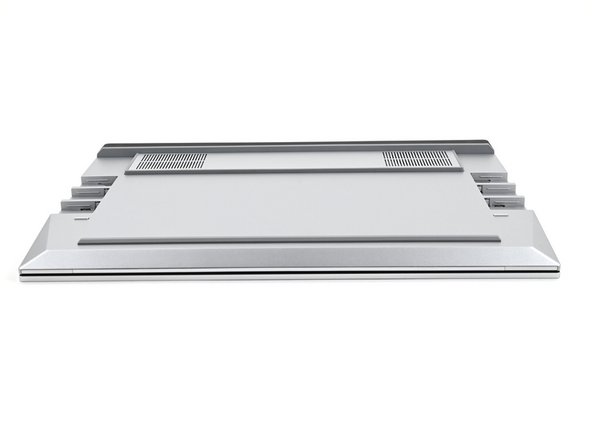
Open the laptop.
-
-
-
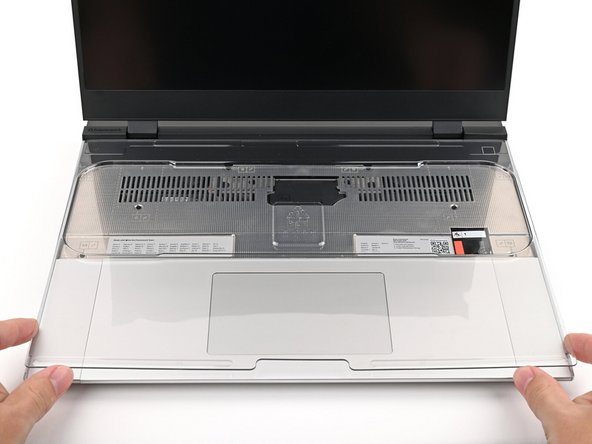
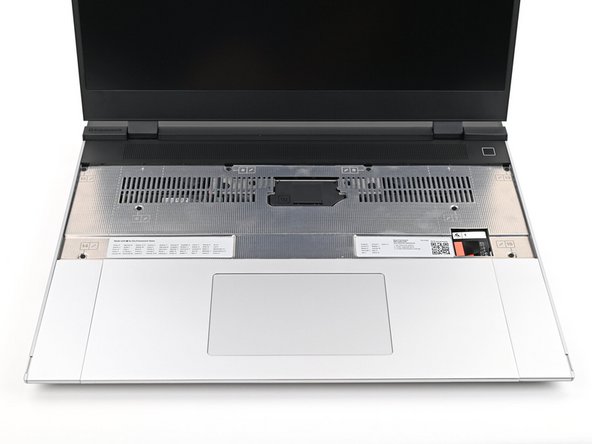
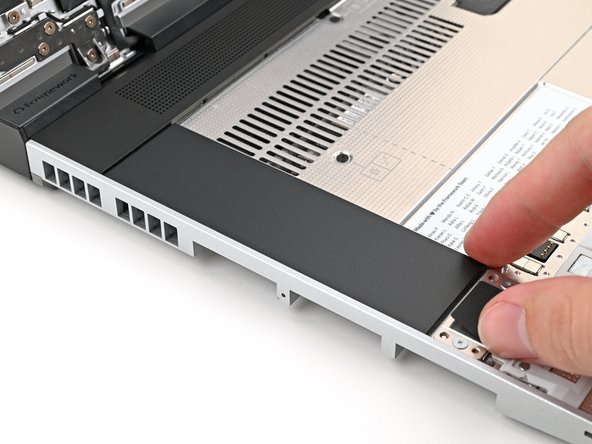
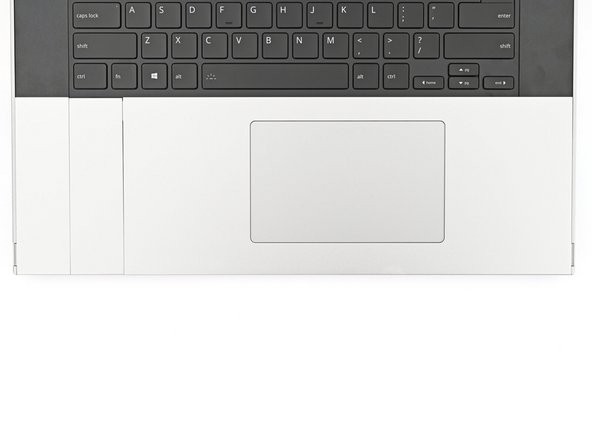
Remove the plastic cover.
-
The protective cover is made of post-consumer recycled PET and is highly recyclable. Please recycle this with your household recycling.
-
-
-
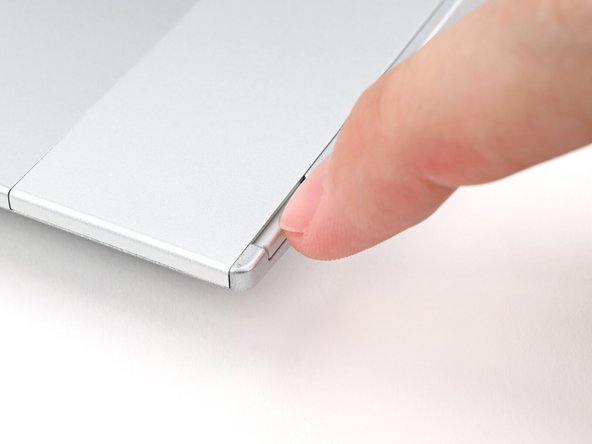
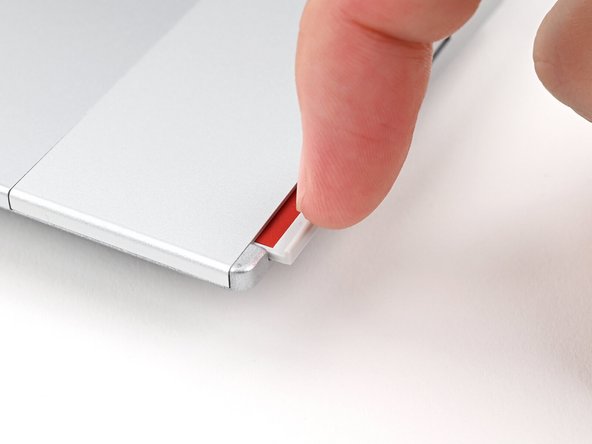
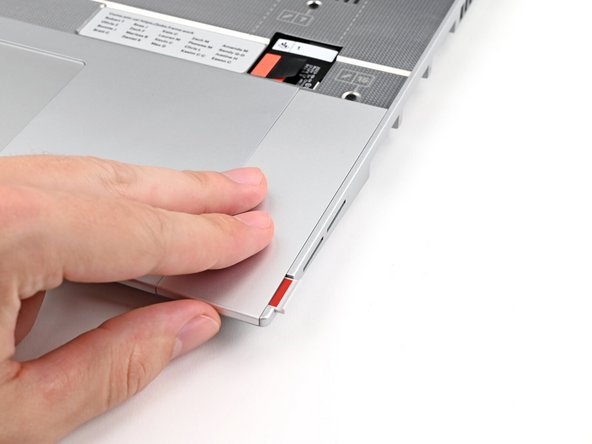
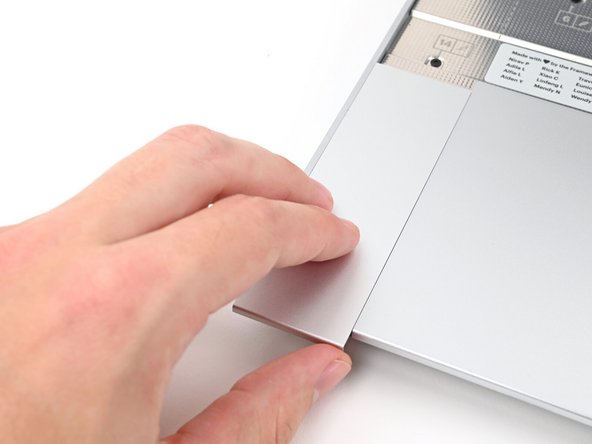
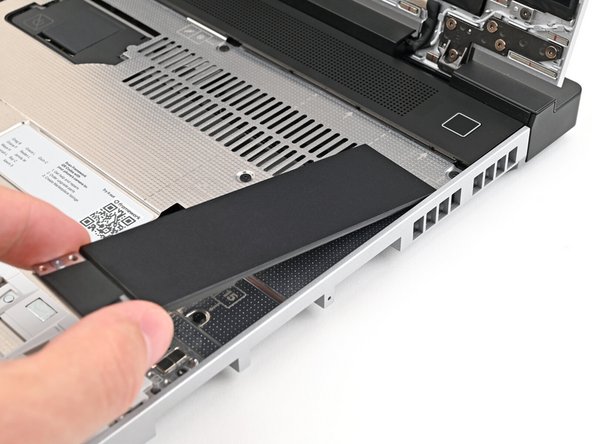
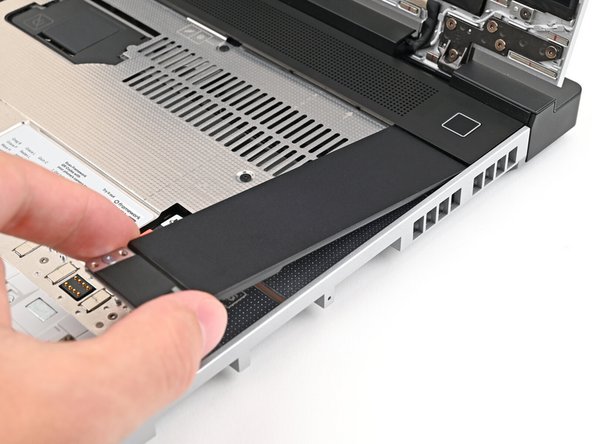
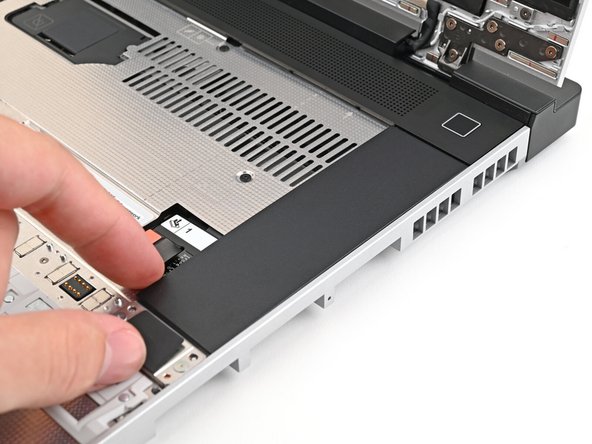
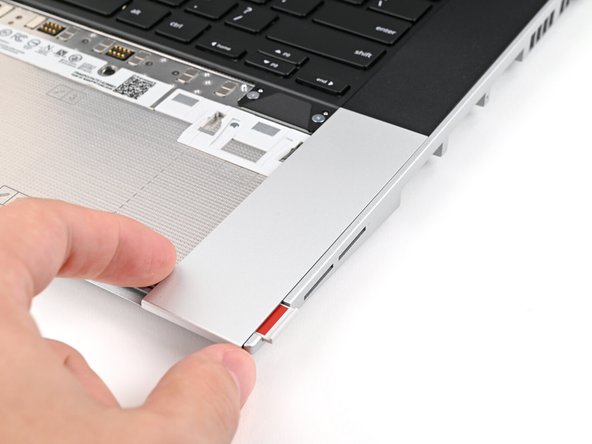
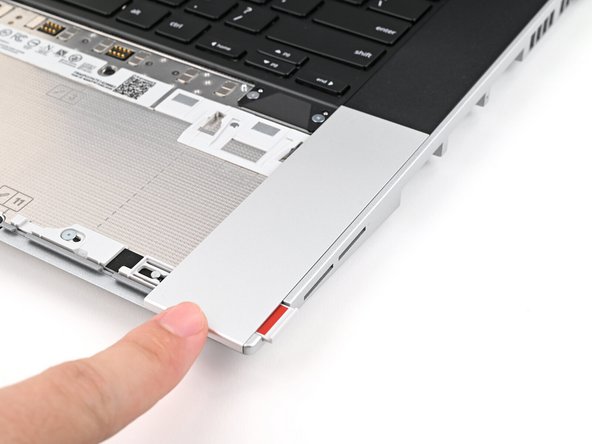
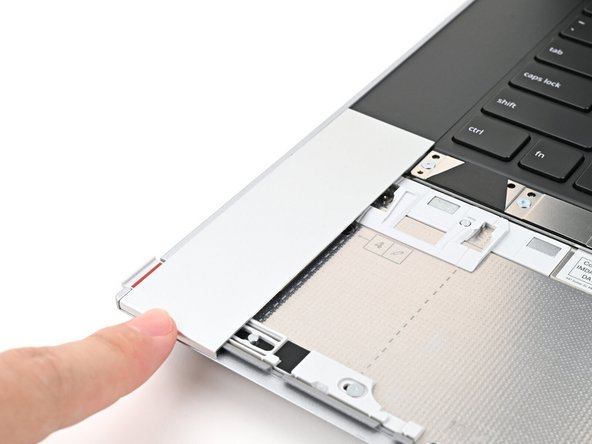
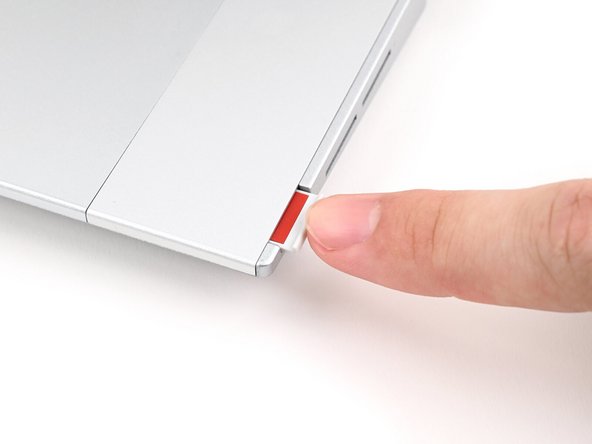
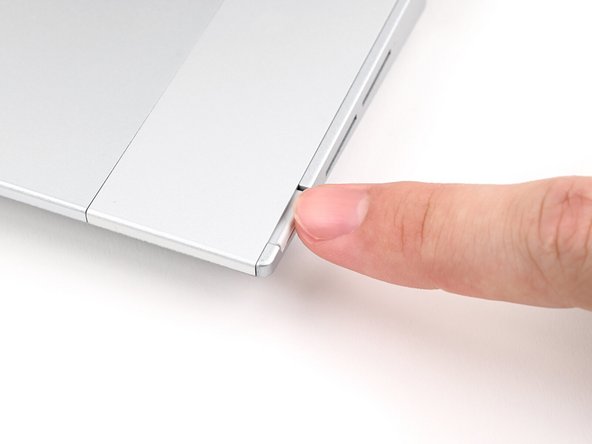
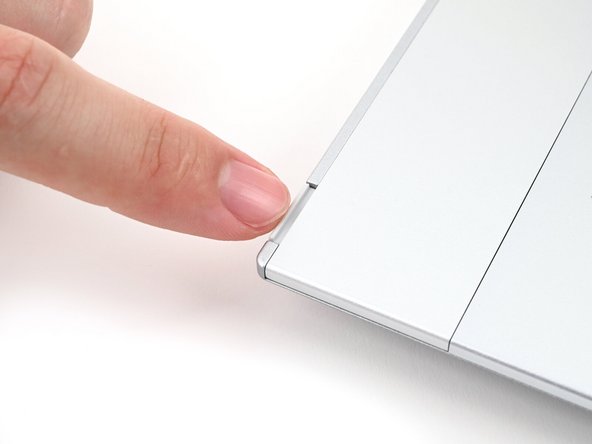
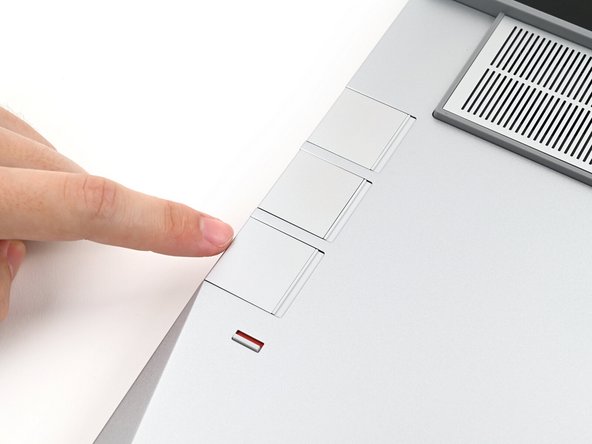
Use your fingernail to pull out the Input Module latch and unlock the Touchpad Spacer next to it.
-
-
-
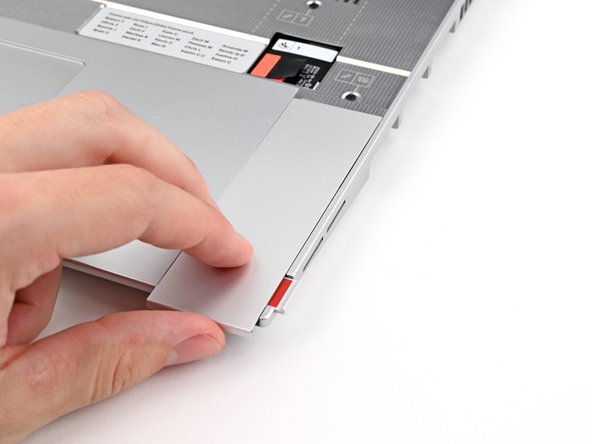
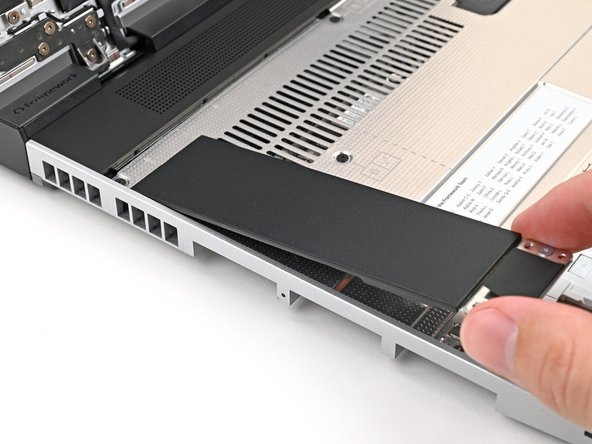
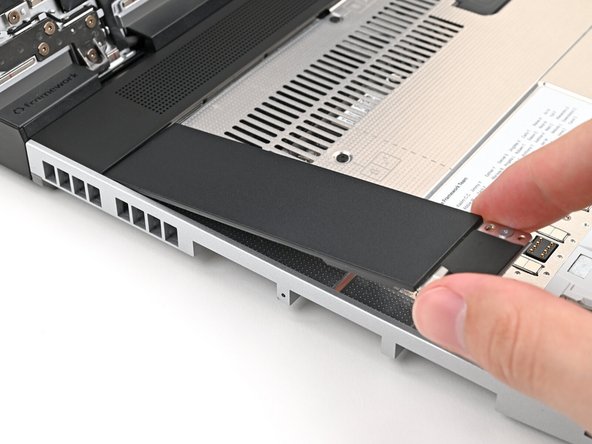
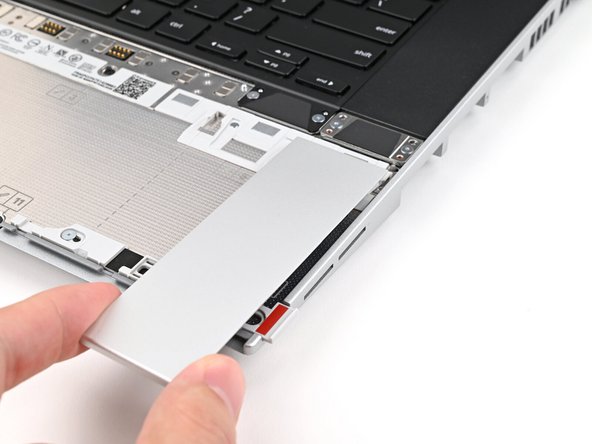
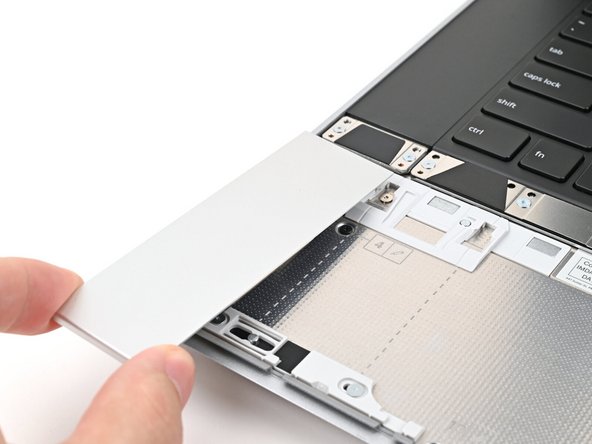
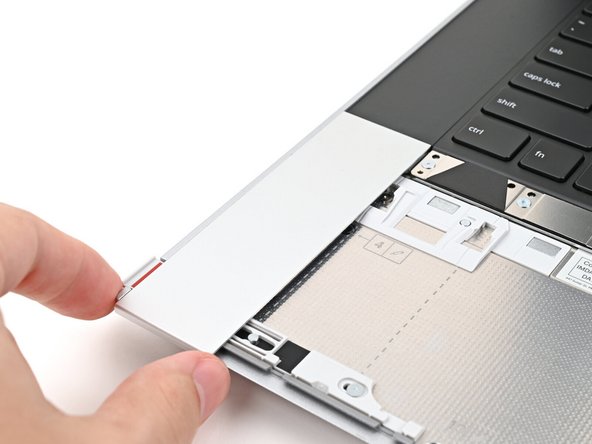
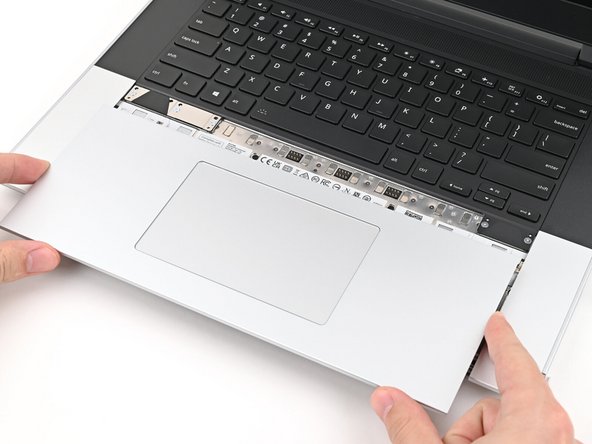
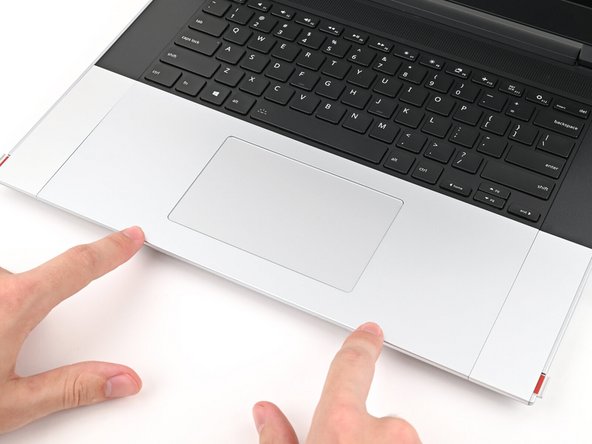
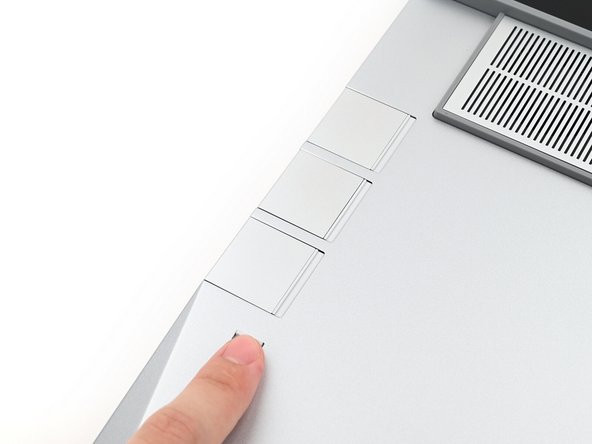
Use your fingers to slide the Touchpad Spacer toward the bottom edge of the laptop and unclip it.
-
If you're having trouble, check if the corresponding Input Module latch is properly unlocked.
-
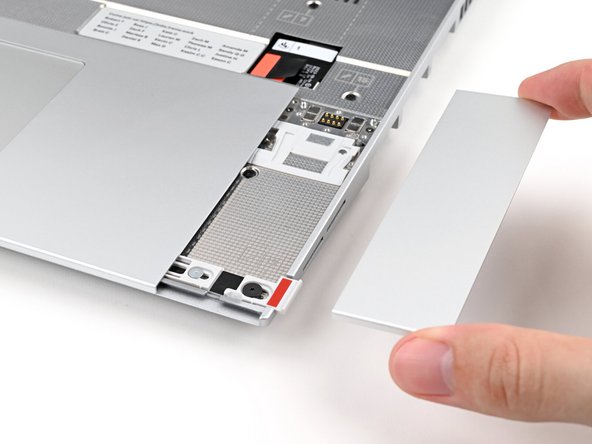
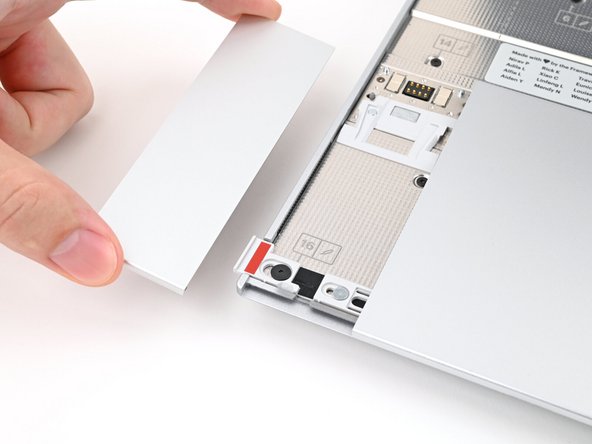
Lift the Touchpad Spacer off the laptop and remove it.
-
-
-
Repeat the previous two steps to remove the other Touchpad Spacer.
-
-
-
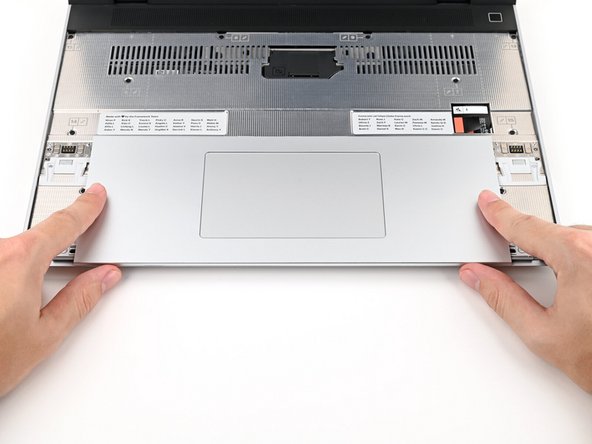
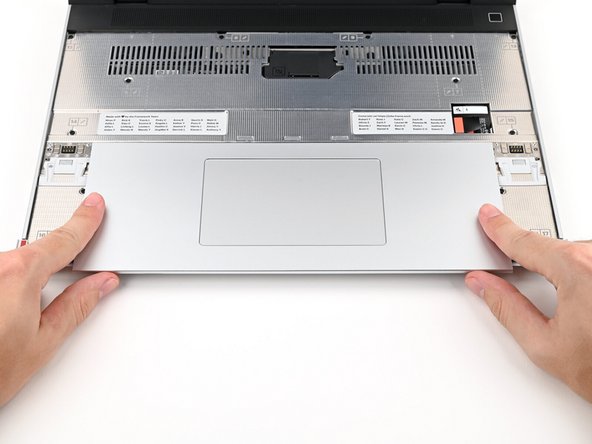
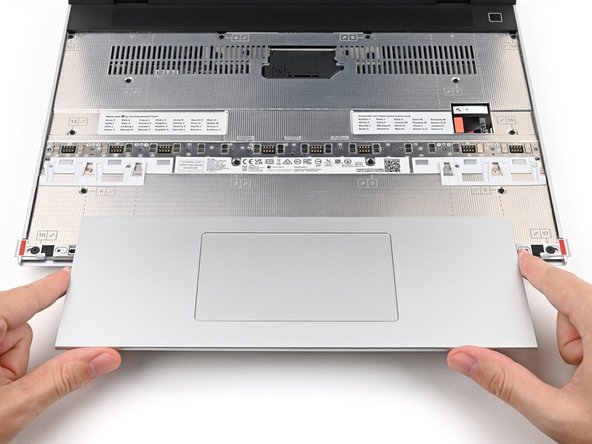
Use your fingers to slide the Touchpad Module toward the bottom edge of the laptop and disconnect it.
-
Lift the Touchpad Module and remove it.
-
-
-
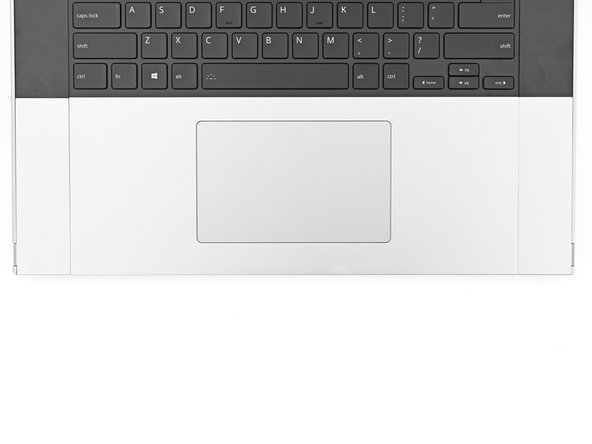
The top row of the laptop is fully customizable, but each Input Module follows the same installation procedure. The next three steps show installing the combination used in the first photo.
-
Check out this page for all of the possible Input Module combinations.
-
-
-
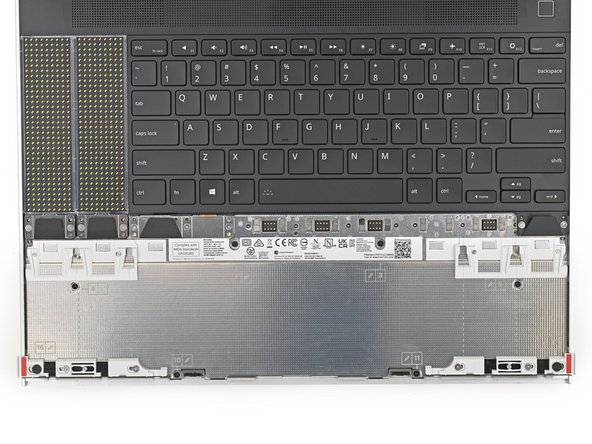
Hold the Input Module at a slight downward angle and align it with one of the dotted lines on the Mid Plate.
-
Slide the top lip of the Input Module underneath the ventilation plate and lay the module down flat to let the magnets pull it into place.
-
Make sure the alignment pegs are slotted into the Input Module and that it sits flat. Otherwise, pull the module off the laptop and readjust it.
-
-
-
Repeat the previous step for the other Input Module.
-
If you've already installed a numpad, you'll only have space for the keyboard and not another module.
-
-
-
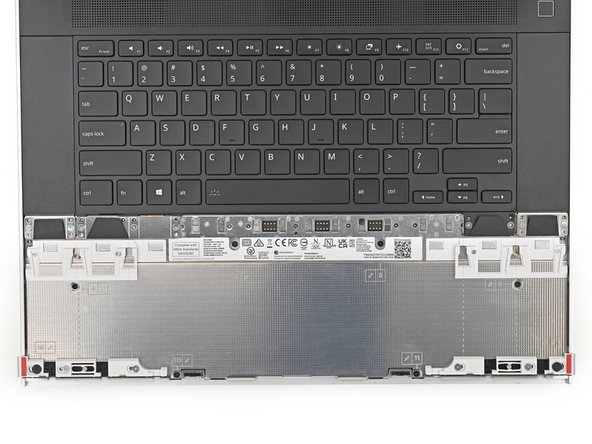
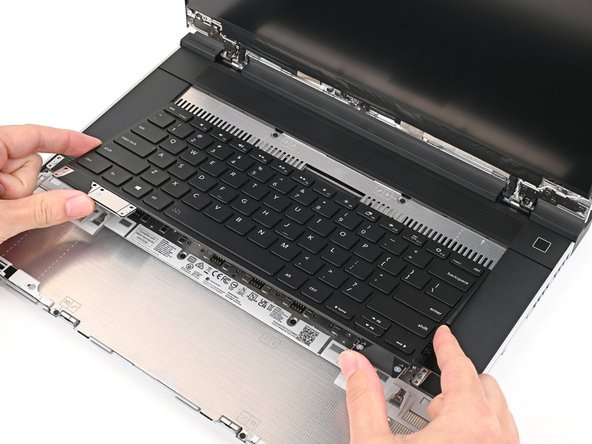
Hold the keyboard at a slight downward angle and align it with two of the dotted lines on the Mid Plate.
-
The keyboard can be placed on the left, center, or right edges of the laptop depending on which Input Modules you've installed.
-
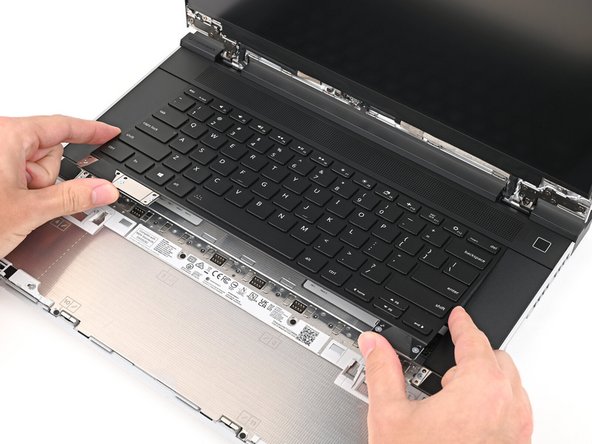
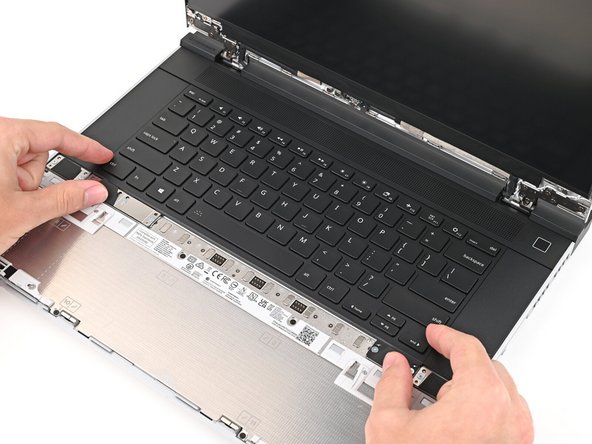
Slide the top lip of the keyboard underneath the ventilation plate and lay the keyboard down flat to let the magnets pull it into place.
-
Make sure the alignment pegs are slotted into the keyboard and that it sits flat. Otherwise, pull the keyboard off the laptop and readjust it.
-
-
-
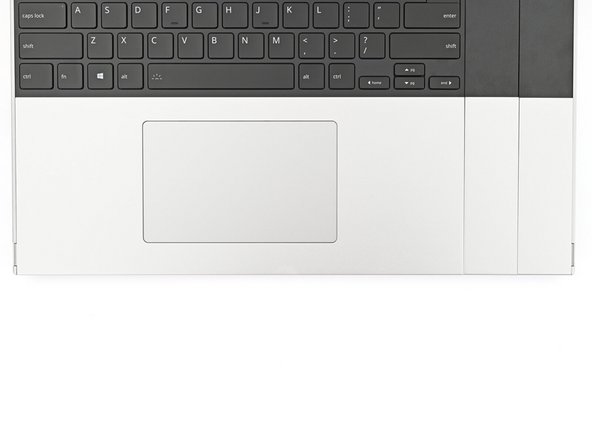
The bottom row of the laptop is fully customizable. The next four steps show installing the combination used in the first photo.
-
Note: for the Touchpad Module to be on the left, the keyboard can't be installed in the center.
-
-
-
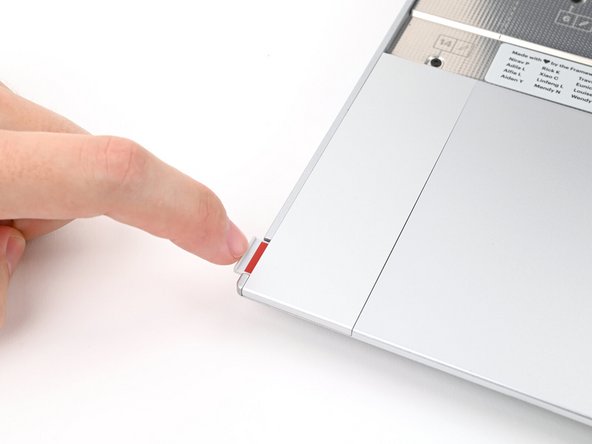
Place the Touchpad Spacer over its spot on the laptop with the bottom edge overhanging slightly.
-
Slide the Touchpad Spacer towards the top of the laptop to secure it.
-
-
-
Repeat the previous step for the other Touchpad Spacer.
-
-
-
Place the Touchpad Module flat on its cutout so its clips are properly aligned.
-
Press the Touchpad Module down and slide it into place so it lines up evenly with the bottom edge of the laptop.
-
-
-
Push the Input Module latches back into place to lock them.
-
-
-
Close the laptop and flip it over.
-
-
-
If you have the AMD Ryzen™ 7040 Series, click here for information on Expansion Card compatibility.
-
If you have the AMD Ryzen™ AI 300 Series, click here for information on Expansion Card compatibility.
-
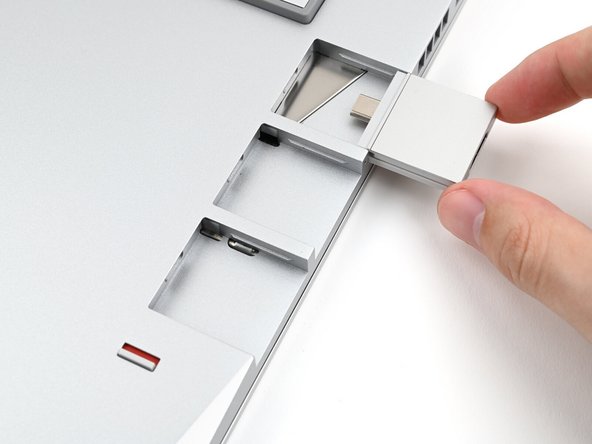
Slide an Expansion Card into an Expansion Card slot.
-
You don't need to unlock the latch to install the Expansion Cards—only when you want to remove them.
-
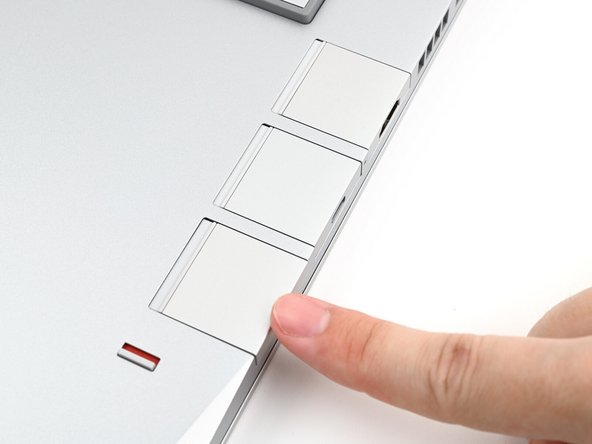
The Expansion Cards should click into place, and the front edge should be flush with the laptop.
-
Repeat for the remaining Expansion Cards along that edge.
-
-
-
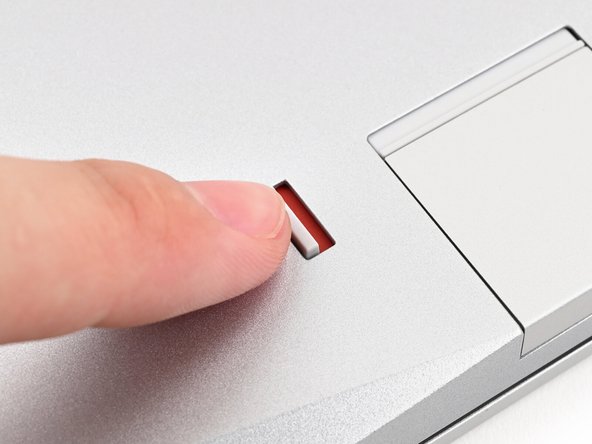
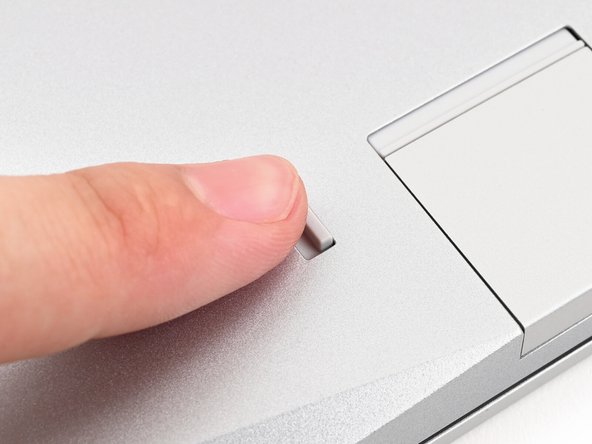
If there's a red bar showing under the Expansion Card latch, use your finger to flip the latch and lock the row of Expansion Cards above it.
-
-
-
Repeat the previous two steps for the other row of Expansion Cards.
-
-
-
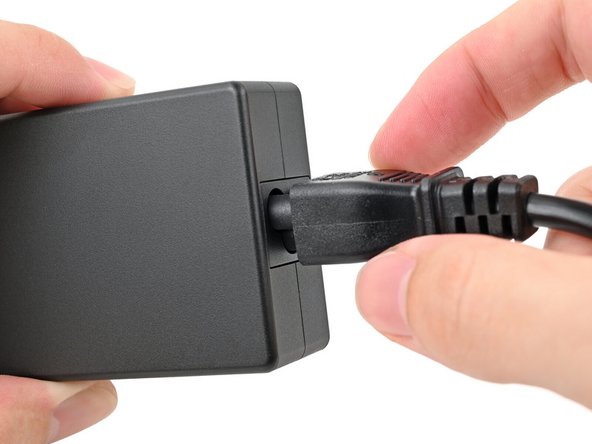
Plug the AC Cable into the Power Adapter.
-
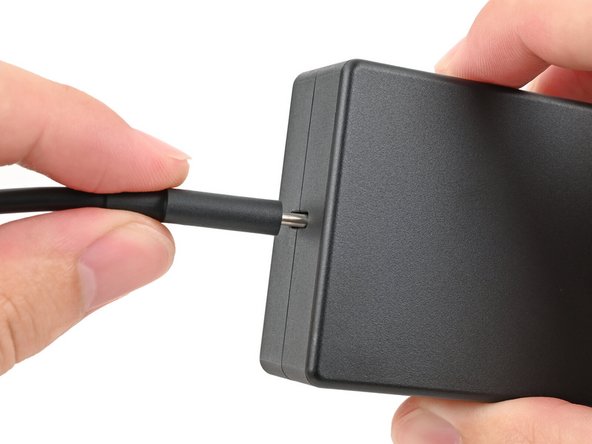
Plug the USB-C Cable into the Power Adapter.
-
You can plug either end of the USB-C cable into the adapter.
-
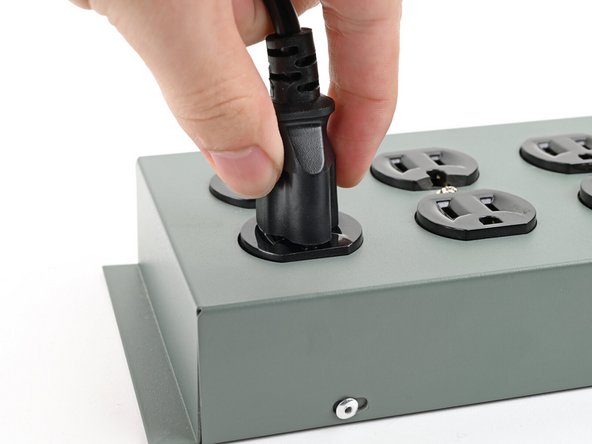
Plug the AC Cable into a power outlet.
-
-
-
Your Framework Laptop ships in shipping mode, where the battery is disabled until you plug the laptop in for the first time.
-
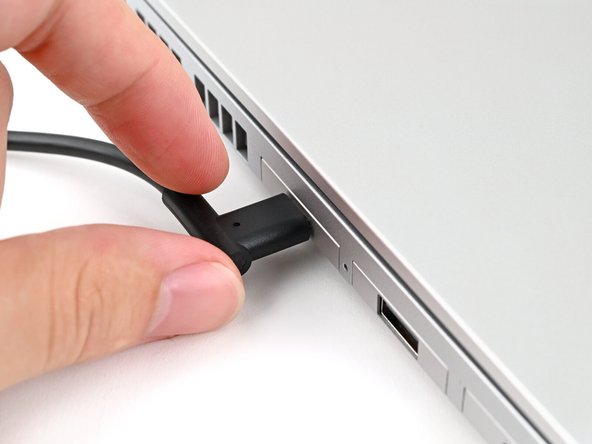
Plug the USB-C Cable into any USB-C port on your laptop.
-
-
-
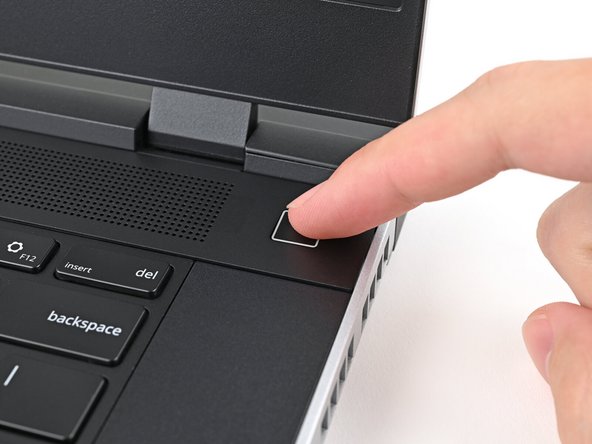
Your Framework Laptop is ready for use! Open the lid and press the power button at the top right corner of the laptop.
-


For drivers, firmware, and software updates, check out this page.
If you need help, contact Framework support.
For drivers, firmware, and software updates, check out this page.
If you need help, contact Framework support.
Cancel: I did not complete this guide.
26 other people completed this guide.