
Introduction
Congratulations on getting the Framework Laptop 12 DIY Edition! Follow this quick start guide to assemble your laptop and get it running.
If you got the pre-built Framework Laptop, follow this quick start guide instead.
You'll encounter some component terms in this guide:
- The Input Cover is the part that contains the keyboard and trackpad.
- The Framework Screwdriver is the nifty multi-tool that comes with your laptop.
Tools
Parts
No parts specified.
-
-
Unbox your Framework Laptop and make sure you've received the following items:
-
Input Cover of your choice
-
Framework Screwdriver
-
Additionally, make sure you've received the optional items you purchased with your Framework Laptop:
-
Storage/ SSD
-
Memory module/ RAM
-
Expansion Card(s)
-
Framework Power Adapter, USB-C Cable, and AC Cable
-
-
-
Make sure your Framework Laptop is fully powered off. The indicator LEDs along the edges should be unlit. The laptop should be silent.
-
If you accidentally turn on the laptop during assembly, hold the power button down for 10 seconds to shut it down.
-
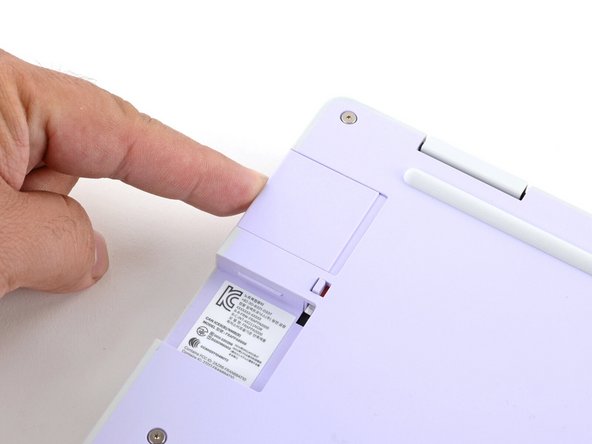
Set your laptop face-up on a clean work surface.
-
Make sure your Framework Screwdriver has the T5 Torx bit (labeled as T-5) facing outwards. If it's not, pull the bit out and flip it.
-
-
-
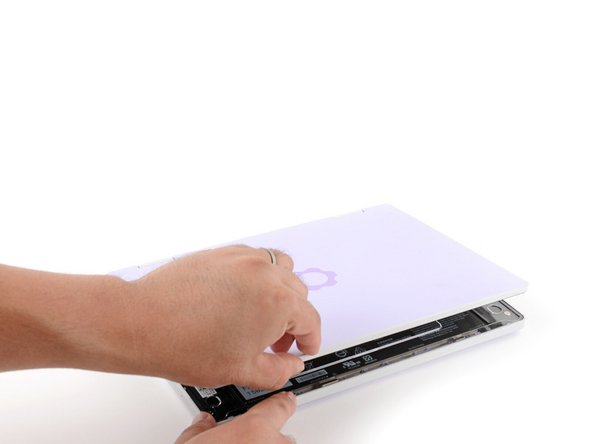
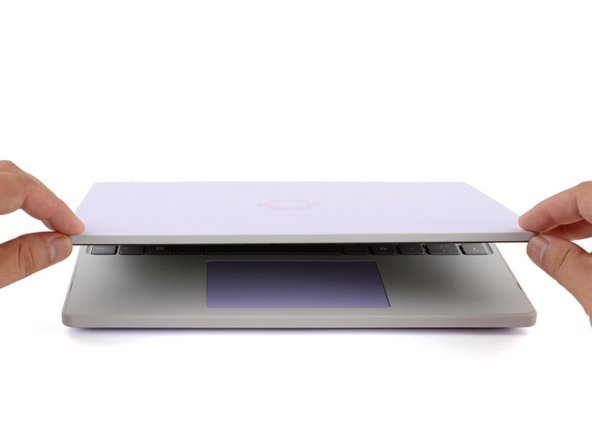
Swing the lid open until the screen's tilted back slightly.
-
-
-
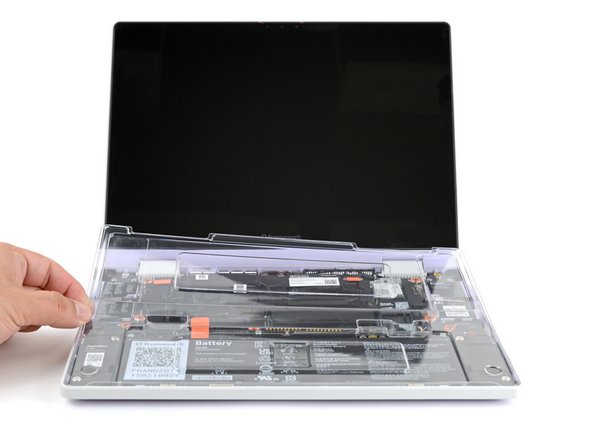
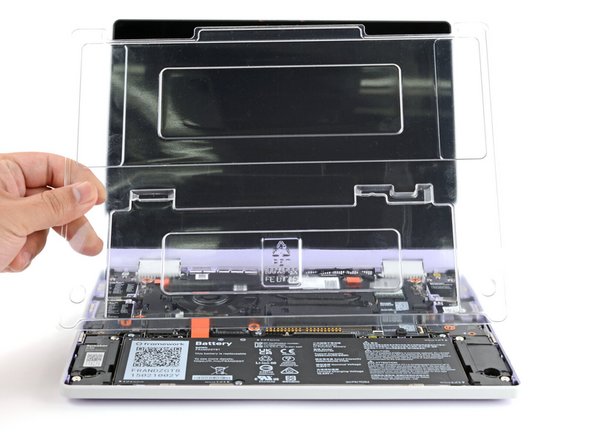
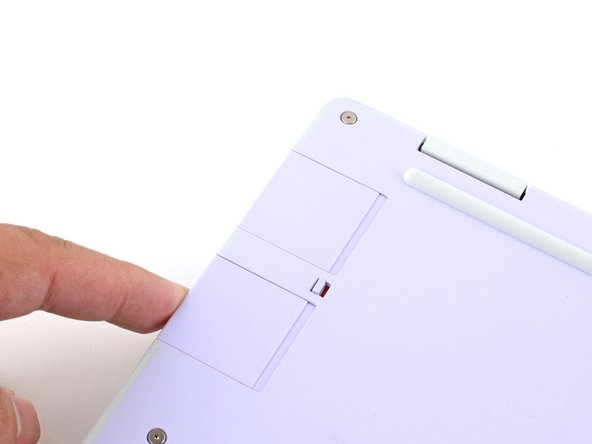
Use your fingers to lift and remove the clear protective cover from the laptop.
-
The protective cover is made of post-consumer recycled PET and is highly recyclable. Please recycle this with your household recycling.
-
-
-
The next two steps show how to install the storage (aka SSD, or Solid State Drive).
-
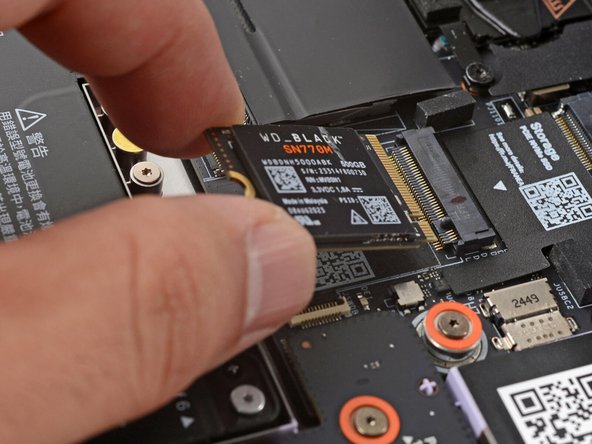
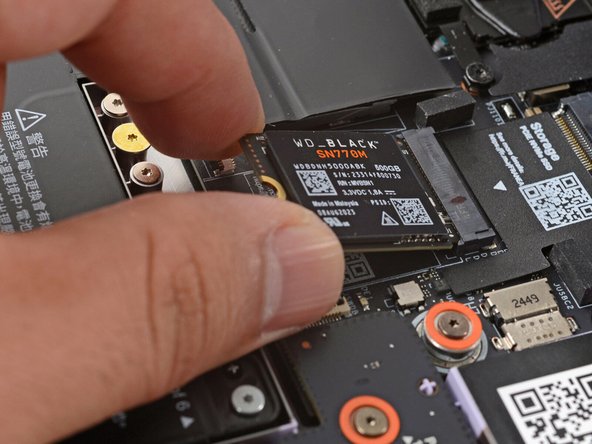
Your Framework Laptop 12 has one M.2 2230 NVMe SSD slot.
-
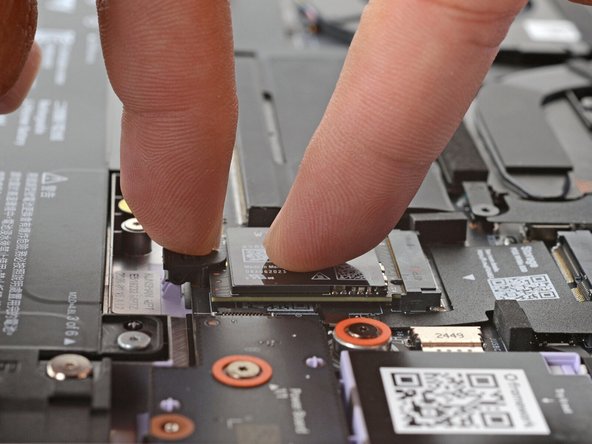
Hold the SSD by its edges. Don't touch the gold contacts with your fingers. If you do, wipe the contacts with a clean, lint-free cloth to remove any finger oils.
-
Align the SSD's gold contacts and notch with the socket.
-
Insert the SSD into the socket at a shallow angle. The gold contacts should be mostly covered by the socket.
-
The SSD fits into the socket in one orientation. If it doesn't feel like it fits, try flipping the module.
-
-
-
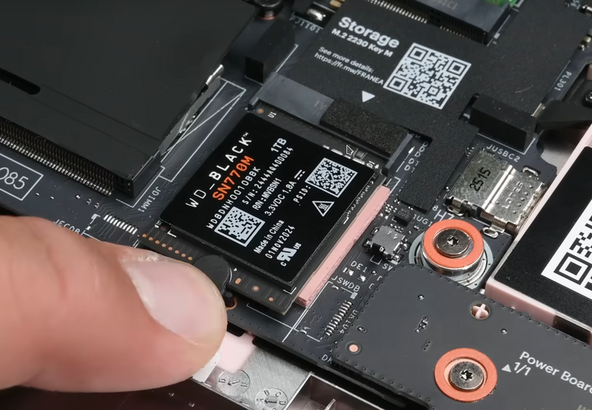
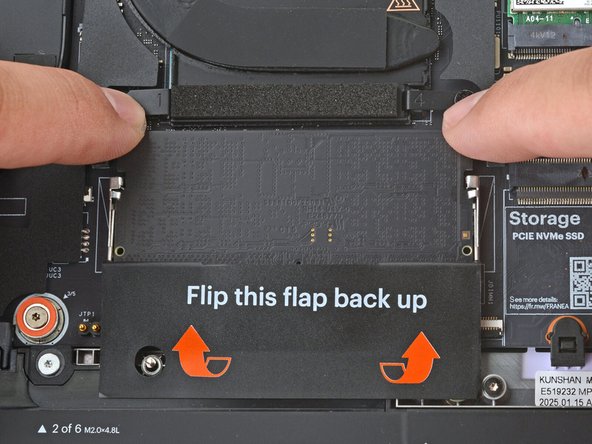
Use your finger to press the black SSD latch and keep it open.
-
Use another finger to press the SSD down until it lays flat.
-
If the SSD doesn't fit in the latch, you may need to insert the SSD further into its socket.
-
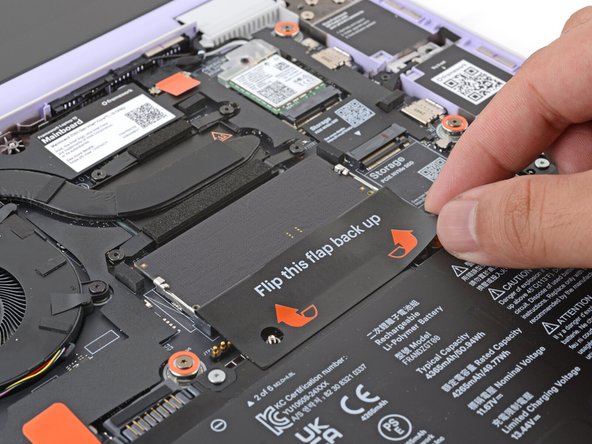
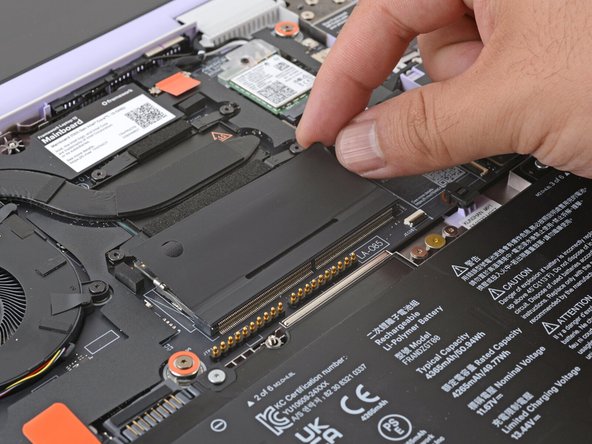
Use your finger to close the latch to secure the SSD in place.
-
You should hear a click, and the SSD should no longer pop up.
-
-
-
The next three steps show how to install the memory module.
-
Your Framework Laptop 12's memory slot supports up to 48 GB of DDR5 memory at DDR5-5200 speed.
-
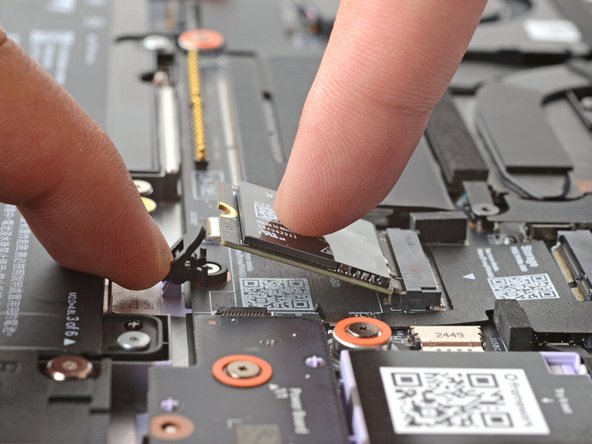
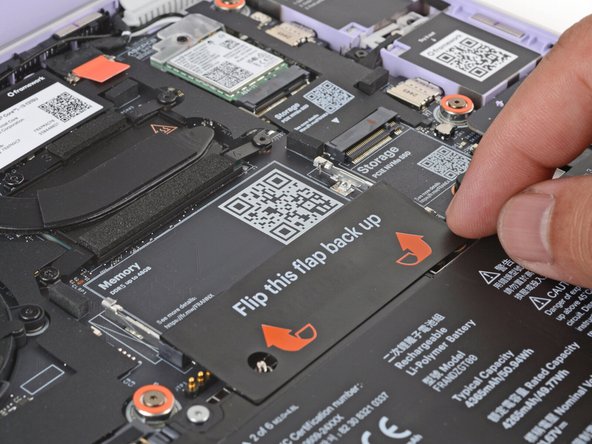
Use your fingers to flip open the memory flap.
-
-
-
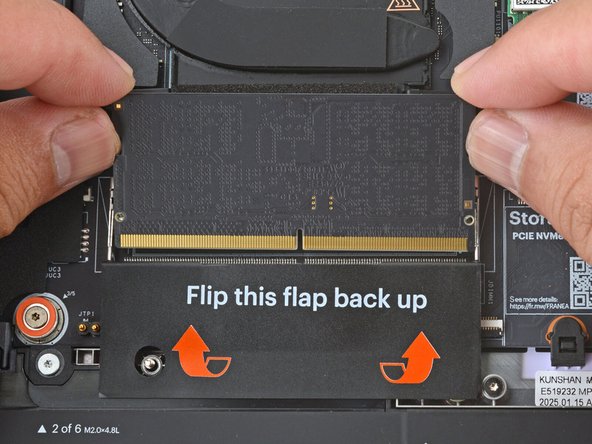
Hold the memory module by its edges. Don't touch the gold contacts with your fingers. If you do, wipe the contacts with a clean, lint-free cloth to remove any finger oils.
-
Orient the module with the label facing down and align the gold contacts and notch with the socket.
-
Insert the contact edge into the socket at a shallow angle. The gold contacts should mostly be covered by the socket.
-
The module fits into the socket in one orientation. If it doesn't feel like it fits, try flipping the module.
-
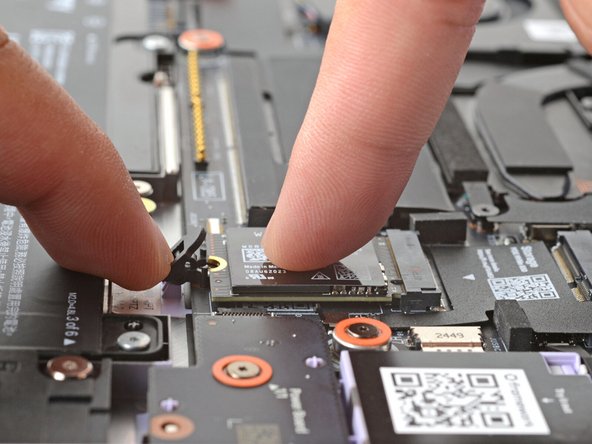
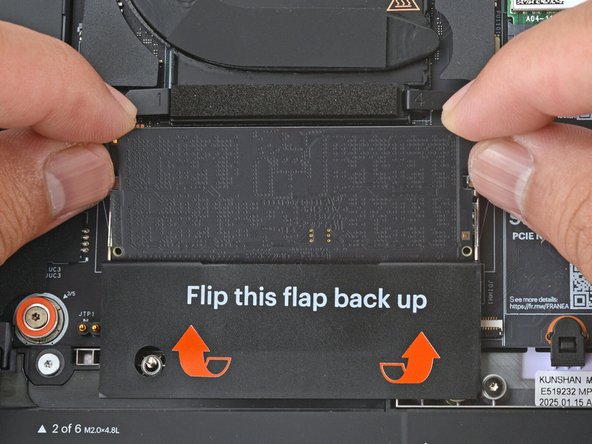
Press the edges of the memory module down until the side clips lock it in place.
-
If you need to remove or reposition the memory module, use your fingers to spread both clips apart to release the memory.
Make sure to insert the RAM fully into the slot and check that both edges are all the way in and that it looks straight before pushing it down. The slot was a bit tighter than I anticipated and I initially didn't insert one side all the way.
When I first inserted the RAM, only after I pushed it down I noticed it was not completely straight and the side clip on one side did not sit correctly (check that both sides look the same after pushing down). Still I was able to easily push it down slightly misaligned and it stayed down. I took it out and reseated it and fortunately it still worked fine.
Kari Söderholm - Open Reply
-
-
-
Flip the memory flap back over the memory module.
-
-
-
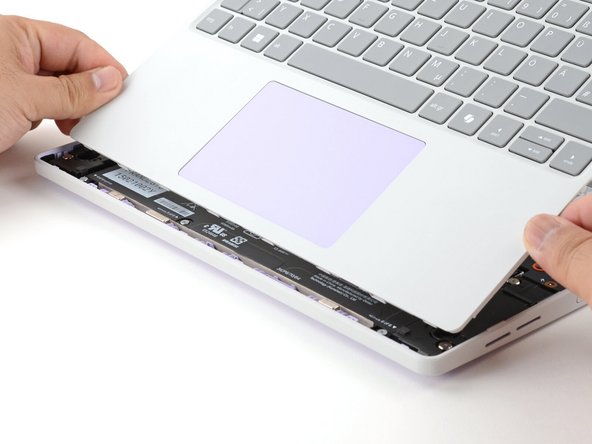
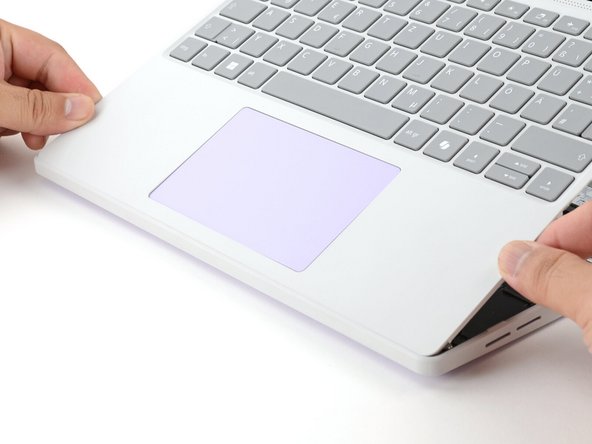
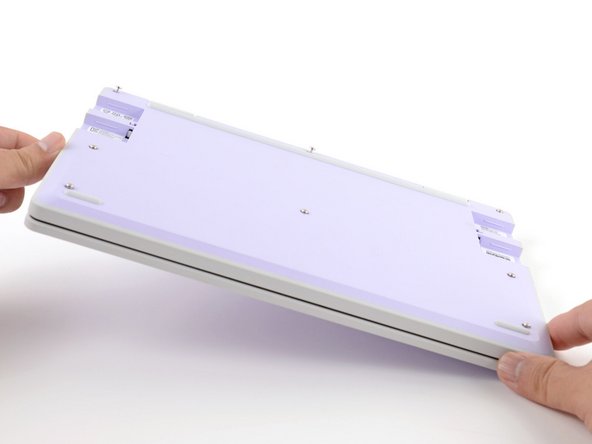
Hold the Input Cover over the laptop and angle the bottom edge of the cover towards the base of the laptop.
-
Align and insert the bottom edge of the Input Cover to the base of the laptop.
-
Make sure the slots along the bottom edge of the Input Cover slide into the tabs in the base.
-
-
-
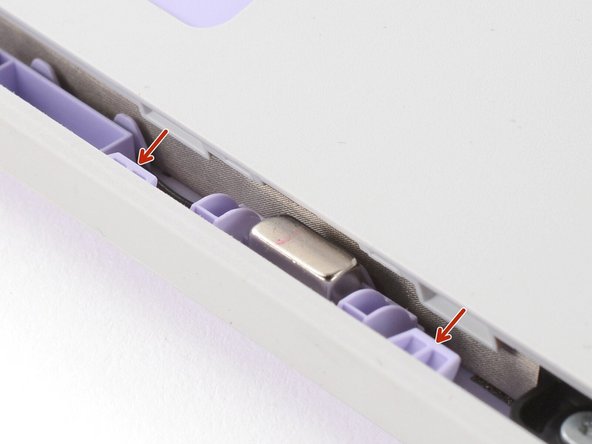
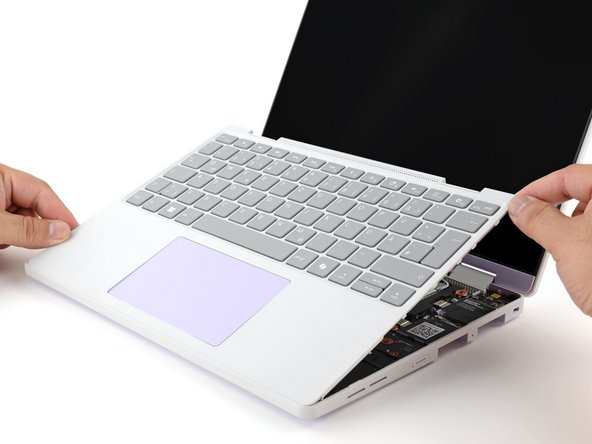
Lower the Input Cover's top edge onto the laptop until the magnets snap it in place.
-
Make sure the Input Cover sits neatly within the laptop frame and no corners are popping up.
Make sure the Input Cover sits neatly within the laptop frame and no corners are popping up.
For me at least some of the corners did seem to very slightly pop up even after insterting the input cover properly, but that was taken care of by tightening the bottom screws in the following steps. Though there's a little bit of flex on the sides and corners of the input cover (when pressing down on it) even after tightening the screws, but it looks fine (after tightening).
Kari Söderholm - Open Reply
-
-
-
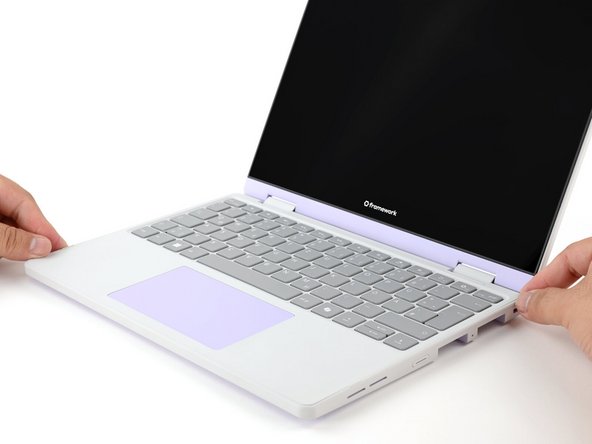
Close the laptop lid.
-
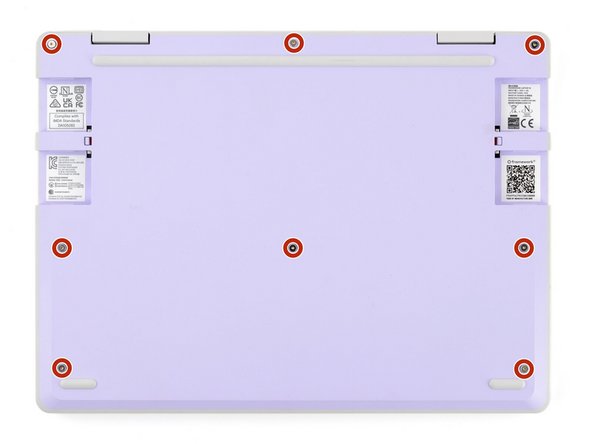
Flip the laptop face-down.
-
-
-
Use your Framework Screwdriver to tighten the eight captive T5 Torx screws on the bottom of your laptop.
-
Tighten these screws until they're snug. Don't over-tighten, or you may strip the screws.
-
-
-
The next two steps show how to install Expansion Cards.
-
You can charge and use your laptop without Expansion Cards. To charge, plug a USB-C cable directly into any unused Expansion Card slot. The slot's USB-C port is recessed, so not all cables may work.
-
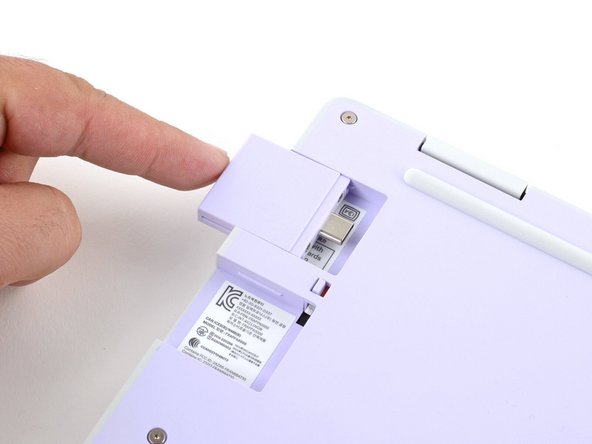
Slide an Expansion Card into an Expansion Card slot.
-
All official Expansion Cards work fully in all slots, so you can install them however you wish!
-
You don't need to unlock the latches to install the Expansion Cards—only when you want to remove them.
-
The Expansion Cards should click in place, and the front edge should be flush with the laptop.
-
Repeat the procedure with the remaining Expansion Cards.
-
-
-
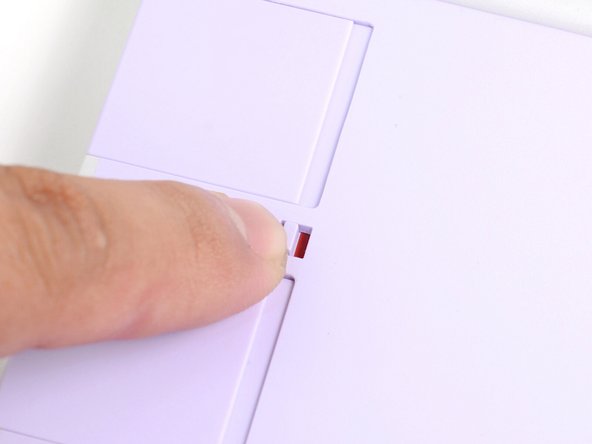
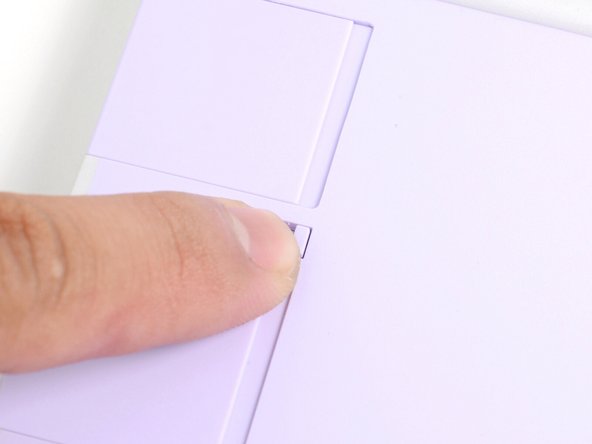
If there's a red bar showing under each Expansion Card latch, use your finger to flip the latch and lock the Expansion Card into its slot.
-
Locking the Expansion Card slots help keep the cards in place when you unplug cables from them.
The locking mechanism doesn't seem to be very reliable and it seems to works better in some of the slots (at least for me). In some of the slots I am able to push/pull out any expansion card almost as easily and with as little force when locked than when unlocked.
I did not use a lot of force on any of the slots and the locking mechanism looks undamaged but it seems to just have a bit too much flex to be that useful as it goes out of the way with little force (or not much more force than what is required to remove an unlocked expansion card). At least initially the expansion cards do seem to stay in place very well even when not locked, but maybe if the slots become more loose over time, then the locking mechanism could help a bit?
Kari Söderholm - Open Reply
The combination of having red mean unlocked, and the cards being able to slot in when locked aren't very intuitive, and because of that I made some wrong assumptions before properly reading everything.
Ofc this is my own fault, but I managed to damage one lock by forceing one card out while it was locked.
PS: Also on an undamaged lock, I managed to see a usb-c expansion card giving a slight amount of pull when being plugged and unplugged from the charging cable. I wonder if this will increase wear on the inner usb-c connection
Siebrant Hendriks - Open Reply
-
-
-
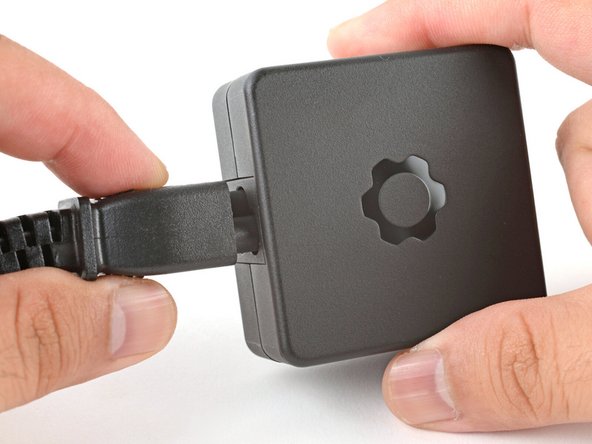
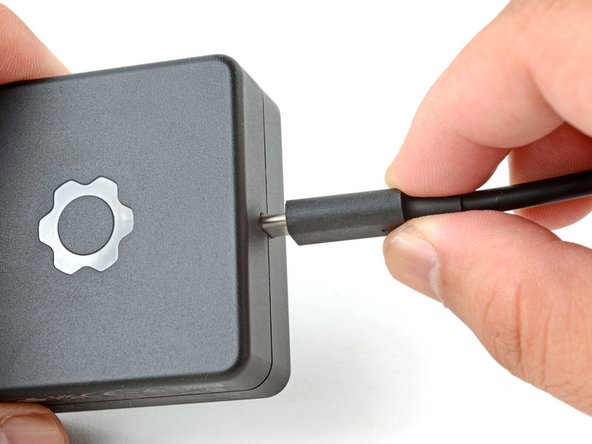
Plug the AC Cable into the Power Adapter.
-
Plug the USB-C Cable into the Power Adapter.
-
You can plug either end of the USB-C cable into the adapter.
-
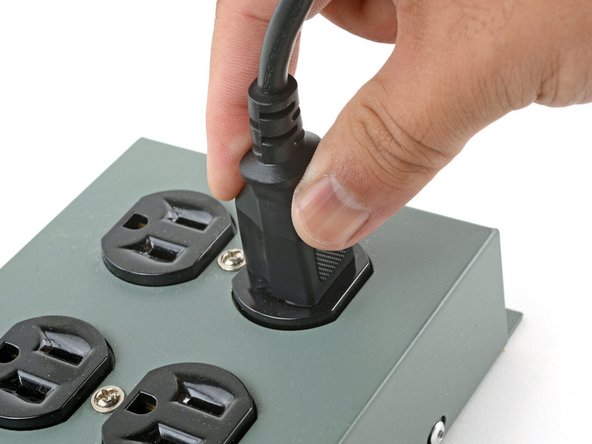
Plug the AC Cable into a power outlet.
-
-
-
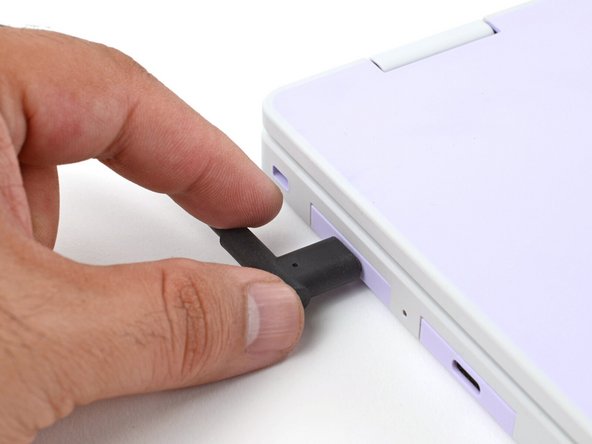
Your Framework Laptop ships in shipping mode, where the battery is disabled until you plug the laptop in for the first time.
-
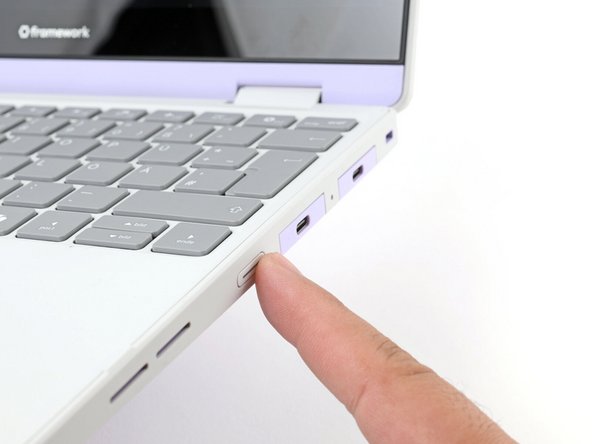
Plug the USB-C Cable into any USB-C port on your laptop.
-
-
-
You're done assembling your Framework Laptop! Now, you'll need to install an OS.
-
If you're installing Microsoft Windows, check out this guide.
-
If you're installing Linux, check this page for more details.
-
After installing new memory, the laptop will take longer to start up for the first time, and the screen will turn on slower. This is normal—the system is performing memory training.
-
This may take a few minutes depending on how much memory has been installed.
Thanks for the comment Kari - I'm experiencing the same and was slightly worried, having powered it off and on a few times with no response beyond the caps-lock key light. I let it go on doing nothing for at least 15 minutes, which seemed longer than the 'few minutes' referenced above. I'll start again and give it more time to init.
After waiting ~40 mins I reopened it and found I'd installed the memory at a slight angle (woops!). Fixing that and then restarting and the screen came on happily after just a minute or so.
Russ -
When powering on for the first time, don't panic if you only see a black screen for a while.
Initially when I first tried to power on the Framework 12, after having had the power supply plugged in for a while, it seemed like something was wrong as the screen stayed fully black, no backlight, no fans, no sounds, just the light on the power button turned on. I waited for maybe a minute or more before I force shut it down by long pressing on the power button until the light went out and tried again. Still it seemed first like nothing was happening but after waiting for a while (maybe a few minutes max?) I finally saw the Framework logo on the screen and after waiting a bit more it booted from the USB drive I had plugged in.
So everything was fine in the end even though initially it looked like nothing was happening. Maybe first time booting does some special initialization that takes more time than usual.
My Framework 12 is from batch 3 with i5, 48 GB of RAM and 1 TB SSD.
Kari Söderholm - Open Reply
-


For drivers, firmware, and software updates, check out this page.
If you need help, contact Support.
For drivers, firmware, and software updates, check out this page.
If you need help, contact Support.
Cancel: I did not complete this guide.
6 other people completed this guide.