Introduction
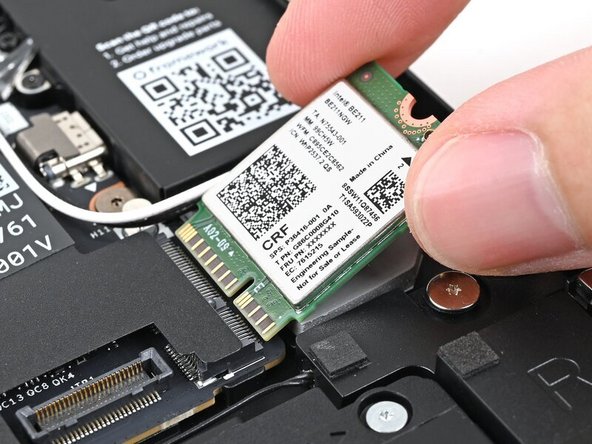
Use this guide to replace the Wi-Fi module in your Framework Laptop 13 Pro.
Tools

Parts
No parts specified.
-
-
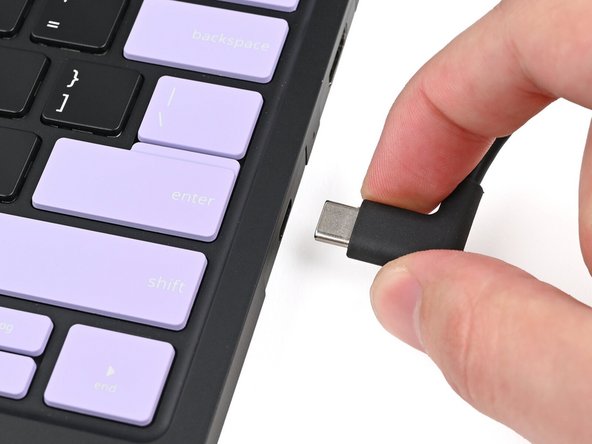
Unplug all cables and fully shut down your laptop from the OS.
-
-
-
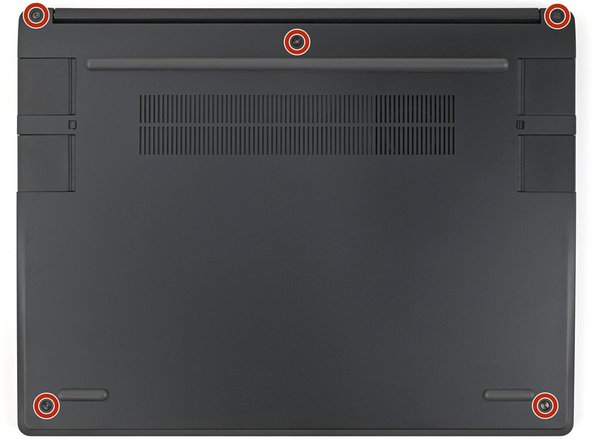
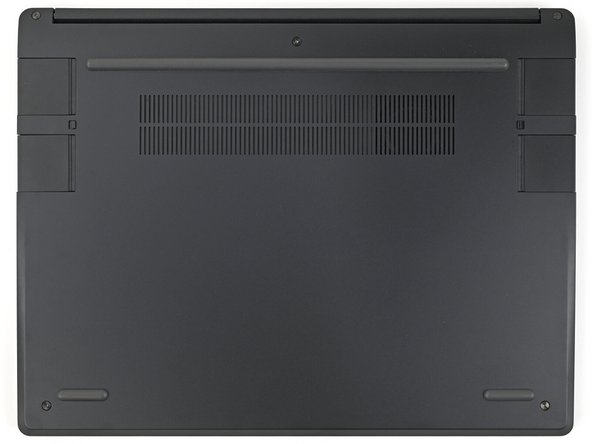
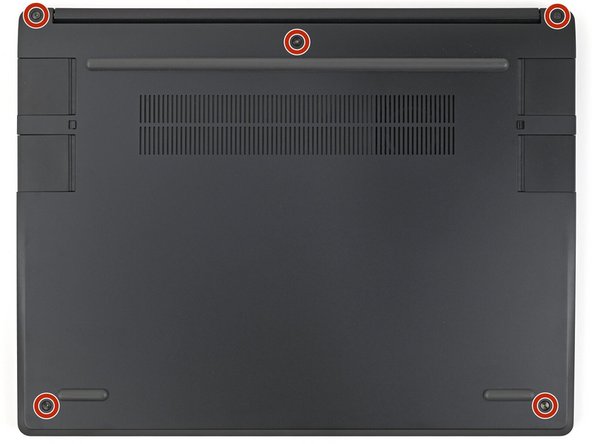
Use your Framework Screwdriver to loosen the five captive T5 Torx screws securing the Input Cover.
-
-
-
Flip over your laptop and open it.
-
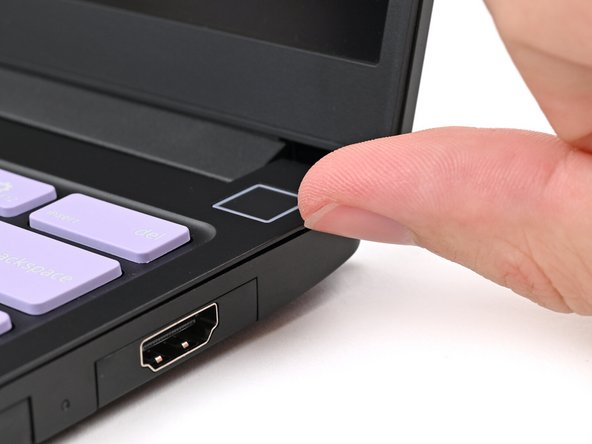
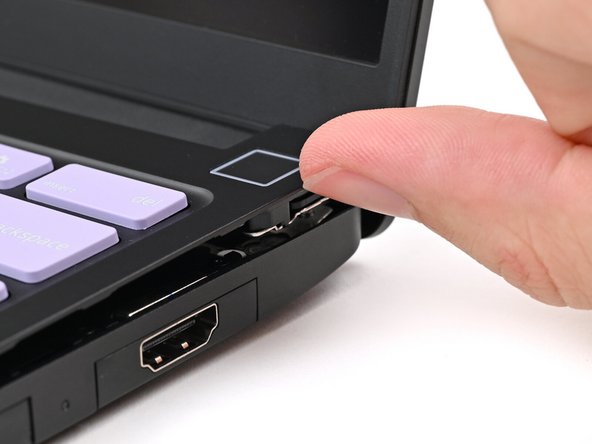
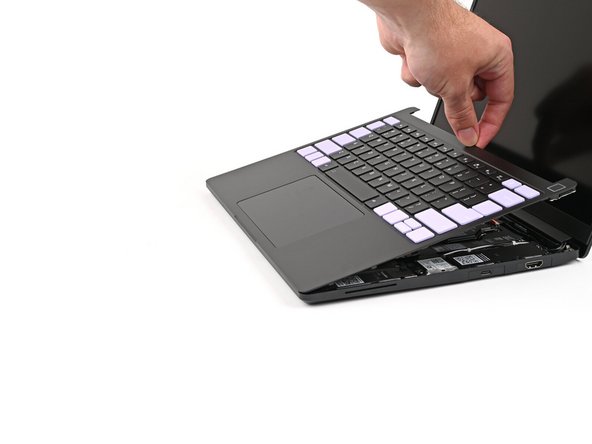
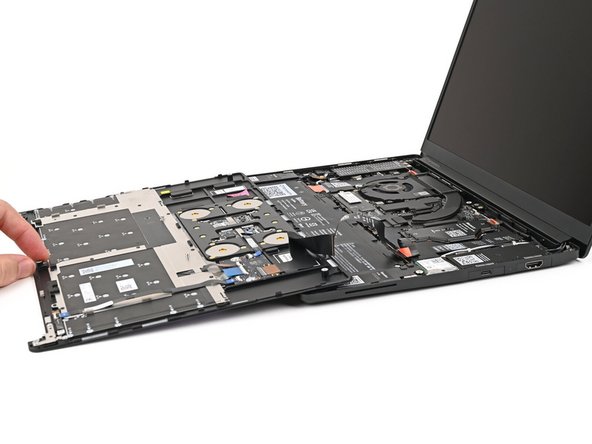
Use your fingers to lift the Input Cover up and release it from its magnets.
-
Don't fully remove the Input Cover yet, as it's still attached by the Touchpad Cable.
-
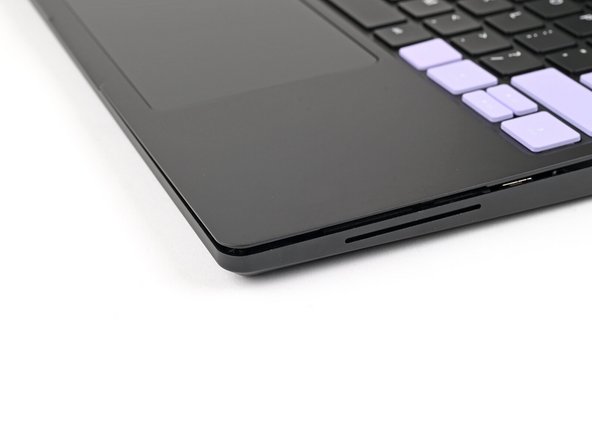
If you're having trouble lifting the Input Cover, you can leverage the gap at the bottom right corner to get your fingers fully under it.
-
-
-
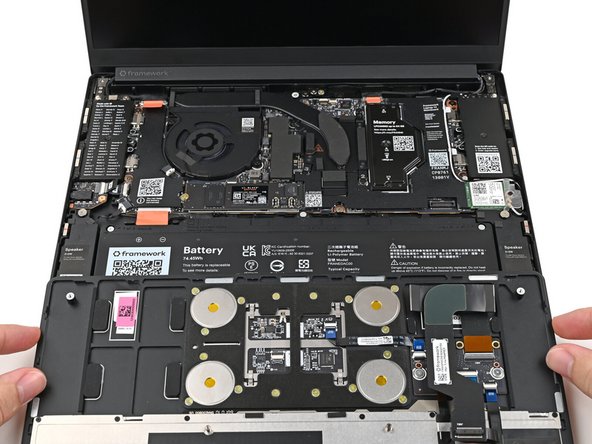
Flip the top of the Input Cover so the Keyboard is facing down.
-
Rest the Input Cover over the Battery, making sure the Touchpad Cable isn't being strained.
-
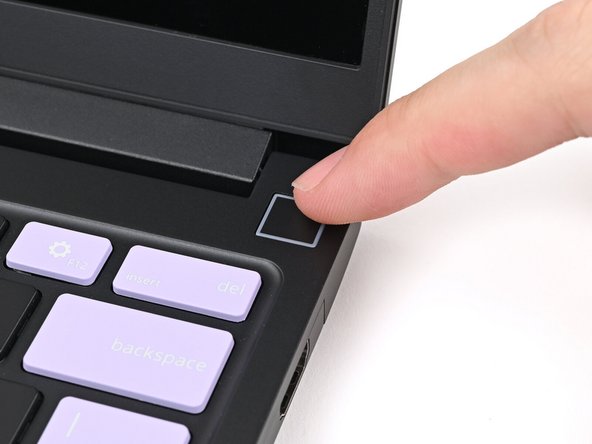
If the LEDs on the left and right sides of the Mainboard are flashing, then your laptop is still powered on. Make sure your laptop is completely powered off before continuing.
-
-
-
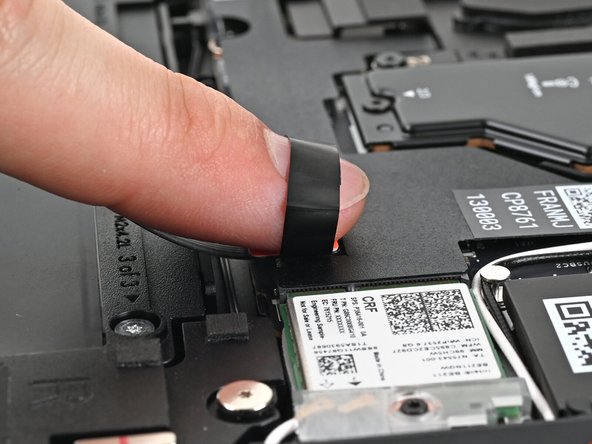
Insert your finger into the Touchpad Cable press connector loop.
-
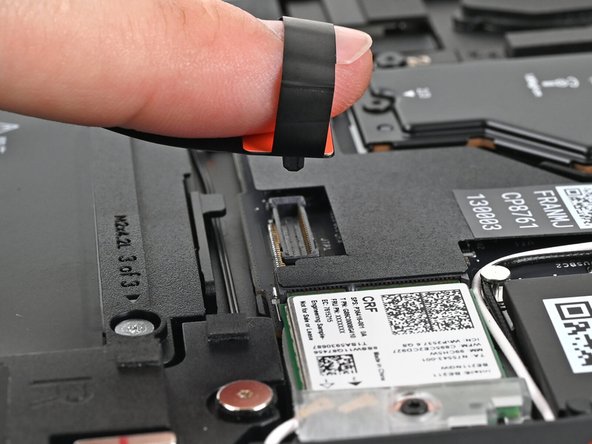
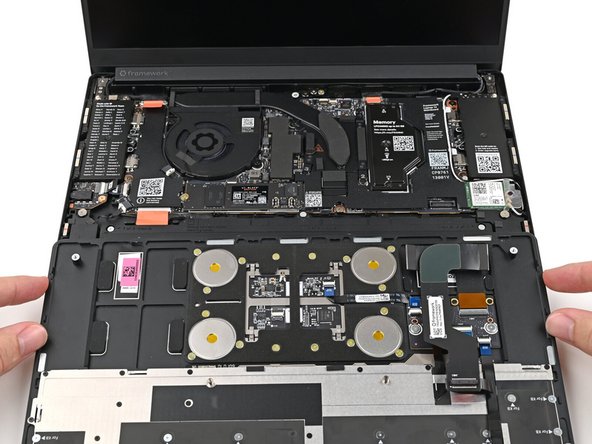
Lift up to disconnect the Touchpad Cable from the Mainboard.
-
-
-
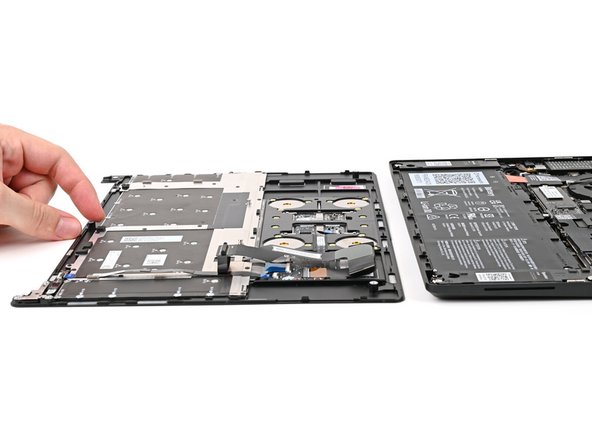
Remove the Input Cover.
-
-
-
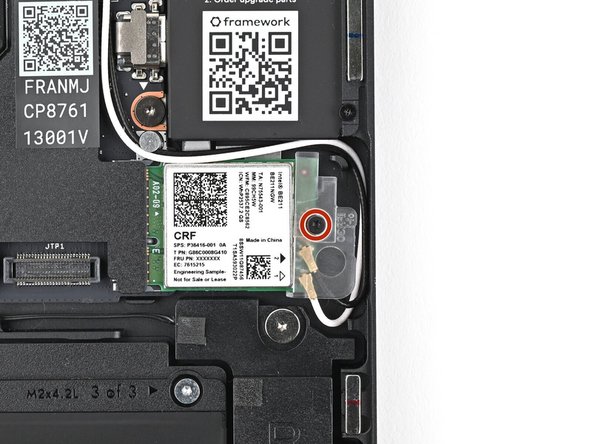
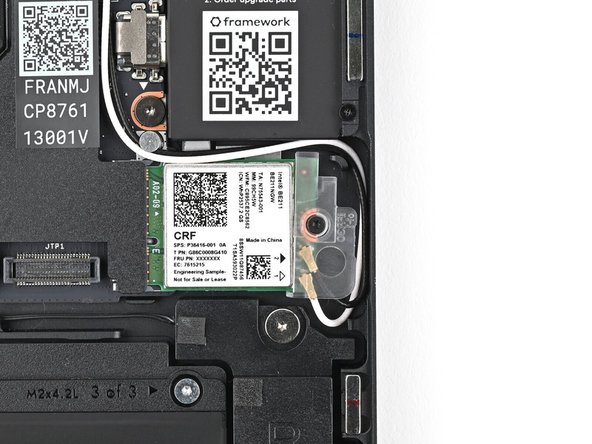
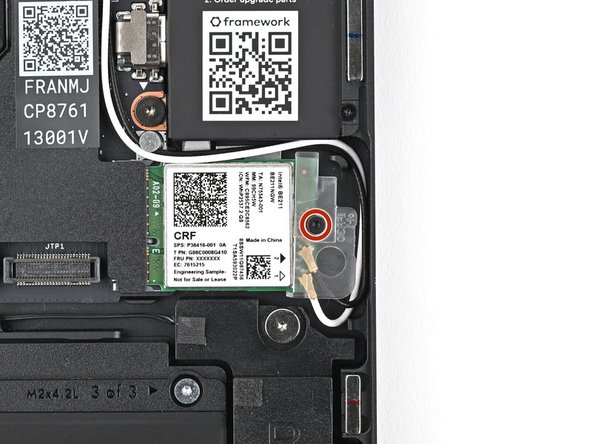
Use your Framework Screwdriver to loosen the captive T5 Torx screw securing the Wi-Fi module.
-
The module might pop up at a shallow angle when you loosen the screw.
-
-
-
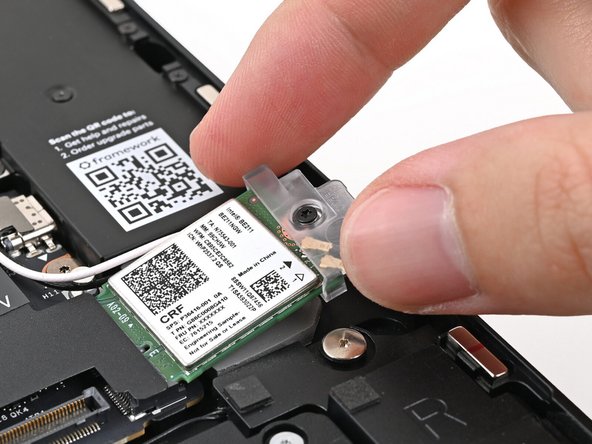
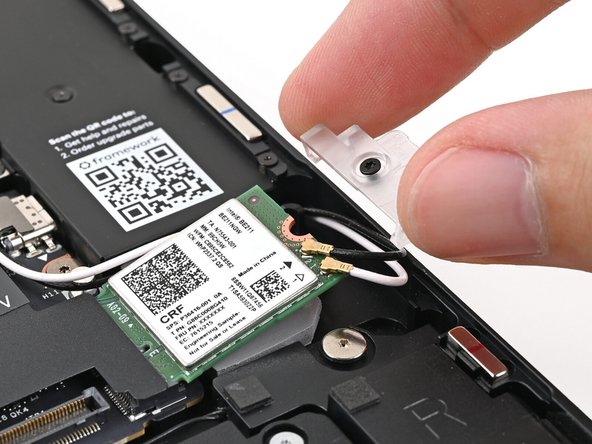
Slide the clear plastic cover straight off the module and remove it.
-
-
-
While holding the Wi-Fi module down, insert the flat end of your Framework Screwdriver under one of the coaxial connectors, where the cable meets the metal head.
-
Lift the screwdriver straight up to disconnect the coaxial cable.
-
Repeat for the other coaxial cable.
-
-
-
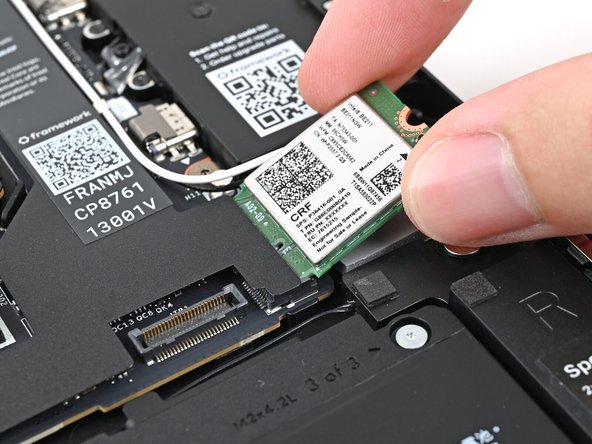
Grip the end of the Wi-Fi module with the screw hole and slide it out of its socket.
-
-
-
Congratulations on completing disassembly! The remaining steps will show how to reassemble your Framework Laptop.
-
-
-
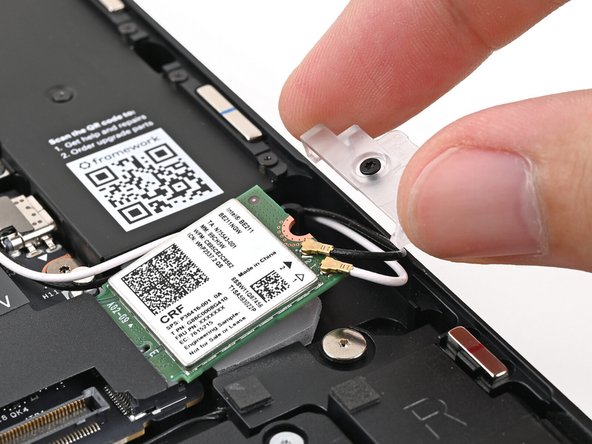
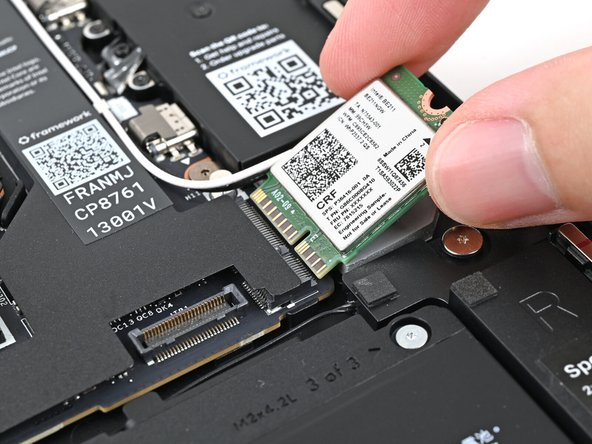
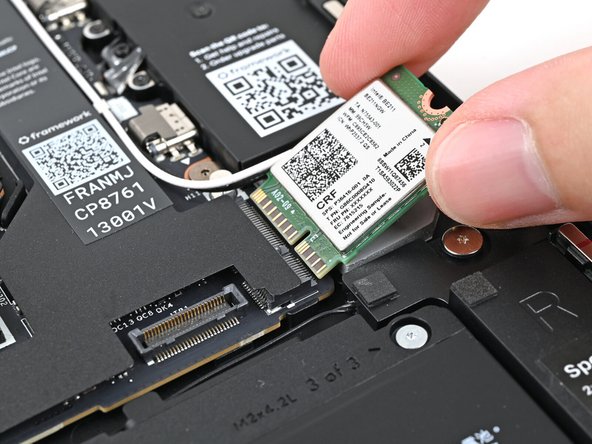
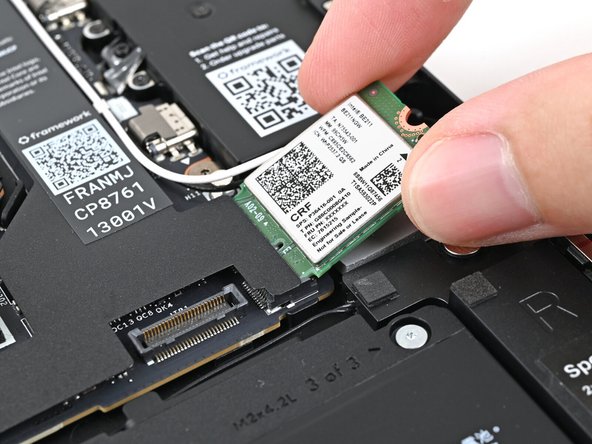
Grip the end of the Wi-Fi module with the screw hole and slide it straight into its socket.
-
-
-
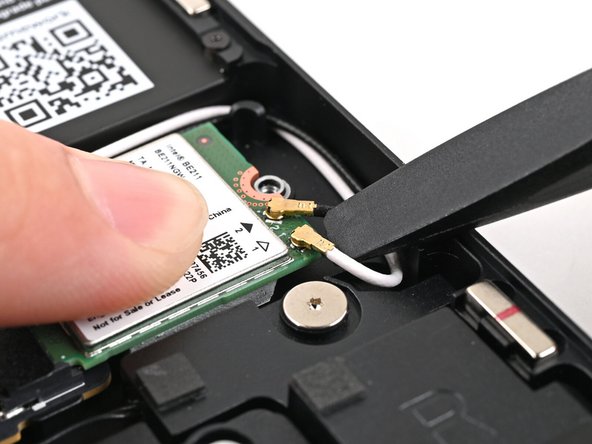
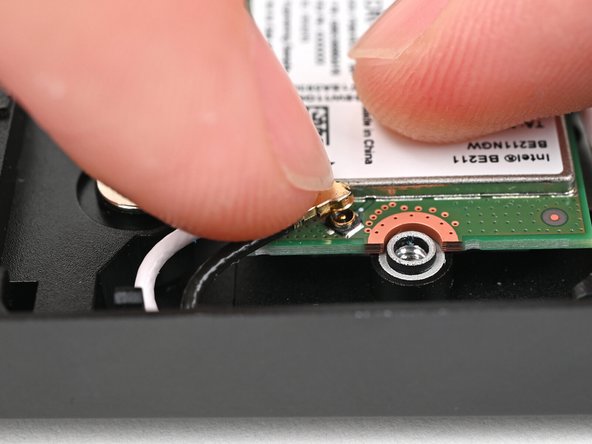
Hold the Wi-Fi module down with your finger.
-
Position the black antenna cable connector over the Wi-Fi module's coaxial socket labeled by the black arrow.
-
If you're unsure which cable goes where, refer to the arrows on the Wi-Fi module for which color cable matches with its connector.
-
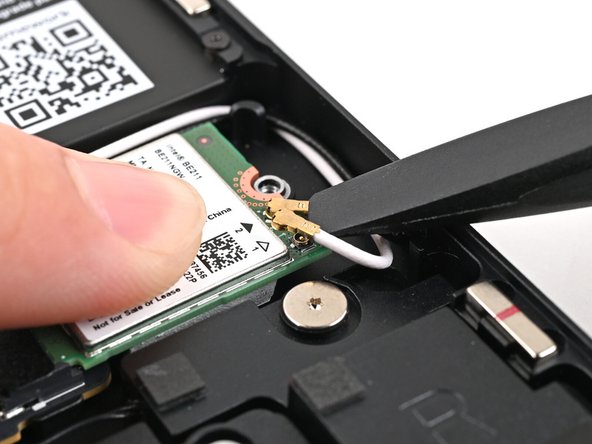
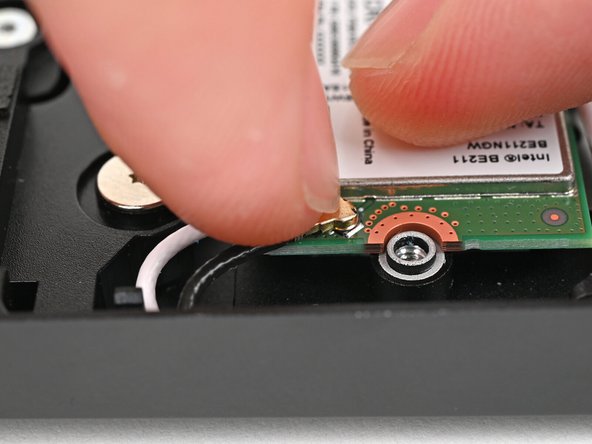
Tweezers can help position the connector.
-
Use your finger to press the connector into place. You should feel a faint click, and the cable will stay attached to the socket by itself.
-
These connectors are delicate! If the connector doesn't feel like it's clicking in place, reposition the connector and try again.
-
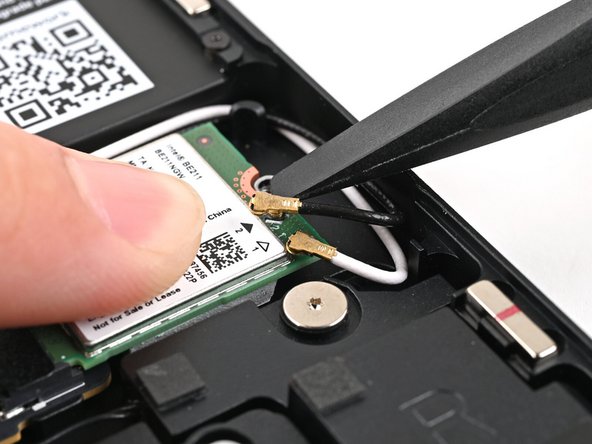
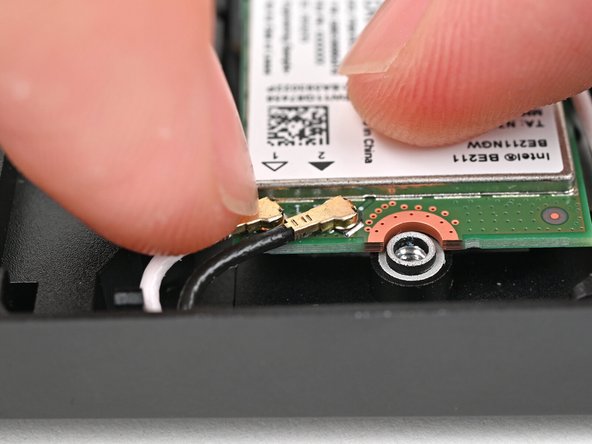
Repeat the procedure with the white antenna cable.
-
-
-
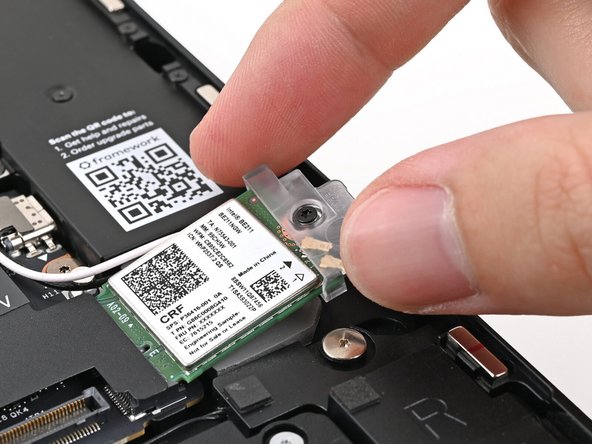
Slide the clear plastic cover onto the module and align its screw with the screw hole cutout.
-
-
-
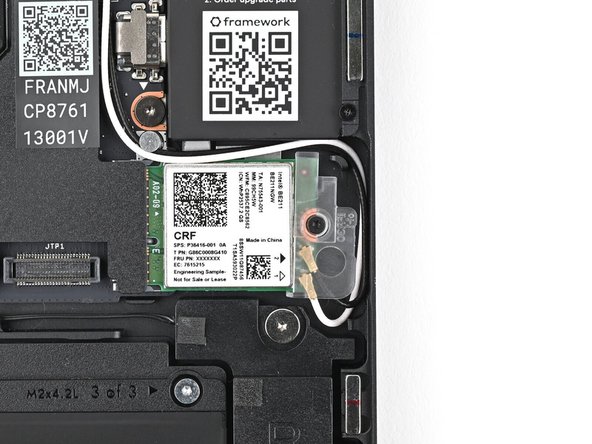
Use your Framework Screwdriver to tighten the captive T5 Torx screw securing the Wi-Fi module.
-
-
-
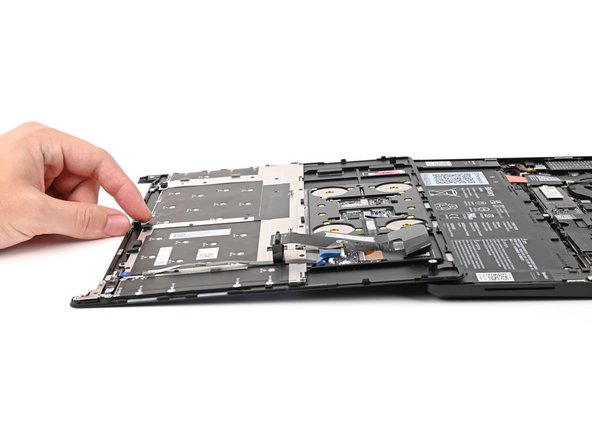
Position the Input Cover, Keyboard down, on top of the laptop so it just covers the Battery.
-
This allows the Touchpad Cable to be folded over and reconnected without straining it.
-
-
-
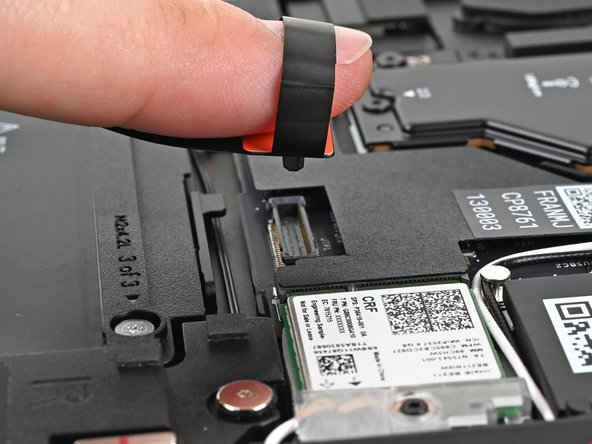
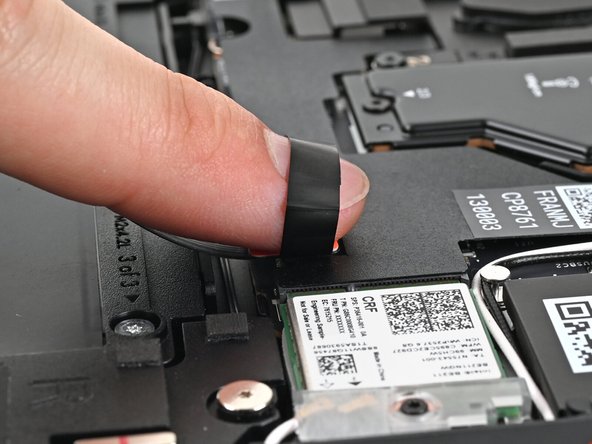
Insert your finger into the Touchpad Cable press connector loop.
-
Align the press connector over its socket and press down with your finger.
-
You should hear it "click" into place. If you're having trouble, reposition it and try again. Don't try to force the connector into place.
-
-
-
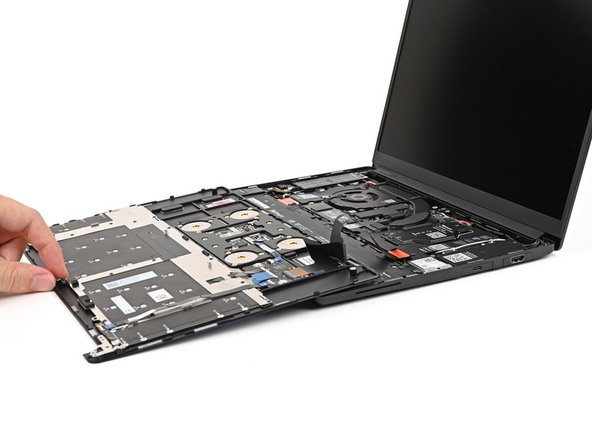
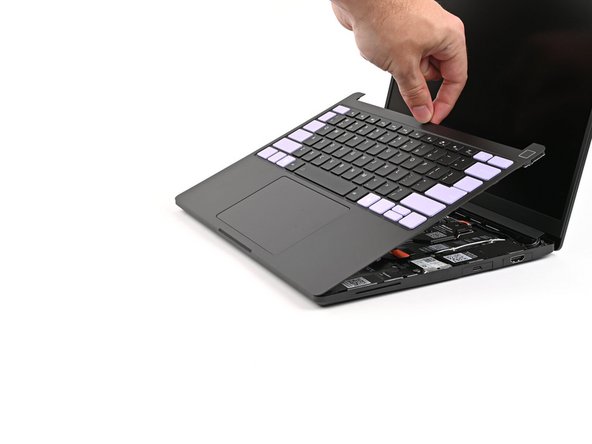
Flip the Input Cover over the laptop and align the bottom edges.
-
-
-
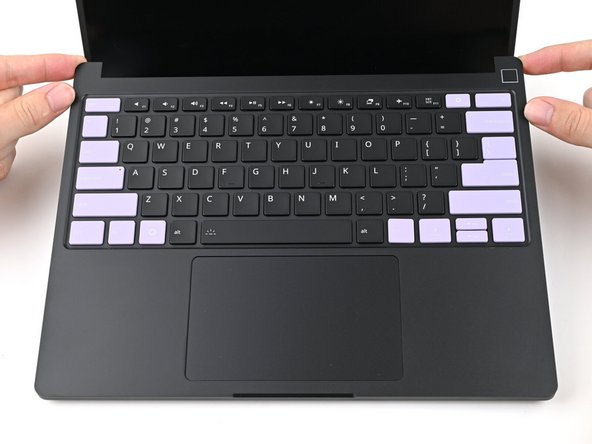
Lay the Input Cover over the laptop and let the magnets snap it into place.
-
The bottom right corner of the Input Cover won't sit flush with the laptop until you tighten its screws.
-
-
-
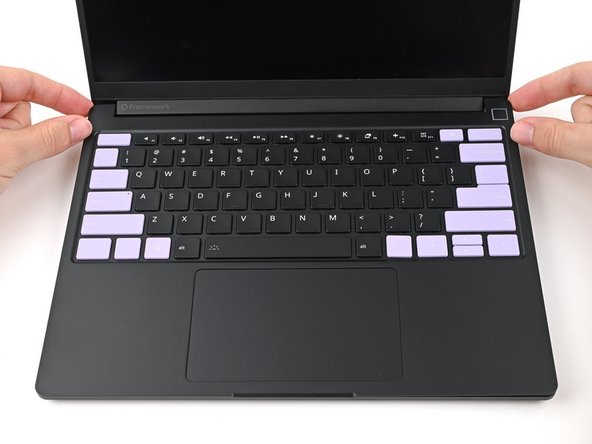
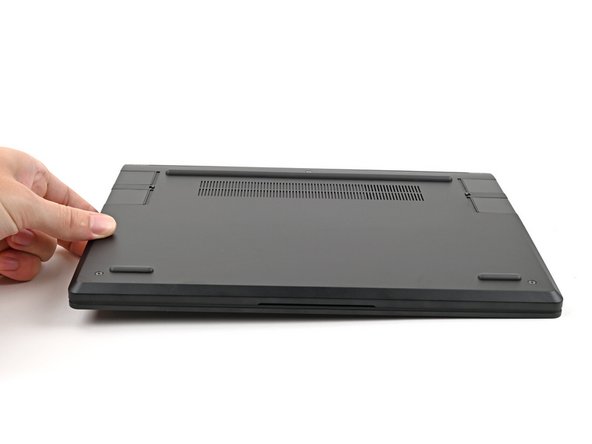
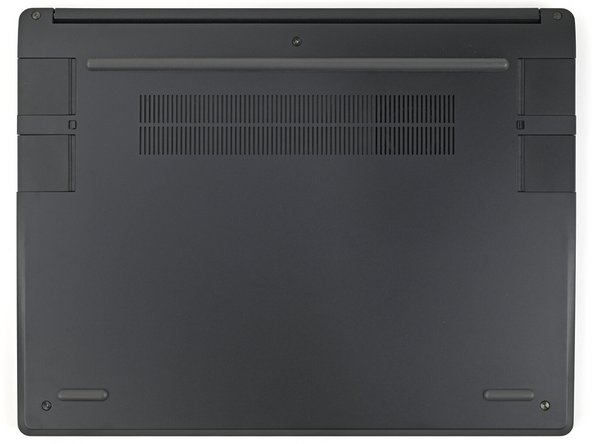
Close the laptop and flip it over.
-
-
-
Use your Framework Screwdriver to tighten the five captive T5 Torx screws securing the Input Cover.
-
Don't overtighten the screws—just make sure they're snug.
-
You finished fixing your Framework Laptop!
Take your e-waste to an R2 or e-Stewards certified recycler.
If you need help, contact Framework support.
You finished fixing your Framework Laptop!
Take your e-waste to an R2 or e-Stewards certified recycler.
If you need help, contact Framework support.

