Tools
Parts
-
-
Before beginning, make sure to shut down your Framework Laptop.
-
If the system is still powered on, you will see the chassis intrusion lights flashing red and blue when the Touchpad and Input Modules are removed.
-
-
-
Open the Framework Laptop 16 past 90 degrees to remove the Bezel.
-
The Framework Bezel is attached by magnets so you will not require any tools to remove it. Just use your fingernail and pry the Bezel away from the display from one of the top corners of the Framework Laptop.
-
Once the Bezel starts peeling off towards the bottom of the Display, lift it up using caution. You might feel a little resistance due to the adhesive at the bottom of the display.
-
-
-
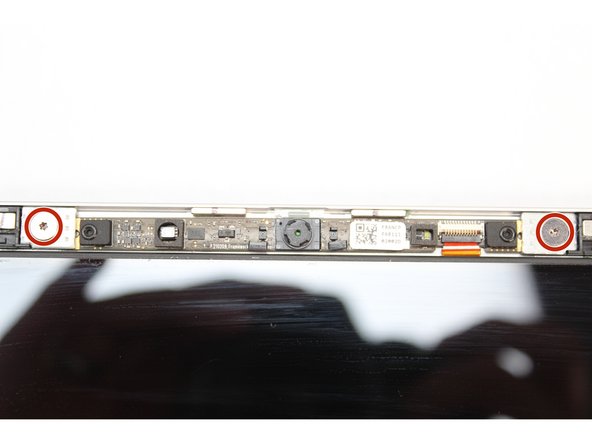
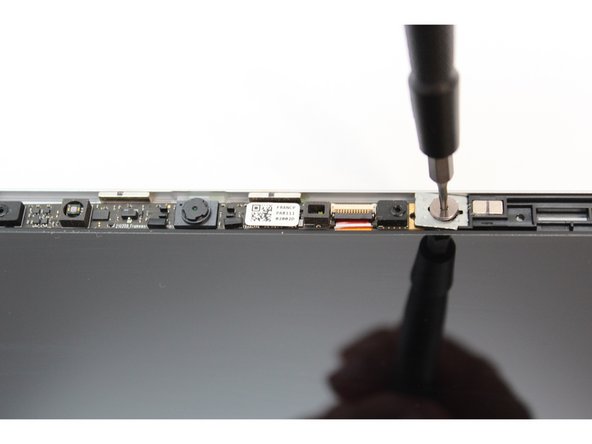
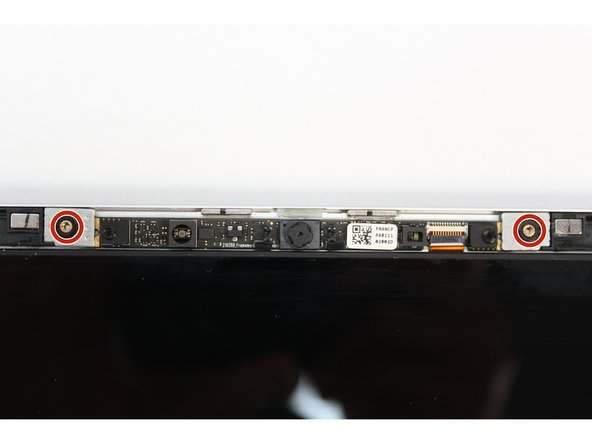
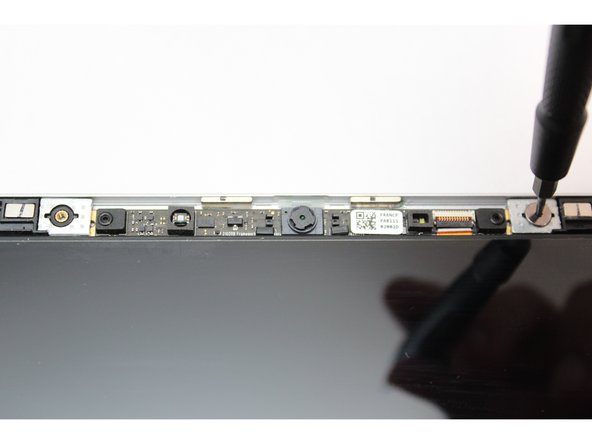
Using the T5 Bit in the Framework Screwdriver, unscrew the two fasteners connecting the Webcam Module to the Top Cover.
-
-
-
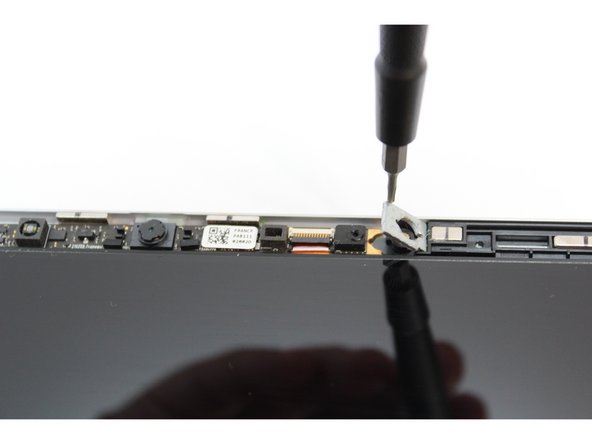
Remove the washers under the screws.
-
Tip: Use the bit on the Framework Screwdriver to lift the washers up since they are magnetic.
-
-
-
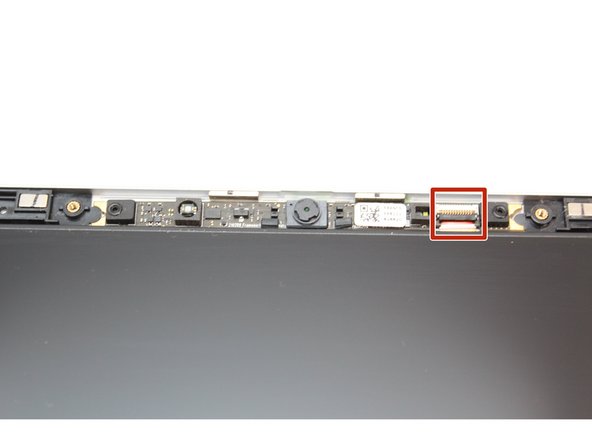
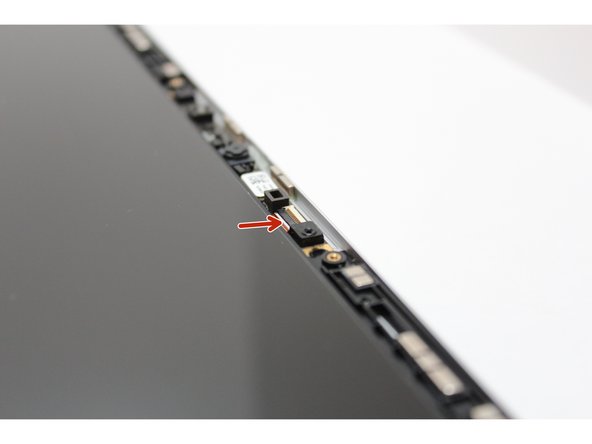
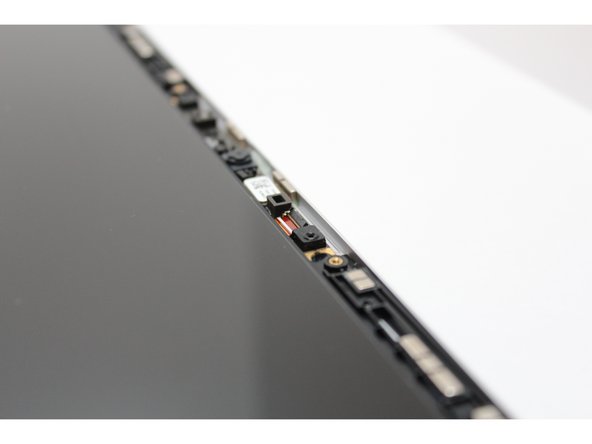
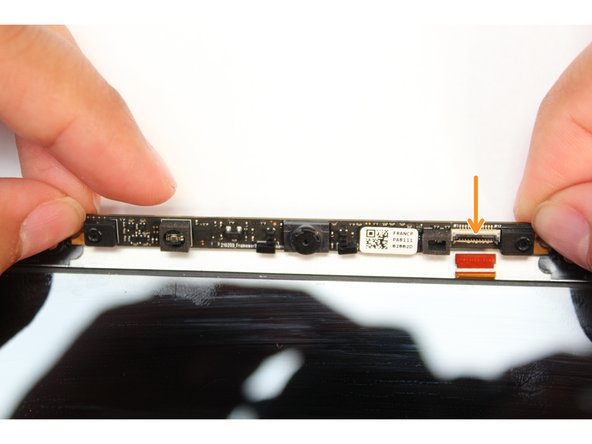
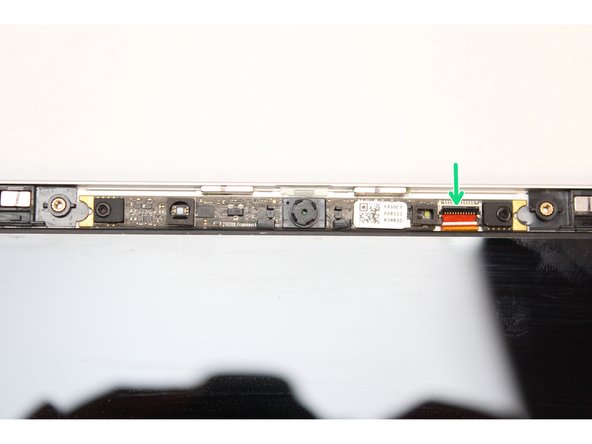
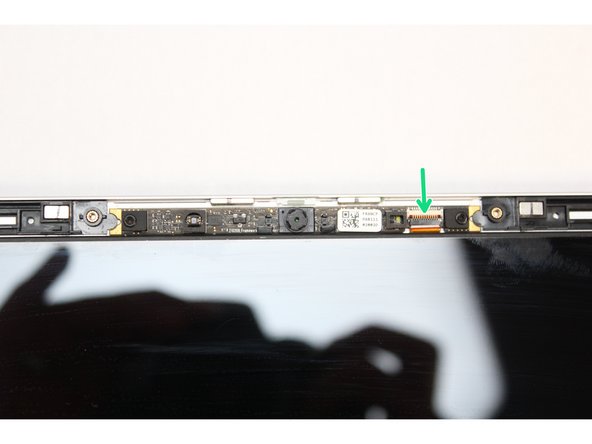
Using your fingernail or the spudger side of the Framework Screwdriver, flip up the black latch on the Webcam Cable to disconnect it.
-
-
-
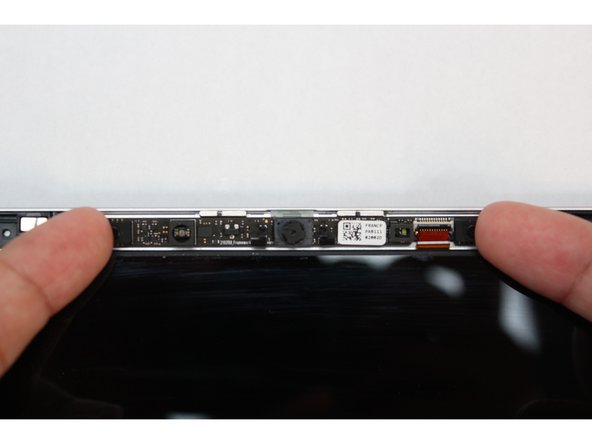
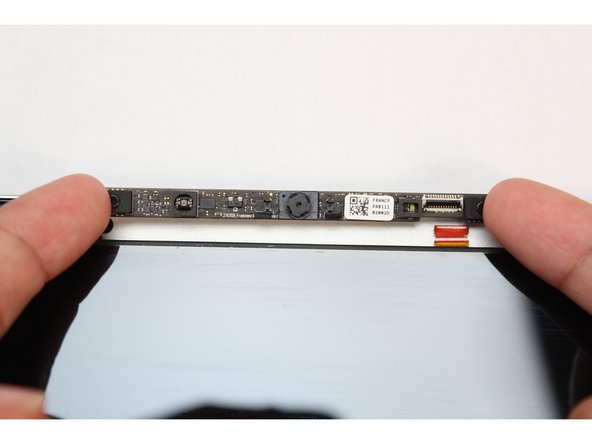
Lift the module out of the cover by handling the module only by the edges.
-
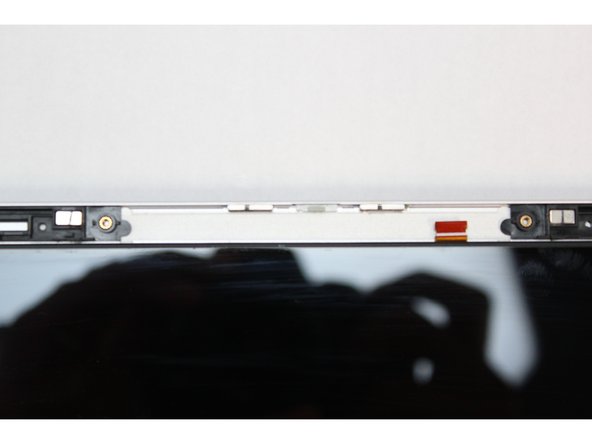
The Webcam Module is now fully disconnected from the Top Cover.
-
-
-
Make sure the black latch on the connector is flipped up so that you can slide the Webcam Cable into the connector. Slide the cable straight in until the white line is almost at the edge of the connector.
-
Flip the black latch down to secure the cable in place.
-
-
-
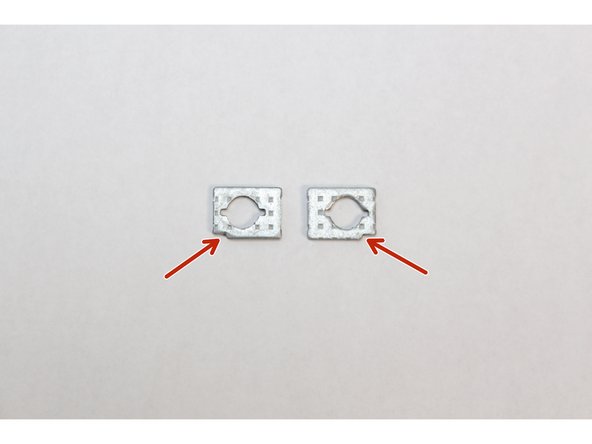
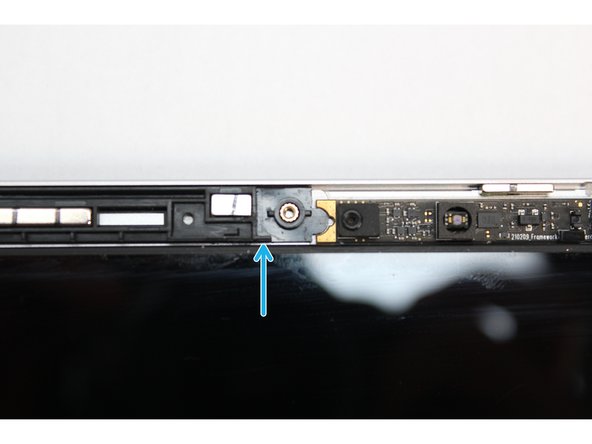
Find the two washers and orient them so that the notch on both washers are located at the bottom corner as indicated with the red arrows in the first image. These need to be aligned with the notch on the Top Cover.
-
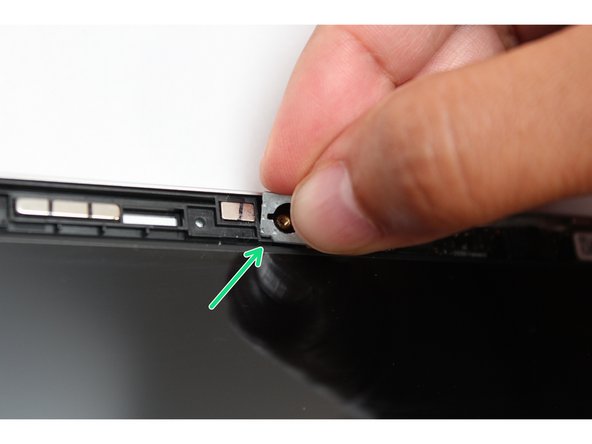
Using your fingers, place the washers over the Webcam making sure the notch on the washer aligns with the notch on the Top Cover as indicated in the third image.
-
Place the second washer on the opposite side of the Webcam following the instructions above.
-
-
-
Using the T5 Bit in the Framework Screwdriver screw in both fasteners.
-
Be sure to not over tighten the fasteners.
-
-
-
Open the Framework Laptop 16 lid to more than 90 degrees to attach the Bezel.
-
Align the corners of the Bezel to the display and place it down. The Bezel is attached by magnets and should easily click into place.
-
Make sure that all of the corners and edges of the Bezel are fully flat to the Top Cover. If the corners are not aligned. carefully lift up the part of the Bezel and guide it into place.
-
If installing a new Bezel, remove the protective film covering the Webcam and sensor.
-

