Introduction
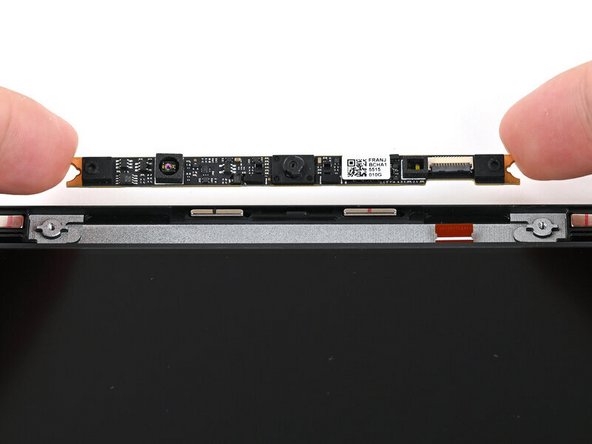
Use this guide to replace the Webcam in your Framework Laptop 13 Pro.
Tools

Parts
No parts specified.
-
-
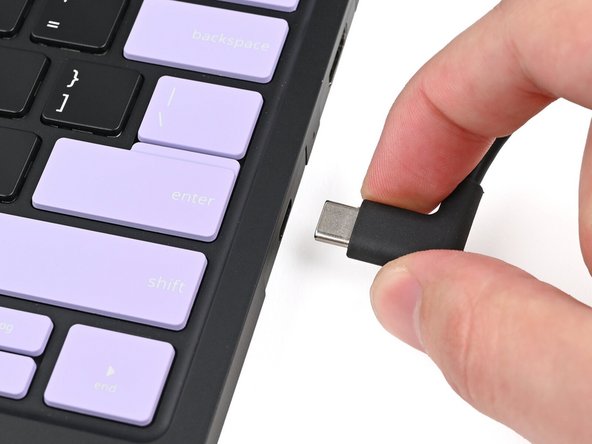
Unplug all cables and fully shut down your laptop from the OS.
-
-
-
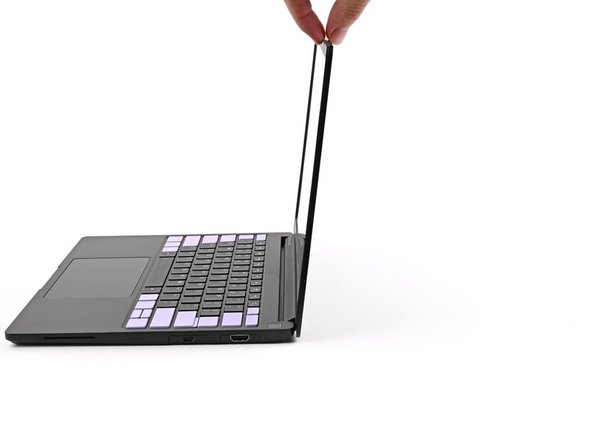
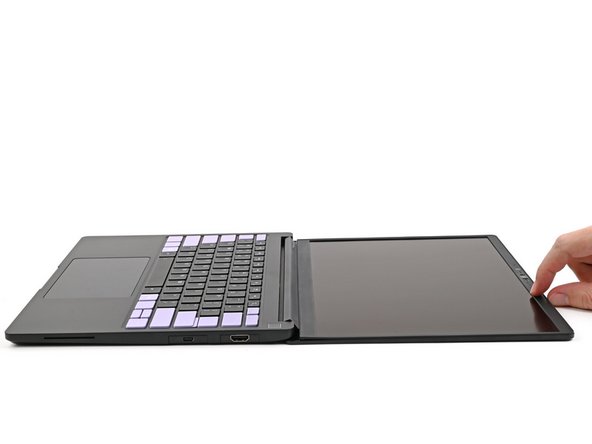
Open the laptop so the screen sits flat on your work surface.
-
-
-
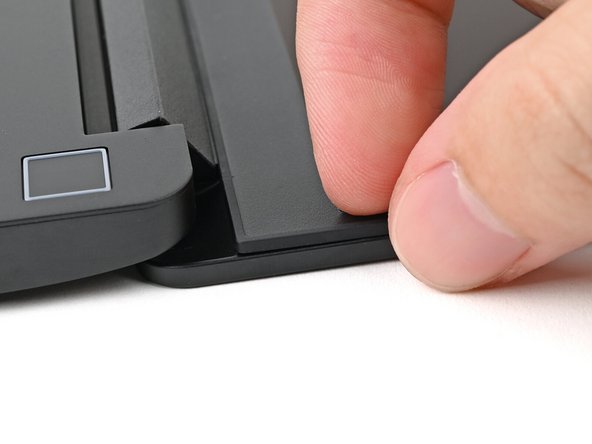
The Bezel is secured with magnets.
-
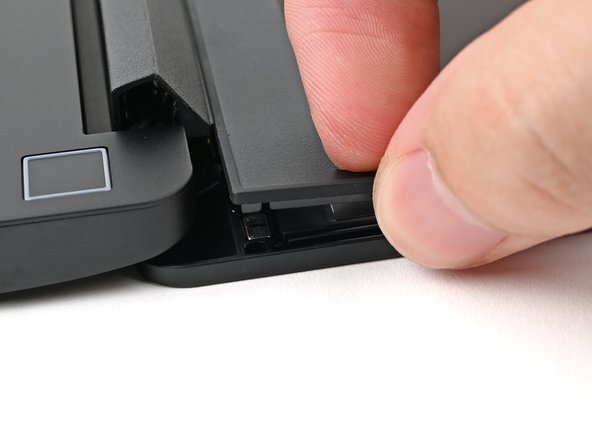
Slide your fingernail under the inside edge of either bottom corner of the Bezel.
-
Pull the Bezel away from the screen to release the first few magnets.
-
-
-
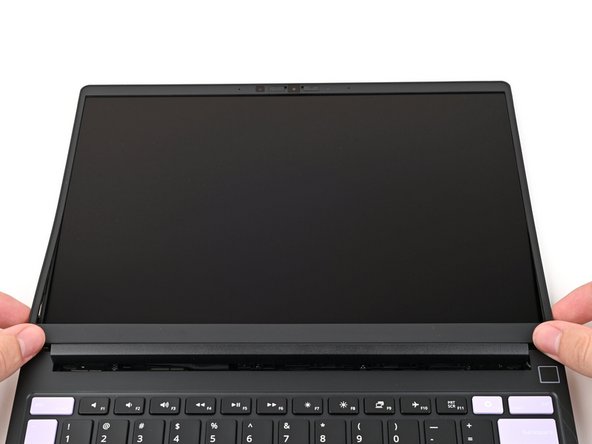
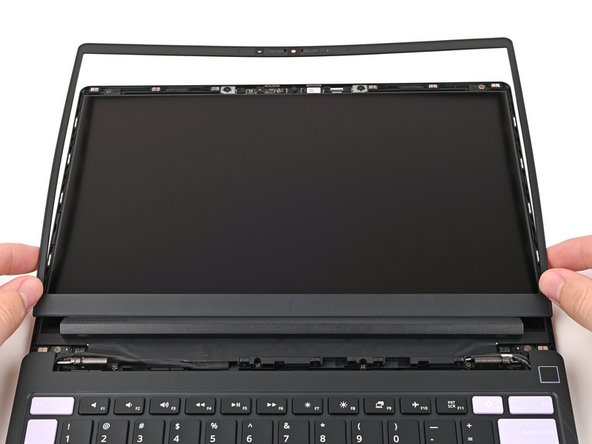
Lift the Bezel around the perimeter of the screen until all of its magnets are released.
-
Remove the Bezel.
-
-
-
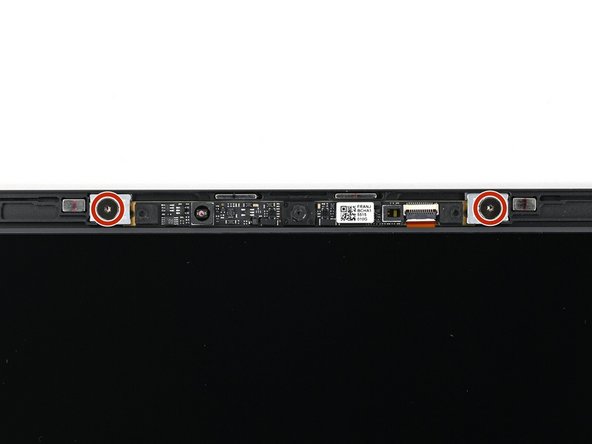
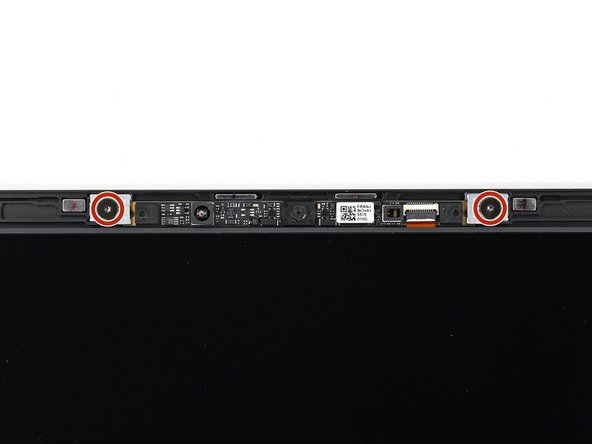
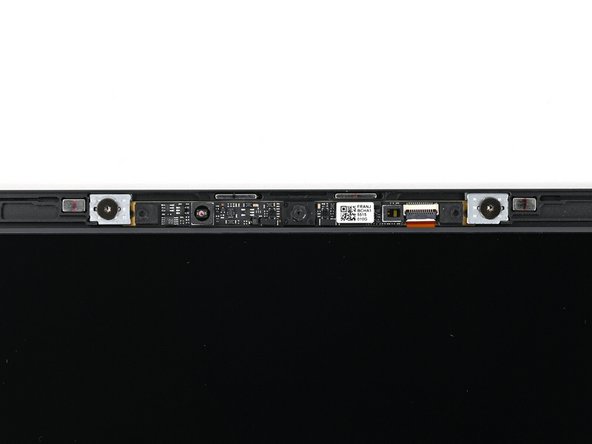
Use your Framework Screwdriver to remove the two 1.5 mm‑long T5 Torx screws securing the Webcam.
-
The washers underneath the screws are magnetic. If they come off with the screws, you can skip the next step.
-
-
-
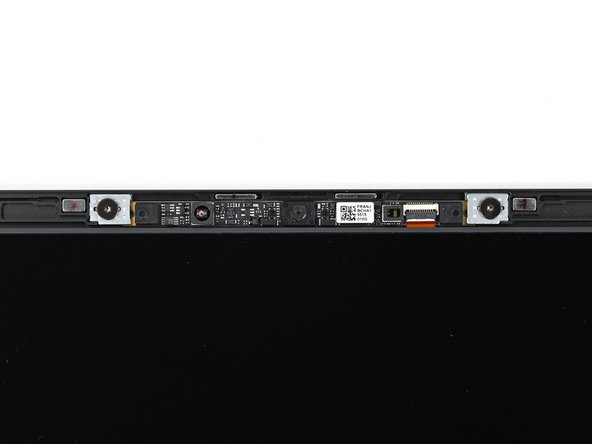
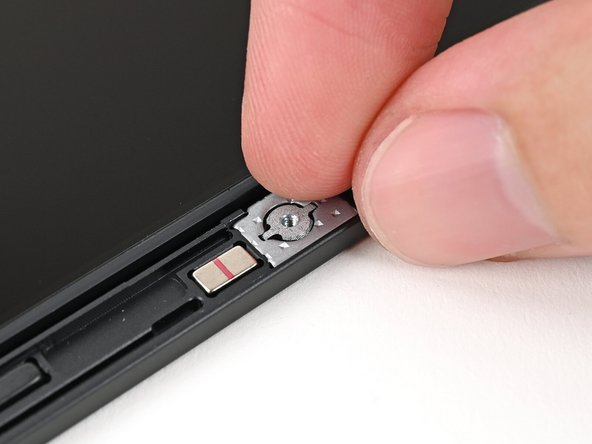
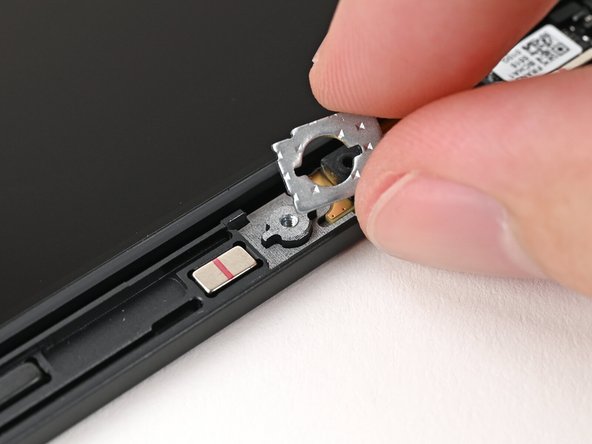
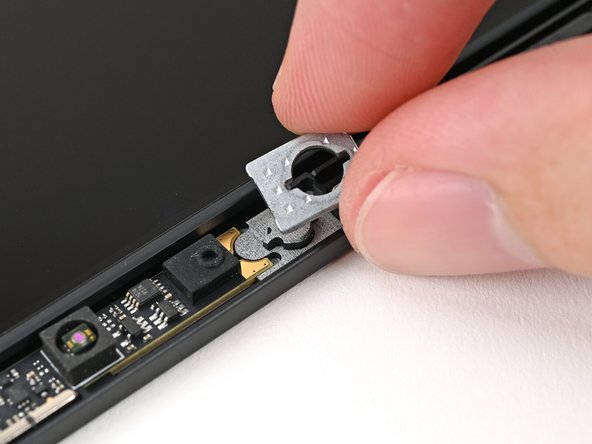
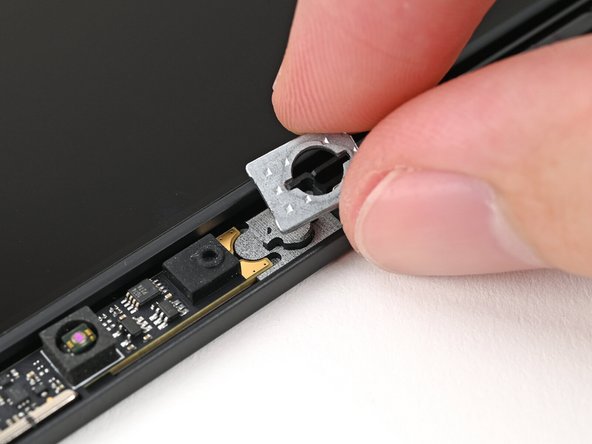
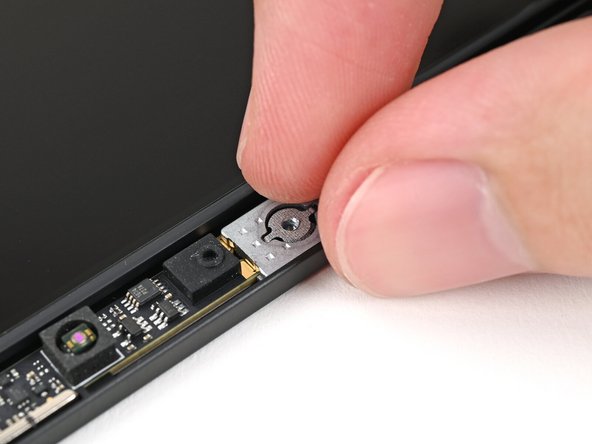
Use your fingers to remove the two washers off the Top Cover.
-
-
-
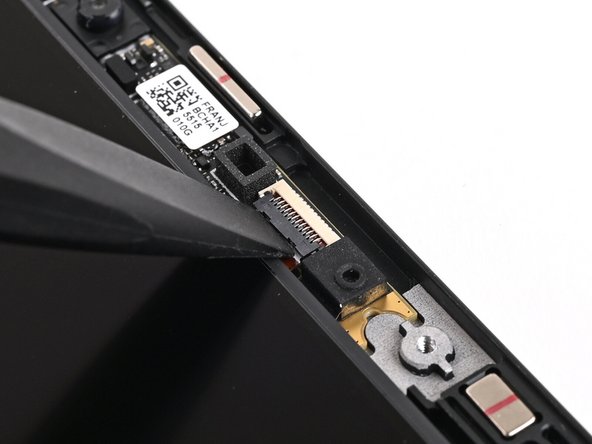
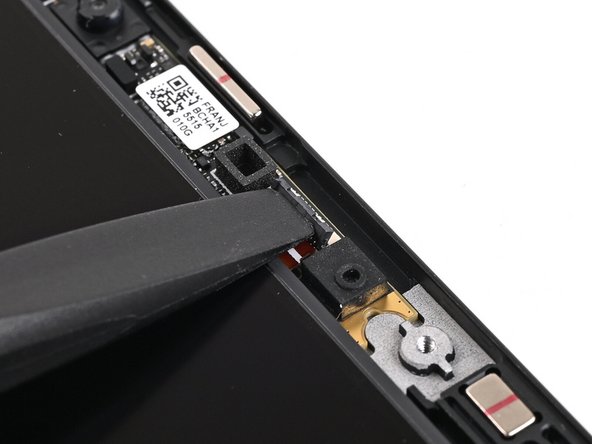
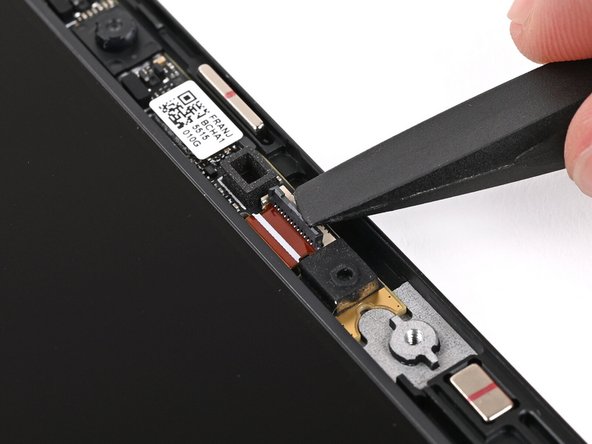
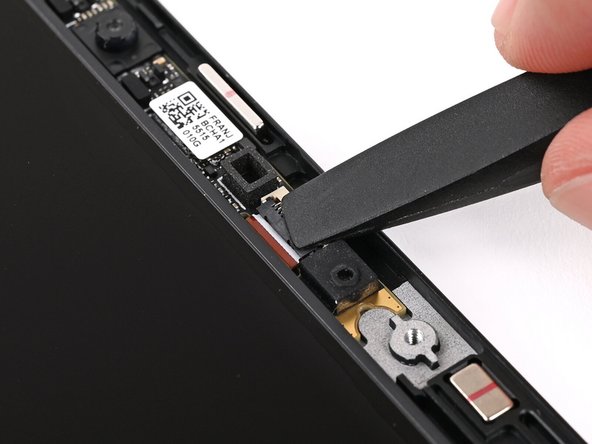
Use the flat end of your Framework Screwdriver, or a clean fingernail, to lift up the locking tab on the Webcam ZIF connector.
-
-
-
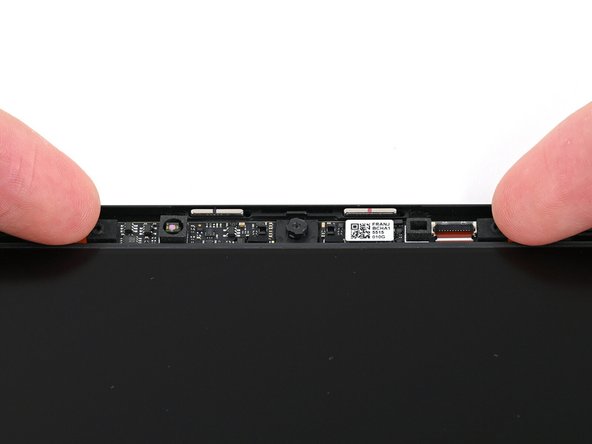
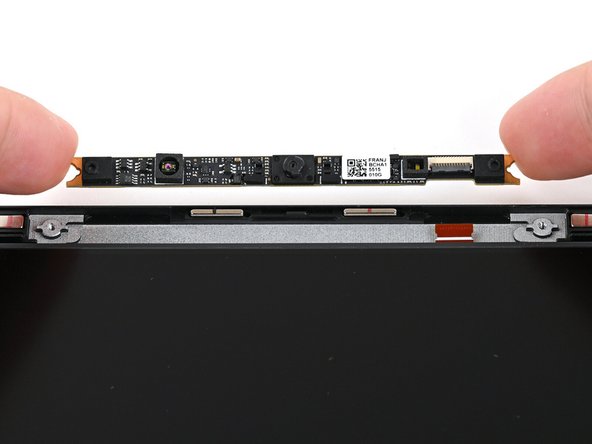
Grip the edges of the Webcam and lift it straight up so its cable slides out of the ZIF connector.
-
Remove the Webcam.
-
-
-
Congratulations on completing disassembly! The remaining steps will show how to reassemble your Framework Laptop.
-
-
-
If your replacement Webcam comes with liners covering the lenses, remove them now.
-
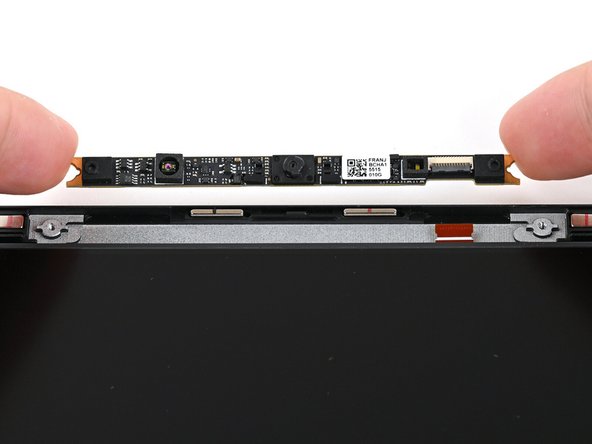
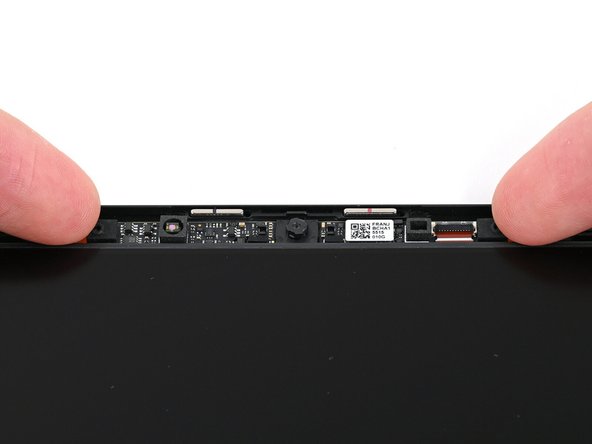
Place the Webcam into its spot above the display, guiding it so the cable slides straight into its socket.
-
-
-
Use the flat end of your Framework Screwdriver, or a clean fingernail, to press down the locking tab on the Webcam ZIF connector.
-
-
-
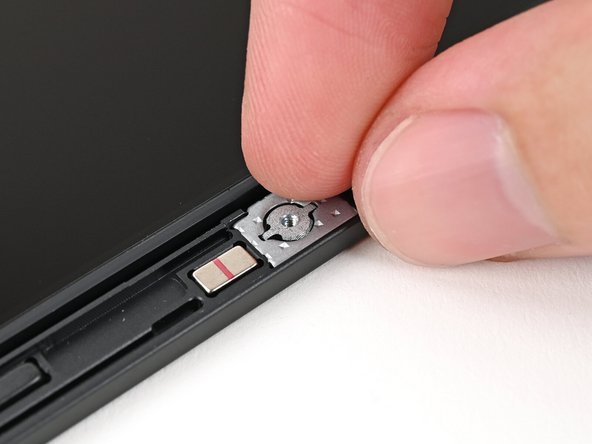
Use your fingers to place the washers into their spots on the Top Cover.
-
The washers only fit one way. If they're not fitting properly, flip them over.
-
-
-
Use your Framework Screwdriver to install the two 1.5 mm‑long T5 Torx screws securing the Webcam.
-
-
-
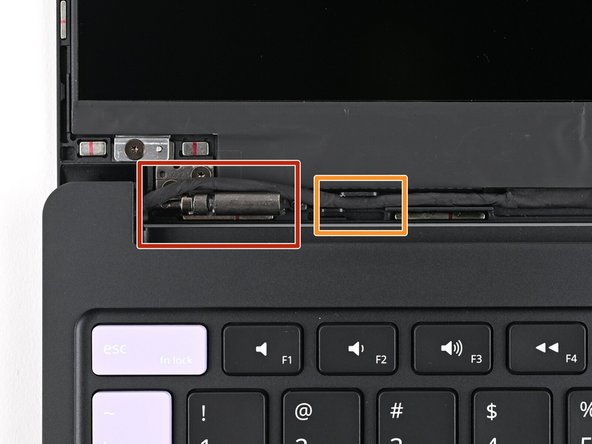
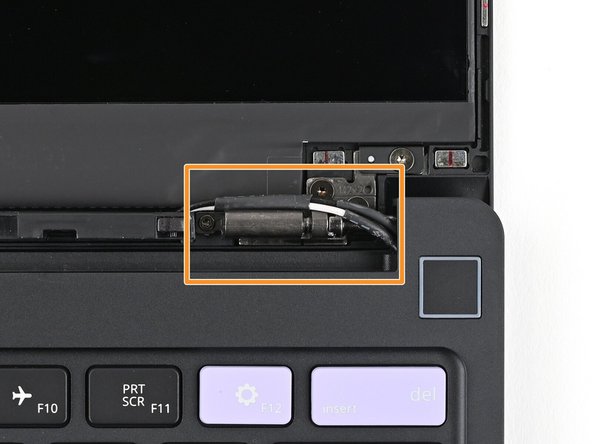
Before continuing, check if cables next to the hinges are routed properly:
-
The Display Cable should be routed just above the hinge without any large gaps.
-
The Display Cable should be routed between the metal clips.
-
The Webcam Cable should be routed just above the hinge without any large gaps and shouldn't overlap with the antenna cables.
-
If the cables aren't routed properly, the Bezel won't sit flat and you risk damaging the Bezel and the Display during reassembly.
-
-
-
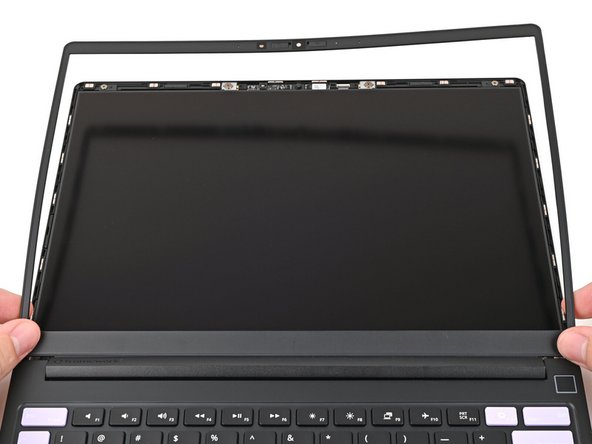
Align the bottom edge of the Bezel with the top edge of the Input Cover and press down so the Bezel covers the hinges and cables.
-
The bottom edge of the Bezel should sit flat and the magnets at its edges should "snap" into place.
-
Lay the rest of the Bezel over the screen and let the magnets pull it into place.
-
-
-
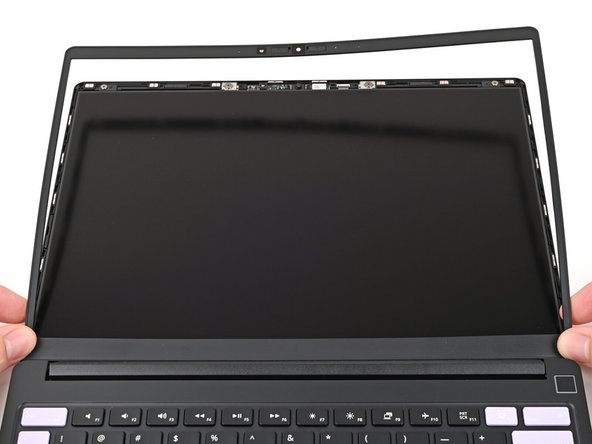
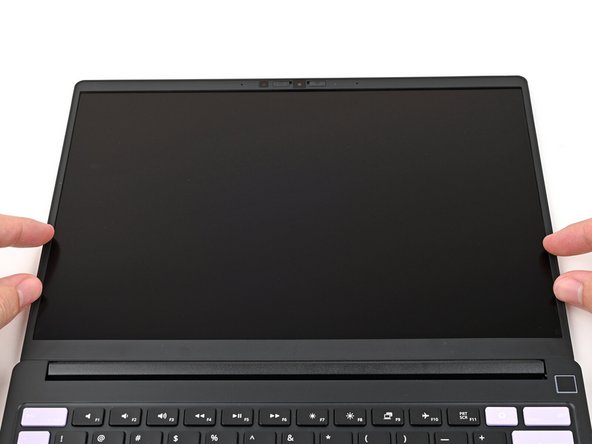
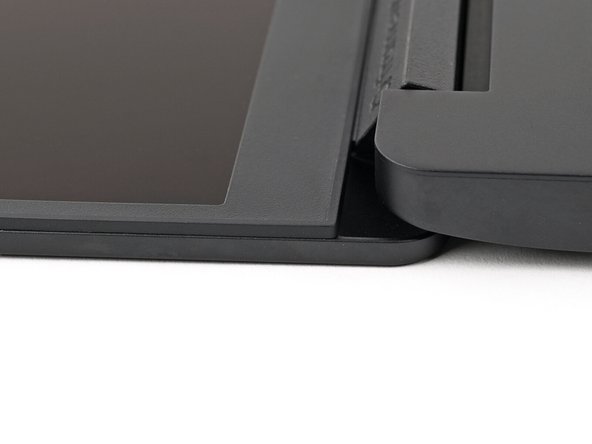
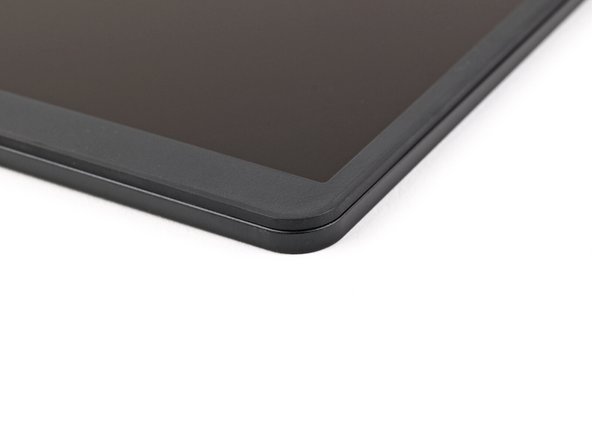
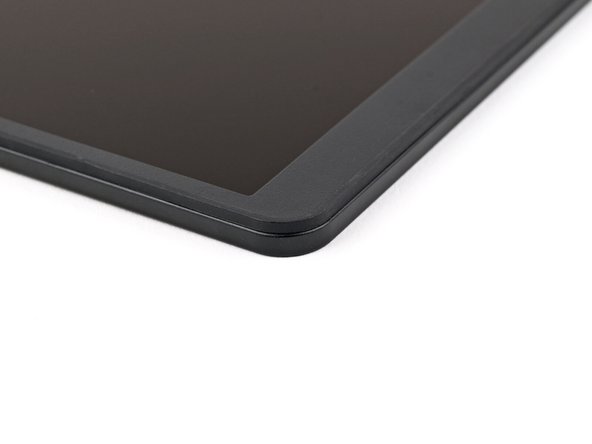
Check that all four corners of the Bezel sit flat on the screen. If they're uneven, do the following:
-
Use your fingers to press around the edge of the Bezel. The magnets should easily snap into place.
-
If the Bezel is still uneven, remove the Bezel and reseat it.
-
You finished fixing your Framework Laptop!
Take your e-waste to an R2 or e-Stewards certified recycler.
If you need help, contact Framework support.
You finished fixing your Framework Laptop!
Take your e-waste to an R2 or e-Stewards certified recycler.
If you need help, contact Framework support.

