Introduction
Once you have your Framework Laptop 13 set up following the Quick Start Guide, you’re ready to install your preferred OS. you’re ready to install your preferred OS. Ubuntu 25.10 works fantastically well.
-
-
First, download the latest Ubuntu 25.10 Desktop image from Ubuntu's website. We'll go through the steps in this Guide assuming you have a simple installation scenario of a fresh install on a blank drive.
-
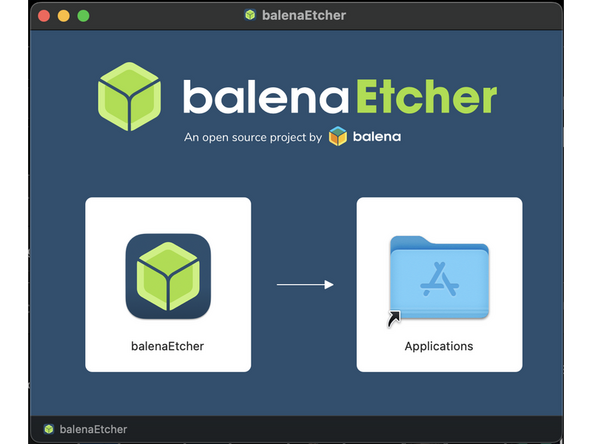
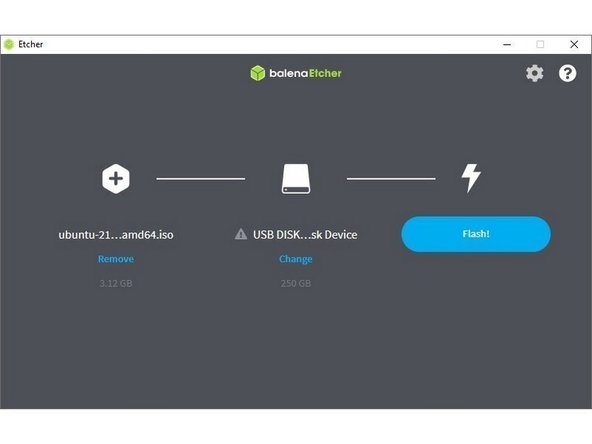
Download balenaEtcher as a tool to create the USB installer from the ISO. balenaEtcher is available for MacOS. Install it.
-
Before booting to the Live USB drive, a note about secure boot.
-
Launch balenaEtcher. Insert your USB drive (8GB or larger). Click on "Flash from file" and select the ubuntu-25.10-desktop-amd64.iso that you downloaded. Click on "Select target" and choose your USB drive. Click "Flash" and wait a minute or two for it to complete.
-
Once the USB drive creation is complete, you can close balenaEtcher and eject the USB drive from your OS.
-
-
-
First, download the latest Ubuntu 25.10 Desktop image from Ubuntu's website. We'll go through the steps in this Guide assuming you have a simple installation scenario of a fresh install on a blank drive.
-
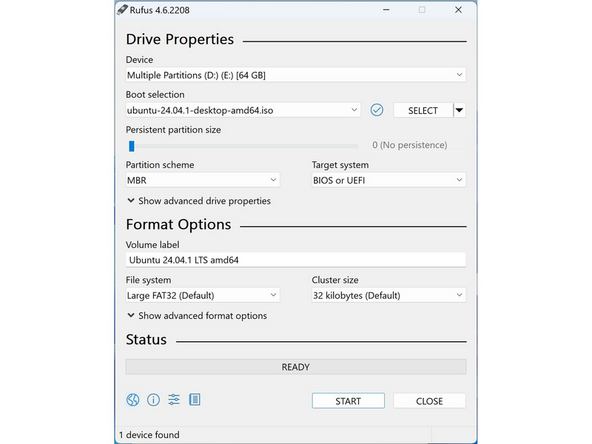
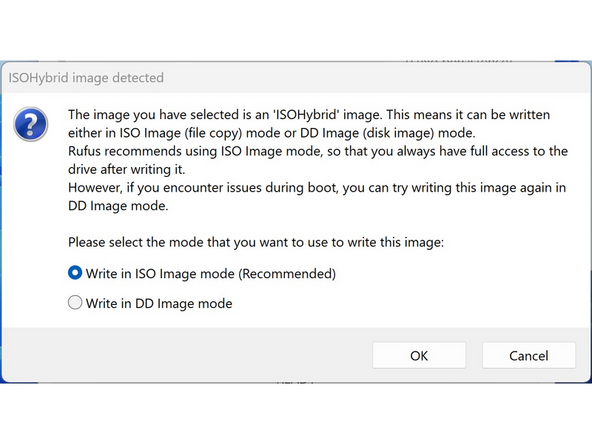
Download Rufus as a tool to create the USB installer from the ISO - select the top download option from the link provided. Rufus is available for Windows. Install it.
-
If you are removing Windows to install Linux, you may run into the "Device is Active" error. This will provide you with guidance to overcome this error.
-
Before booting to the Live USB drive, a note about secure boot.
-
Launch Rufus. Insert your USB drive (8GB or larger). Click on "Flash from file" and select the ubuntu-25.10-desktop-amd64.iso that you downloaded. Click on "SELECT" and choose your USB drive. Click "START" and wait a minute or two for it to complete.
-
-
-
Secure Boot is optional: Enabling secure boot is completely optional and not necessary for normal operation, it's a personal choice - but there are trade offs to be aware of. Follow this link if you wish to enable it before installing Ubuntu. More about secure boot here.
-
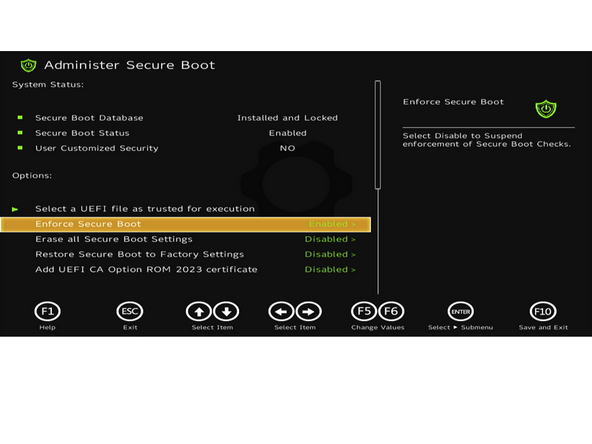
If you have decided to disable secure boot. You will do so by booting into the BIOS menu:
-
Power on, then tap F2 rapidly at the Framework splash screen
-
Select Administer Secure Boot tile on the screen. Press enter.
-
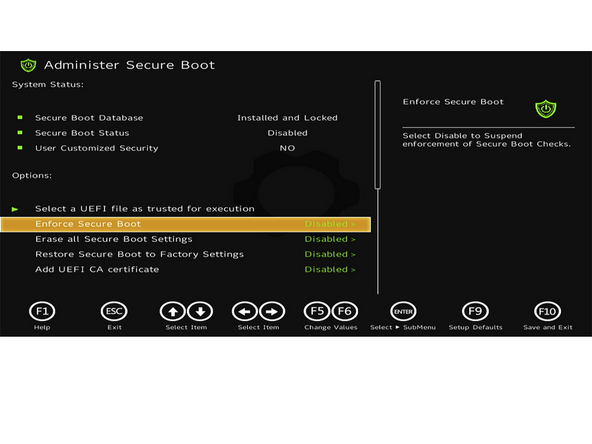
Go to Enforce Secure Boot, it will show as Enabled. Click the enter key, arrow it to Disabled. Press F10 key to save and reboot.
-
IMPORTANT: If you're planning on booting with Windows at all, do not disable it.
-
Should you wish to enable it later in the future, repeat the above steps but select Enable this time.
-
-
-
Once you have reviewed the previous step, continue
-
Insert the USB drive into your powered off Framework Laptop 13, and then power on. If you have an existing OS installed on the Storage drive in your laptop, immediately after the power light comes on begin rapidly tapping (continuously ) the F12 key - you must begin tapping well before you see the Framework logo.
-
Select Linpus lite (General UDisk) with your arrow keys. Enter key.
-
Next, you will see a white box with Preparing Ubuntu. From there, you will be presented with the option to select your language.
-
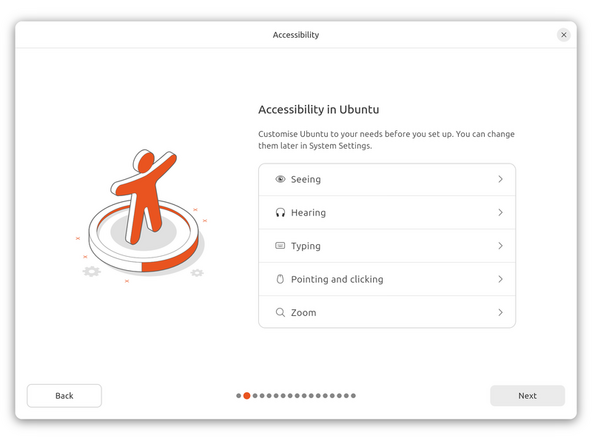
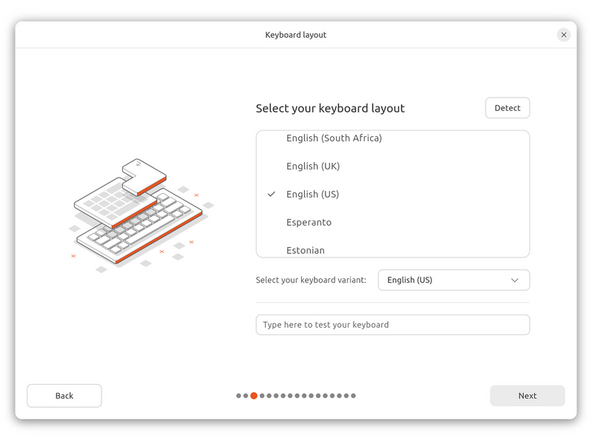
Next option is to select your accessibility options. Then keyboard layout and your option for how you wish to connect to the Internet. We recommend you do at this stage.
-
Important for non-US keyboard users! Please open this link in a new tab and read carefully.
-
Soon, you may be asked to "update your installer. Do so if connected to the internet. Close the installer, then open it again from the desktop on the lower right corner.
-
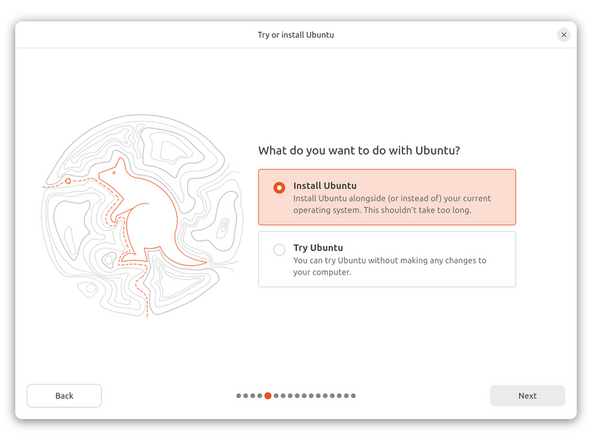
Go through the steps you did previously, then select your install type - most people will want interactive.
-
-
-
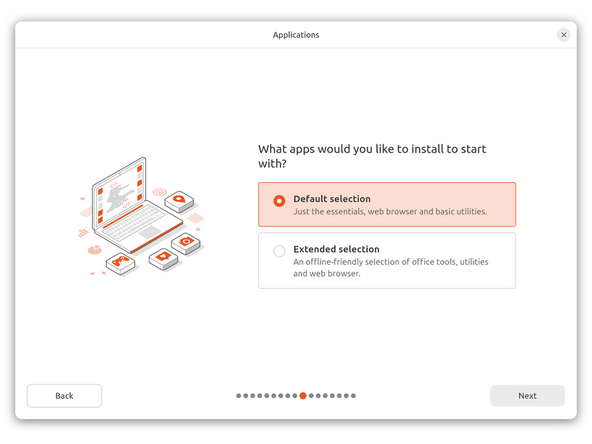
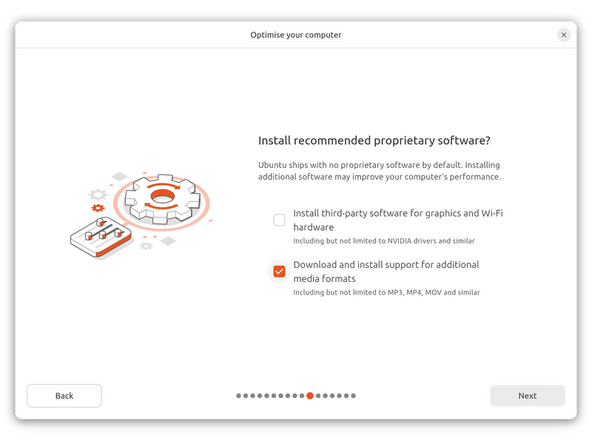
While connected to your network, select Normal installation, Download updates while installing Ubuntu and Install third party software, then press continue. This process may take a few minutes and appear to idle a bit, then the next screen appears - installation type.
-
-
-
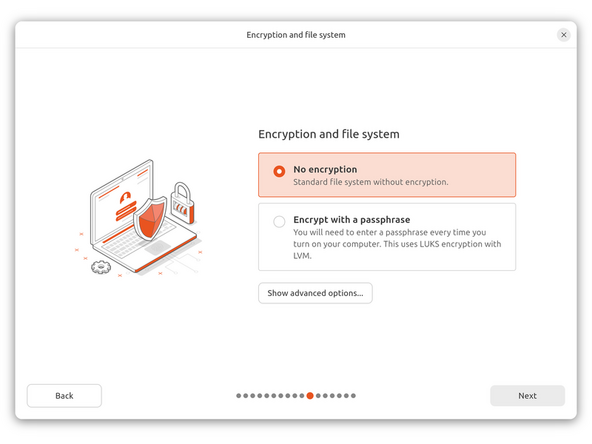
Ubuntu 25.10 allows users to setup LUKS encryption.
-
This is optional, but will prevent the data from being viewed without the LUKS passphrase.
-
To use LUKS, select Encrypt with a passphrase. Click Next.
-
Think of a passphrase that is secure, but that you absolutely will never forget. Enter it once, then again in the confirmation text box. Click next.
-
DO NOT FORGET YOUR PASSPHRASE. If you lose this passphrase, you lose the data on the drive and you will need to format the drive and start over with a new installation.
-
Using LUKS is optional and is NOT required. Just select "No Encryption" to continue with setup without LUKS encryption if you prefer.
-
-
-
Next we’ll choose the installation type. Erase everything is the correct choice for users with a new Framework Laptop 13 (AMD Ryzen™ 7040 Series) or (AMD Ryzen AI 300 Series) looking to use the entire hard drive for Ubuntu.
-
Press Install Now, then when prompted, then click on Continue.
-
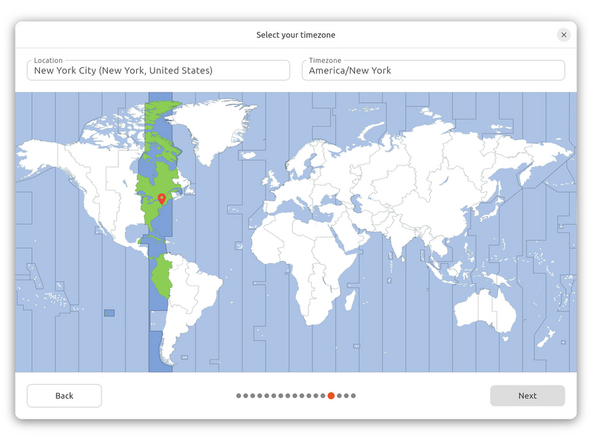
Next you’ll be prompted to choose your location on the world map. Select your time zone location, click Continue.
-
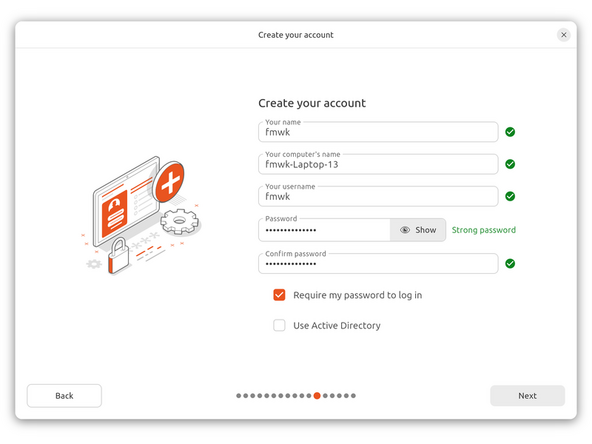
Create a username, a computer name (anything will do), and a password to login with. Also make sure you select Require a password to log in. Then press Continue.
-
-
-
Once rebooted, simply follow the prompts for whether or not you are using Ubuntu Pro and if you wish to send back error reports.
-
Repeat this process with the other screens as seen in the provided images, while making selections and choices that best match your needs.
-
-
-
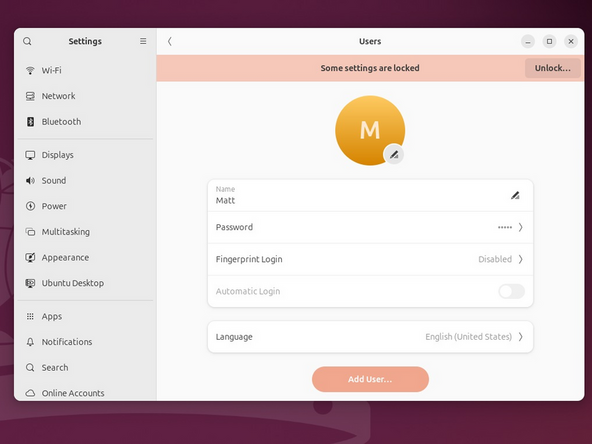
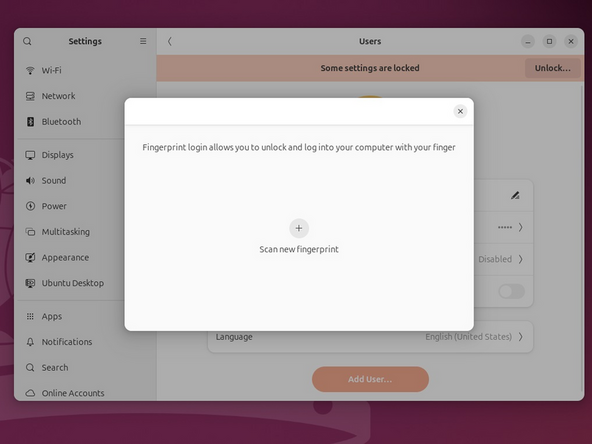
Let's setup fingerprint login. Click on the horizontal bar in the upper left, search for user.
-
Choose Fingerprint Login. Then select Scan new fingerprint. Select your desired fingerprint. Carefully tap your finger tip on the sensor (power button). You may need to try a few attempts as everyone's prints are different.
-
Once it's successful, you will see the word Complete.
-
-
-
Click here for the completion guide for all Framework Laptop 13 generations.
-
Our recommendations for Optimizing Ubuntu Battery Life. This includes important expansion card behavior.
-
Need richer sound? We have collected suitable Easy Effects profiles to help.
-
-
-
Before updating to the latest firmware, let's make sure we verify which BIOS were running. Please follow this guide.
-
For Framework Laptop 13 AMD Ryzen 7040 Series, you can check here for the latest firmware.
-
For Framework Laptop 13 AMD Ryzen AI 300 Series, you can check here for the latest firmware.
-
-
-
Expecting two-finger right clicking and need help? The touchpad help guide is here.
-
Please visit our troubleshooting guide first.
-
If you need additional help, feel free to visit our active support community.
-


Enjoy using Ubuntu on your Framework Laptop 13! If you have any questions or run into any issues, we recommend bringing them to the Community in the Framework Laptop 13 Linux tag.. Members of the Framework team participate in discussions there.
Enjoy using Ubuntu on your Framework Laptop 13! If you have any questions or run into any issues, we recommend bringing them to the Community in the Framework Laptop 13 Linux tag.. Members of the Framework team participate in discussions there.