Public Release - 1.0

Minor Versionm

by Iroh

Introduction

Follow this guide to reset the Mainboard in your Framework Desktop.

Resetting the Mainboard will set the Desktop's BIOS settings to their factory default. This might be necessary if your Desktop doesn't boot properly or if you're installing new hardware.

This procedure is irreversible. Make sure you have your BIOS settings documented if you want to restore them afterwards.

  1. Before you begin repairs, shut down your Desktop from the operating system and unplug it. Make sure your Framework Desktop Screwdriver has the T5 Torx bit (labeled as T5) facing outwards. If it's not, pull the bit out and flip it. Make sure your Framework Desktop Screwdriver has the T5 Torx bit (labeled as T5) facing outwards. If it's not, pull the bit out and flip it.
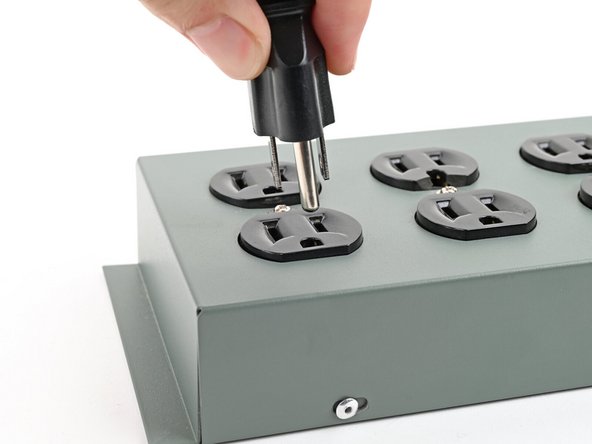
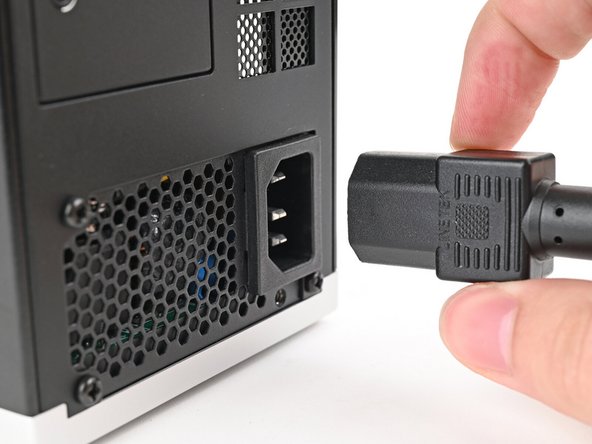
    • Before you begin repairs, shut down your Desktop from the operating system and unplug it.

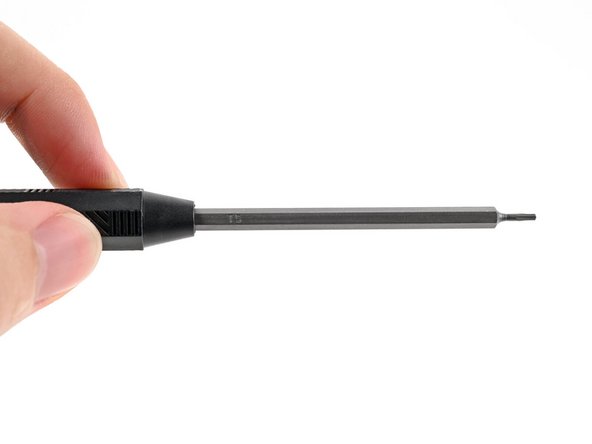
    • Make sure your Framework Desktop Screwdriver has the T5 Torx bit (labeled as T5) facing outwards. If it's not, pull the bit out and flip it.

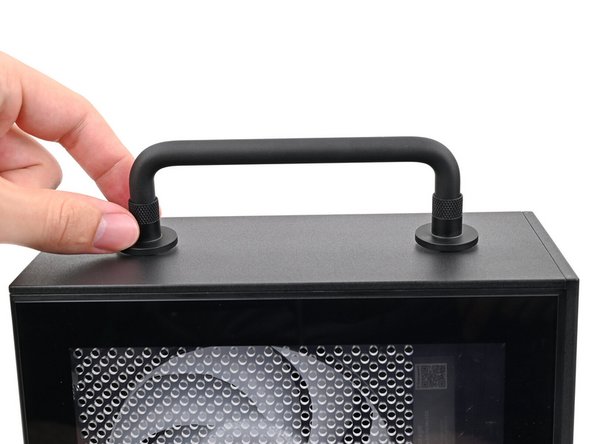
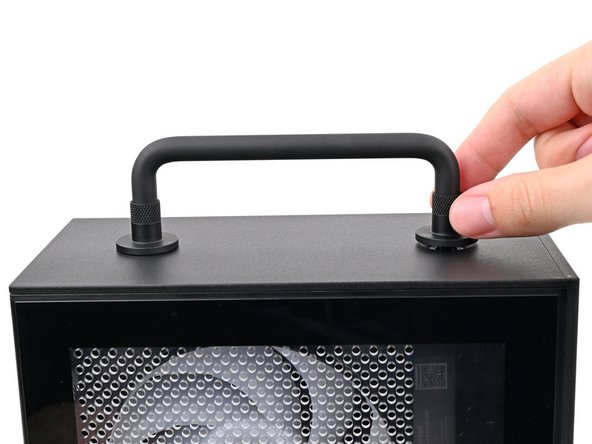
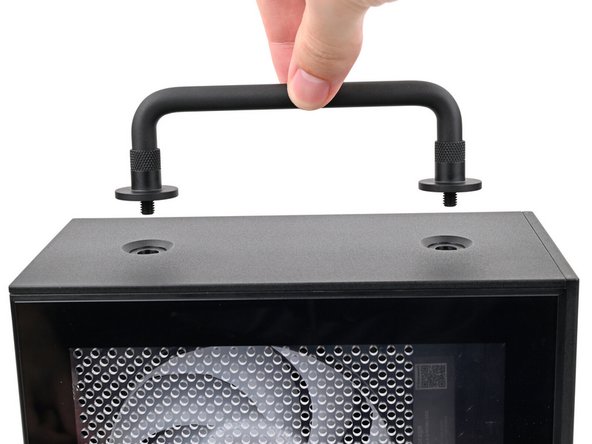
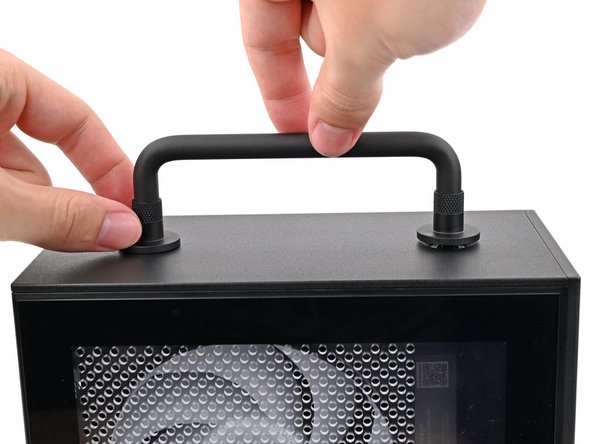
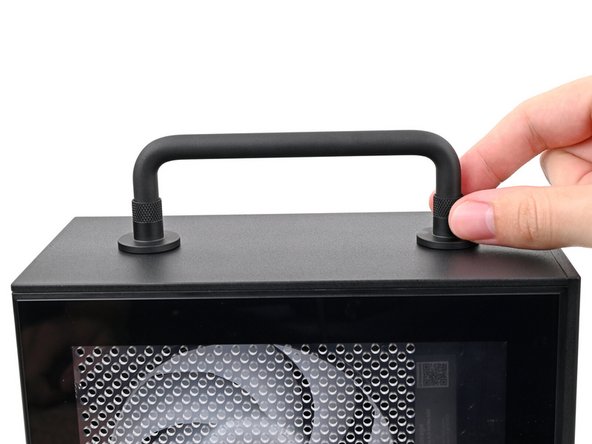
  2. If you installed the Handle on your Desktop, follow this step. Otherwise, skip it. Rotate the Handle's screw threads counterclockwise on both sides until it comes free. Remove the Handle.
    • If you installed the Handle on your Desktop, follow this step. Otherwise, skip it.

    • Rotate the Handle's screw threads counterclockwise on both sides until it comes free.

    • Remove the Handle.

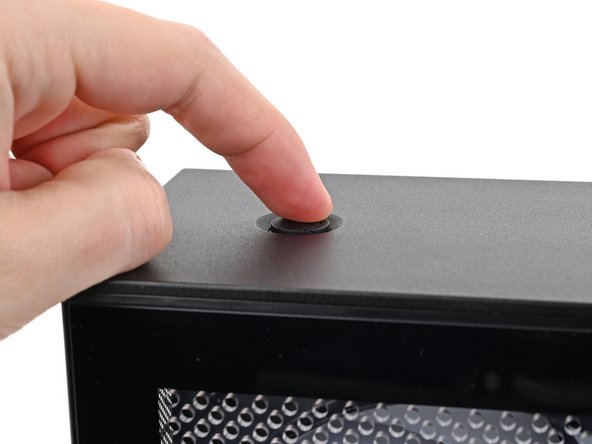
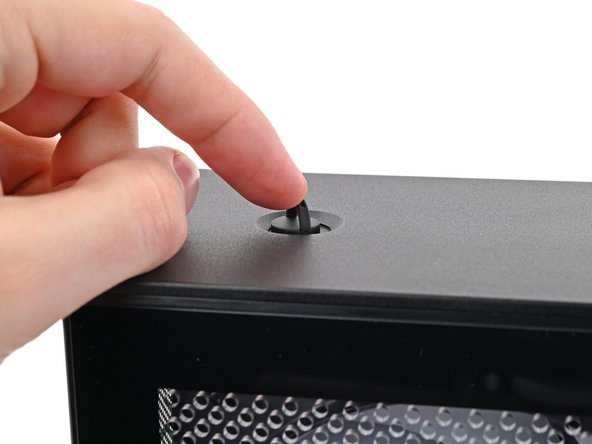
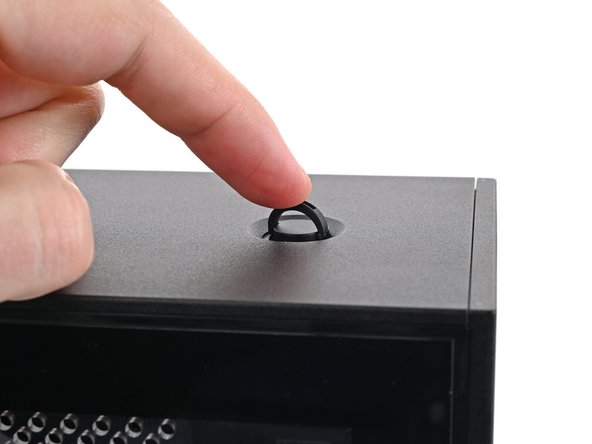
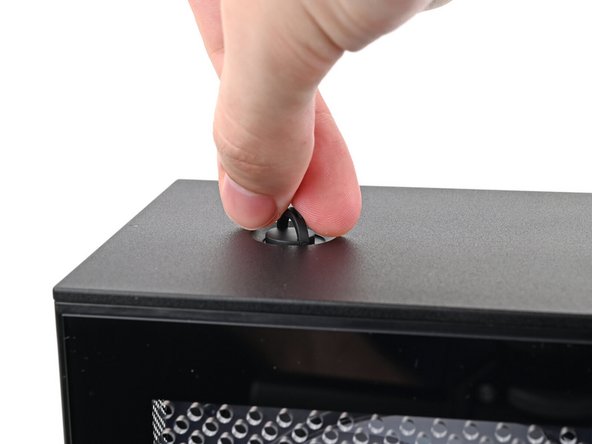
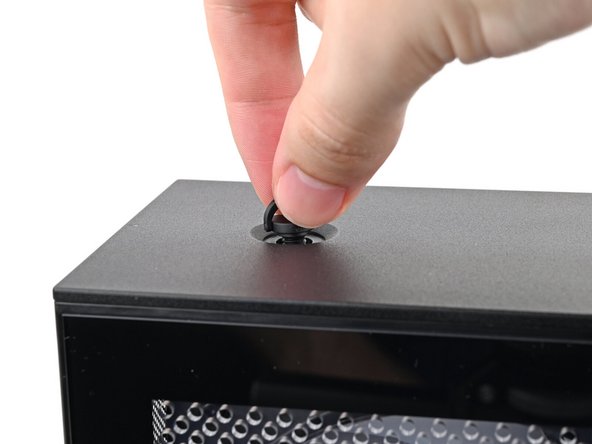
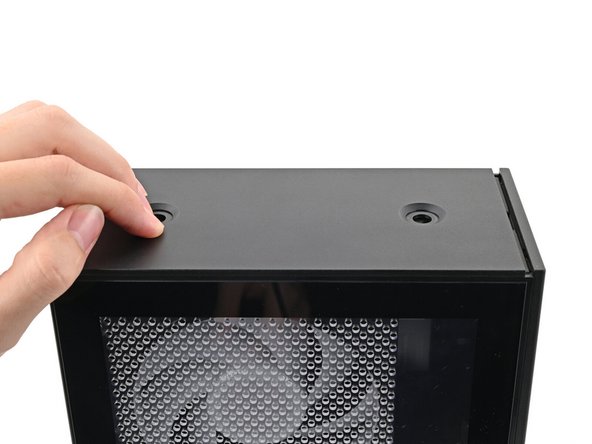
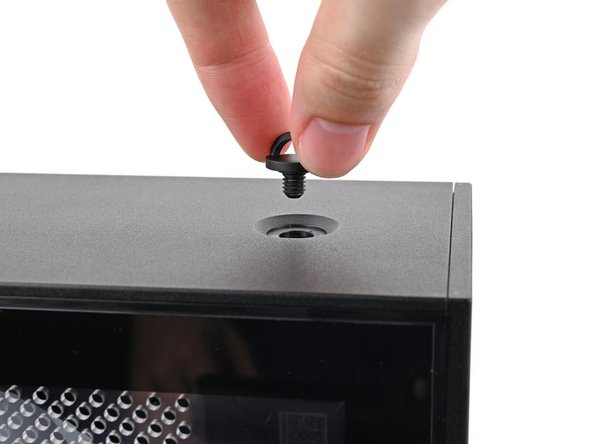
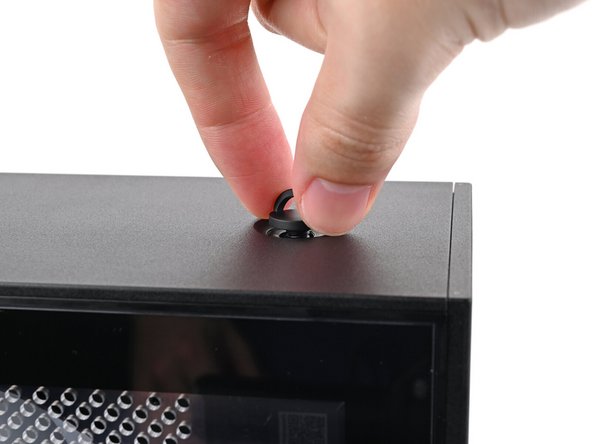
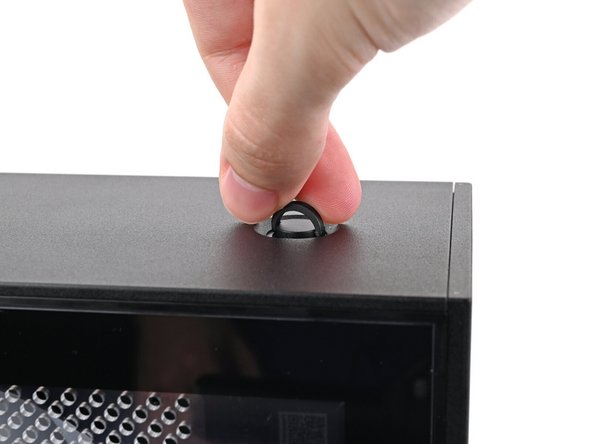
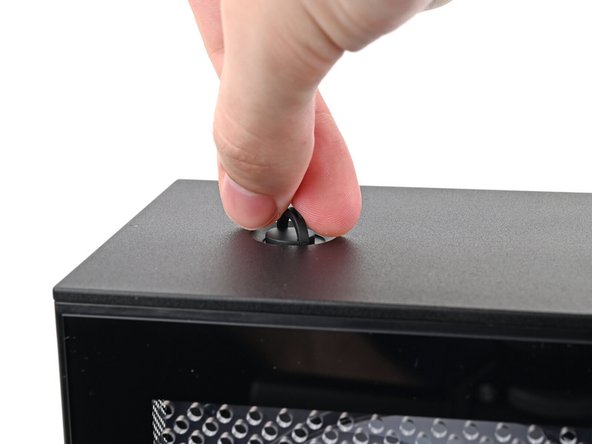
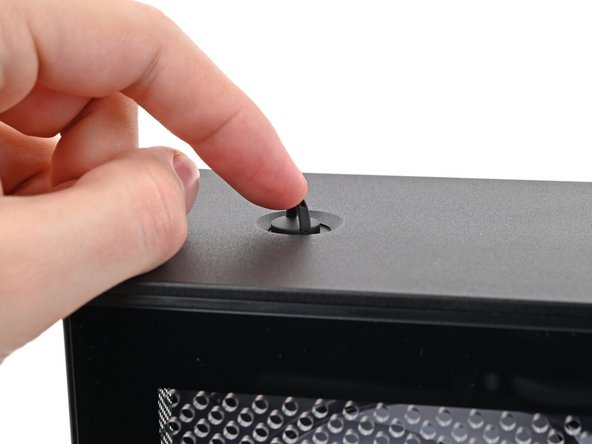
  3. Use your finger to lift up the two D-rings on the Top Panel screws. Use your finger to lift up the two D-rings on the Top Panel screws. Use your finger to lift up the two D-rings on the Top Panel screws.
    • Use your finger to lift up the two D-rings on the Top Panel screws.

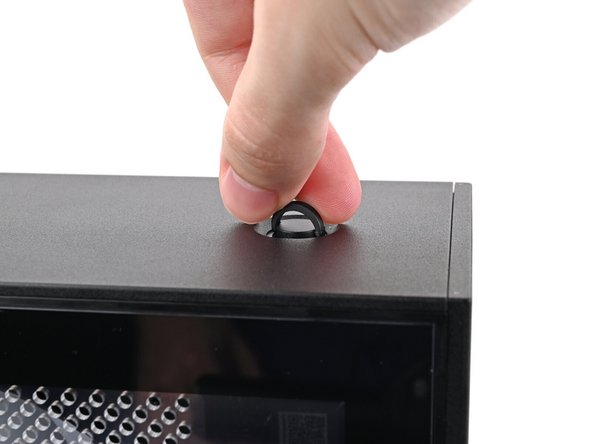
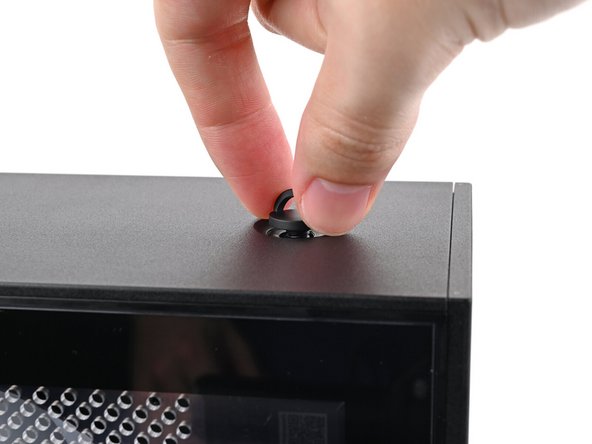
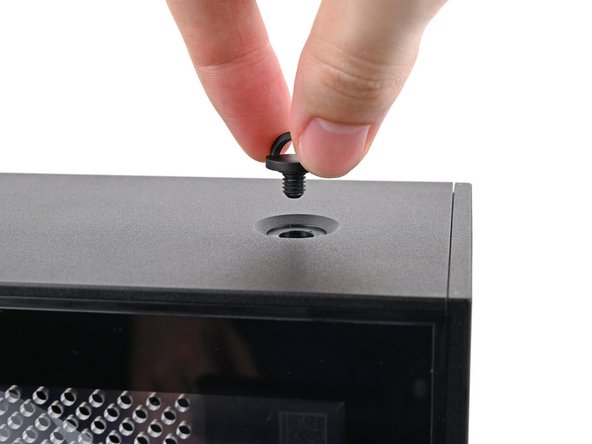
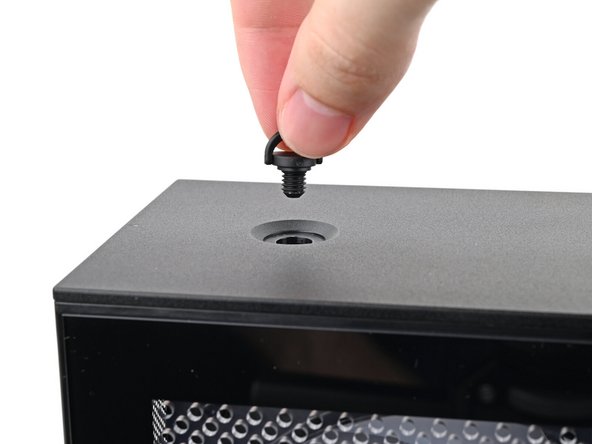
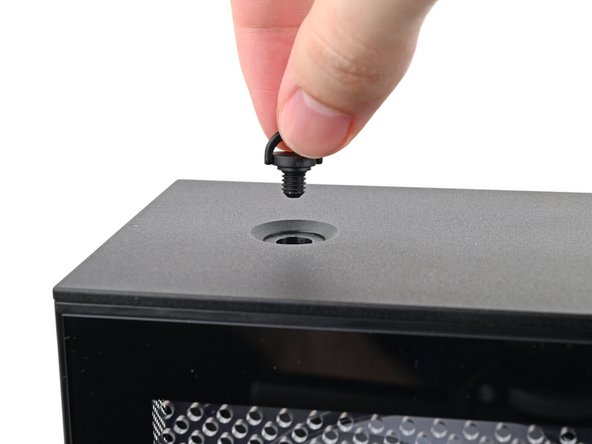
  4. Use your fingers to twist the screw counter-clockwise and loosen it. Remove the Top Panel screw. Remove the Top Panel screw.
    • Use your fingers to twist the screw counter-clockwise and loosen it.

    • Remove the Top Panel screw.

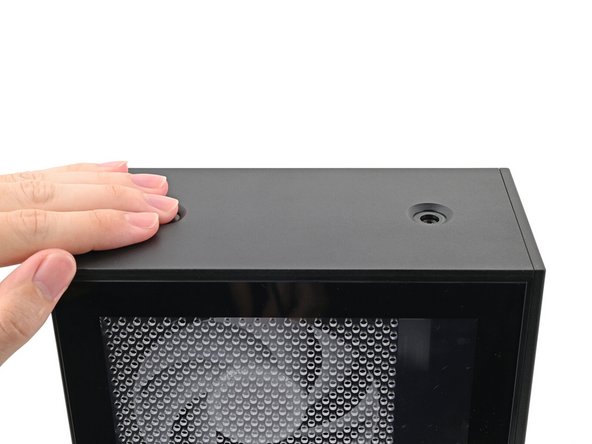
  5. Repeat the same procedure for the other Top Panel screw. Repeat the same procedure for the other Top Panel screw. Repeat the same procedure for the other Top Panel screw.
    • Repeat the same procedure for the other Top Panel screw.

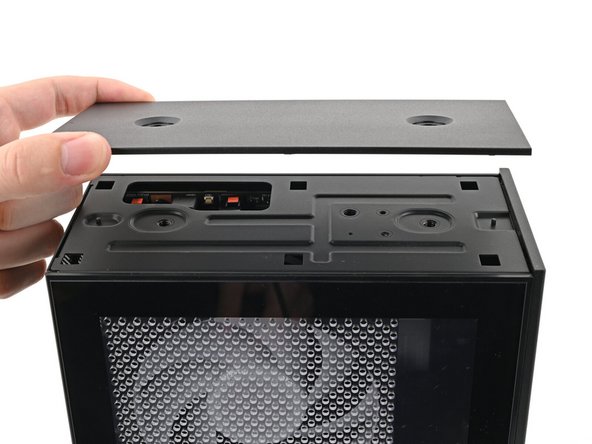
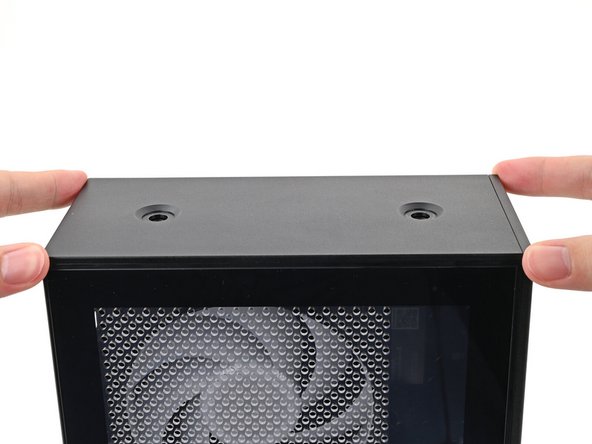
  6. Slide the Top Panel towards the rear of the computer to release the clips securing it to the chassis. If you're having a hard time gripping the Top Panel, use the screw holes to get a better handhold. Lift the Top Panel off the chassis and remove it.
    • Slide the Top Panel towards the rear of the computer to release the clips securing it to the chassis.

    • If you're having a hard time gripping the Top Panel, use the screw holes to get a better handhold.

    • Lift the Top Panel off the chassis and remove it.

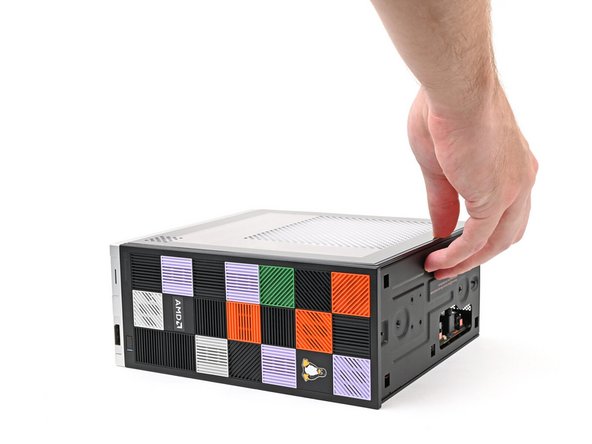
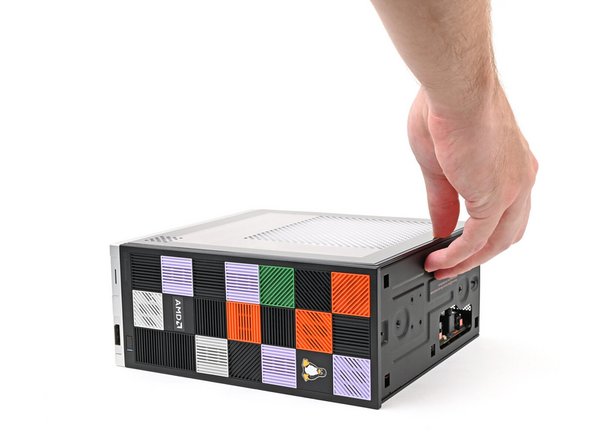
  7. Lay down the Desktop on its right side. Lay down the Desktop on its right side.
    • Lay down the Desktop on its right side.

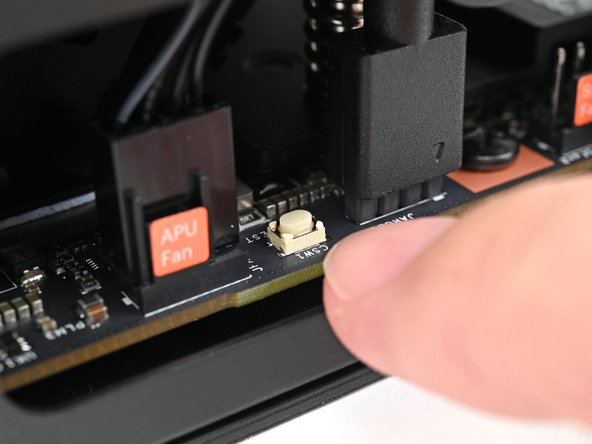
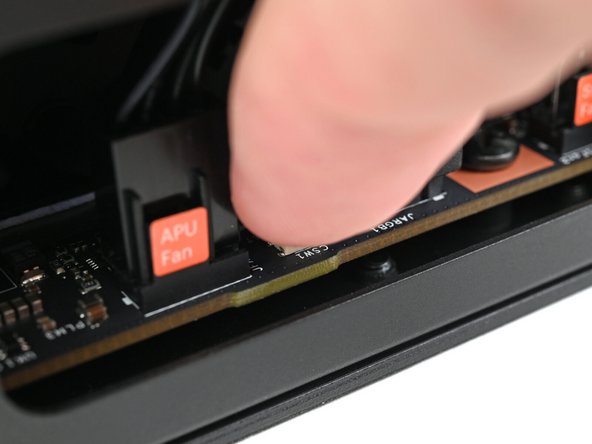
  8. Press the white button labeled "CMOS RESET" next to the APU Fan connector and hold for 10 seconds. Press the white button labeled "CMOS RESET" next to the APU Fan connector and hold for 10 seconds.
    • Press the white button labeled "CMOS RESET" next to the APU Fan connector and hold for 10 seconds.

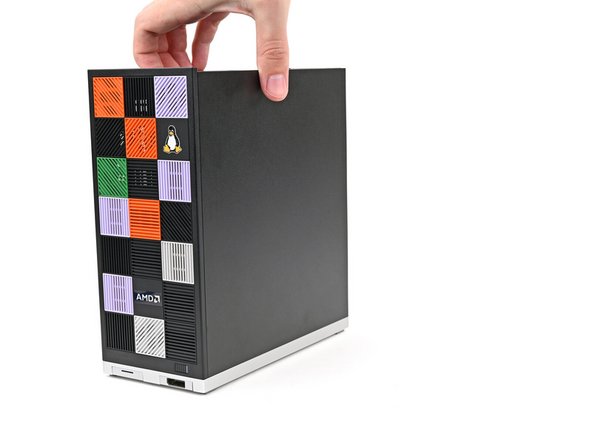
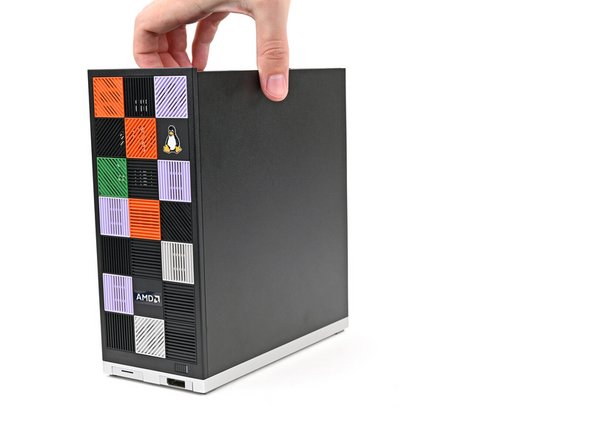
  9. Lift the Desktop so it stands upright on your work surface. Lift the Desktop so it stands upright on your work surface.
    • Lift the Desktop so it stands upright on your work surface.

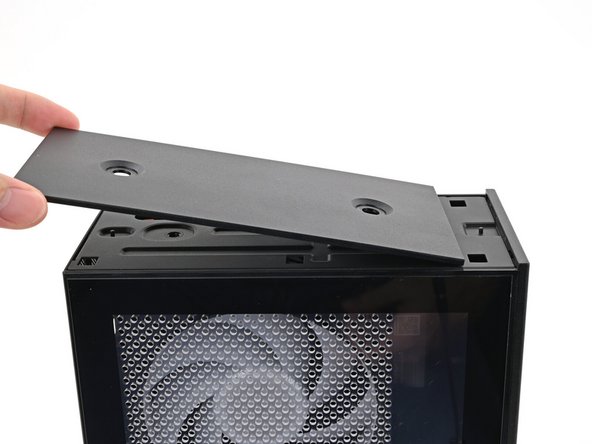
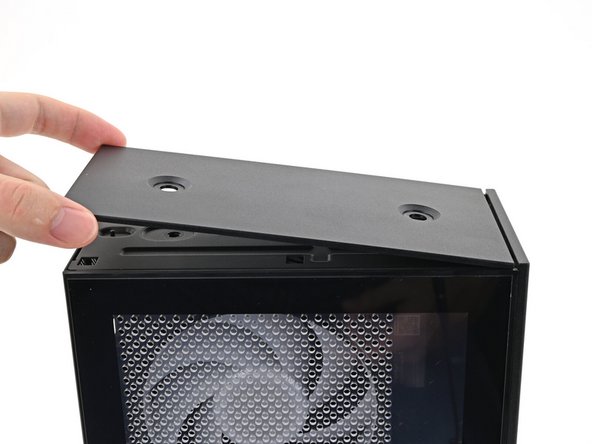
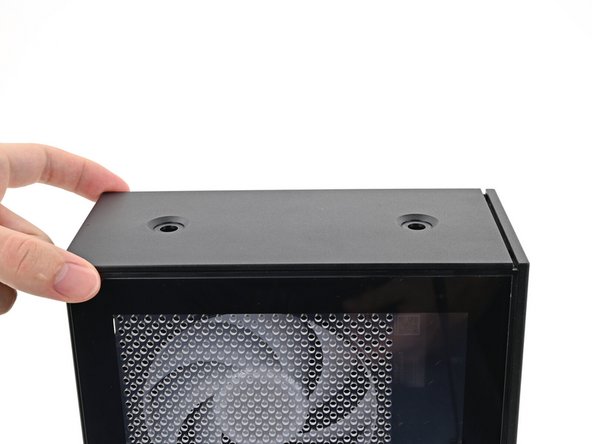
  10. Orient the Top Panel so its arrow is pointing towards the rear of the computer. While holding the Top Panel at a slight downward angle, slide it across the top of the chassis (from rear to front) until you feel its clips catch. There should be a small gap between the Top Panel and the front of the Desktop.
    • Orient the Top Panel so its arrow is pointing towards the rear of the computer.

    • While holding the Top Panel at a slight downward angle, slide it across the top of the chassis (from rear to front) until you feel its clips catch.

    • There should be a small gap between the Top Panel and the front of the Desktop.

    • Lay the Top Panel flat on the chassis to align the remaining clips.

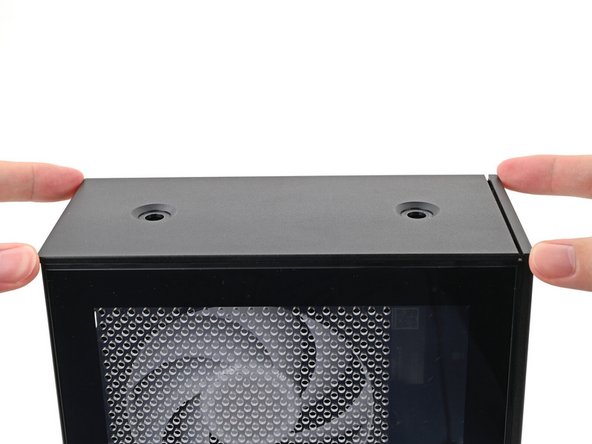
  11. While securing the computer with one hand, use the other hand to slide the Top Panel towards the front of the computer to close the gap and engage the clips. While securing the computer with one hand, use the other hand to slide the Top Panel towards the front of the computer to close the gap and engage the clips.
    • While securing the computer with one hand, use the other hand to slide the Top Panel towards the front of the computer to close the gap and engage the clips.

  12. If you're installing the Handle on your Desktop, follow this step. Otherwise, skip it. Place the Handle over the Top Panel screw holes.
    • If you're installing the Handle on your Desktop, follow this step. Otherwise, skip it.

    • Place the Handle over the Top Panel screw holes.

    • While holding the Handle in place, twist the screw threads on both sides clockwise until they're snug on the Top Panel.

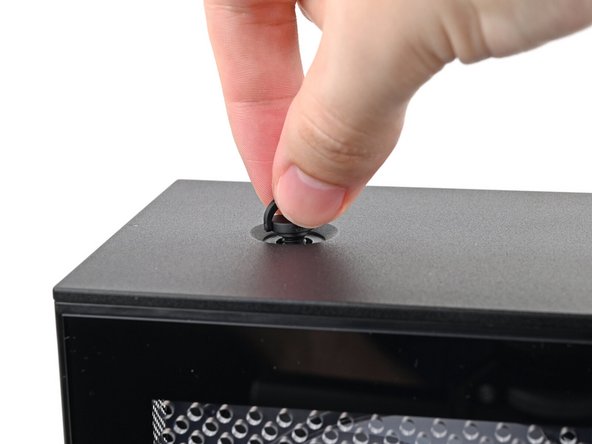
  13. Insert the top panel screw into its hole and twist clockwise until it feels snug. Insert the top panel screw into its hole and twist clockwise until it feels snug. Insert the top panel screw into its hole and twist clockwise until it feels snug.
    • Insert the top panel screw into its hole and twist clockwise until it feels snug.

  14. Repeat the same procedure for the other top panel screw. Repeat the same procedure for the other top panel screw. Repeat the same procedure for the other top panel screw.
    • Repeat the same procedure for the other top panel screw.

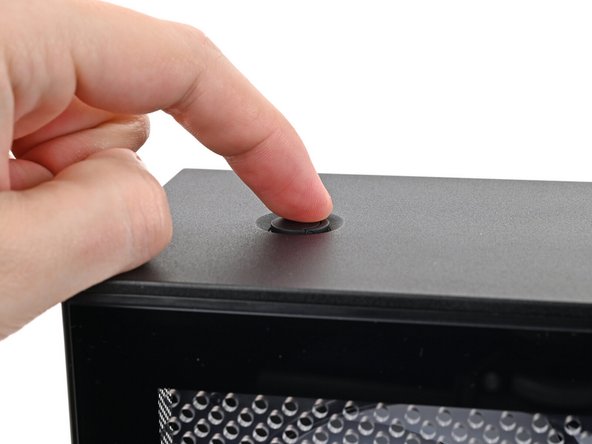
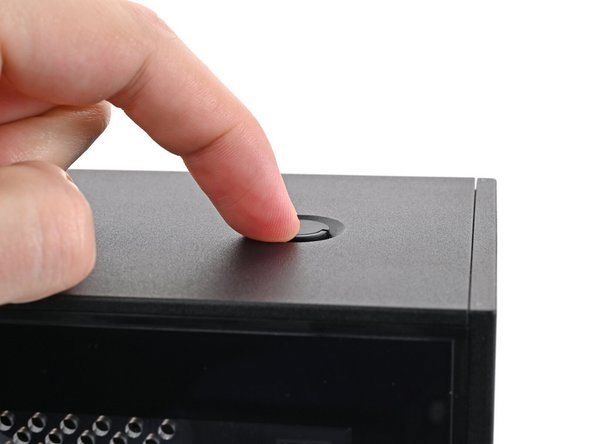
  15. Use your finger to close the two D-rings on the top panel screws. Use your finger to close the two D-rings on the top panel screws. Use your finger to close the two D-rings on the top panel screws.
    • Use your finger to close the two D-rings on the top panel screws.

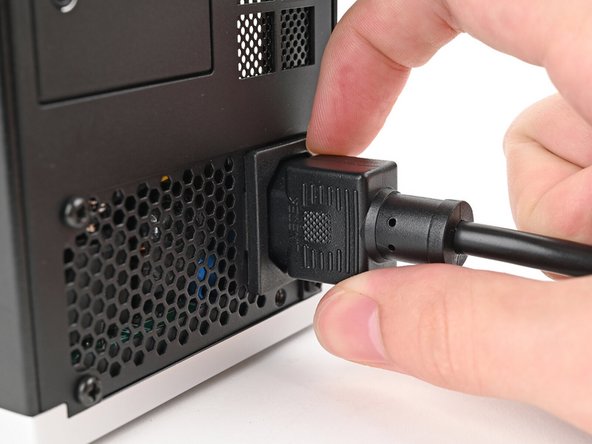
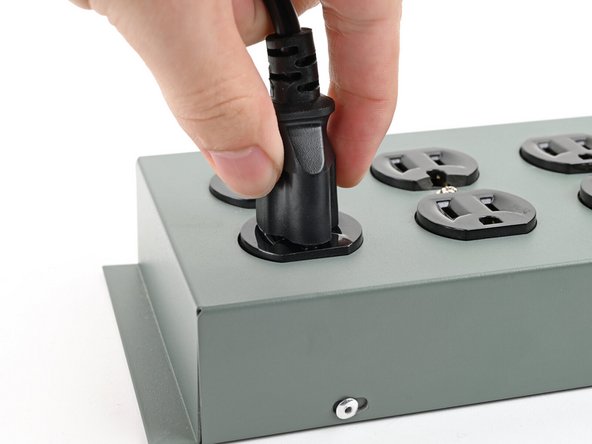
  16. Plug the Desktop back in. Turn on your Desktop—it should boot up normally. If your BIOS settings haven't changed, or if you're still experiencing issues, repeat the Mainboard reset procedure.
    • Plug the Desktop back in.

    • Turn on your Desktop—it should boot up normally. If your BIOS settings haven't changed, or if you're still experiencing issues, repeat the Mainboard reset procedure.

Conclusion

If you need help, contact Framework support.
Iroh

Member since: 6/7/24

62 Guides authored

Team

Framework Member of Framework

10 Members

174 Guides authored

0 Comments

Add Comment


View Statistics:

Past 24 Hours: 3

Past 7 Days: 37

Past 30 Days: 161

All Time: 162