Introduction
Follow this guide to remove and replace the LPCAMM2 memory (aka RAM) in your Framework Laptop 13 Pro (Intel® Core™ Ultra Series 3).
Framework Laptop 13 Pro (Intel® Core™ Ultra Series 3) supports one slot of LPCAMM2 memory up to 96GB at the native 7467 MT/s speed. It is compatible with LPCAMM2 modules with memory speed rated above 7467 MT/s, but the speed will be capped at 7467 MT/s because of the platform limitation.
Tools
Parts
No parts specified.
-
-
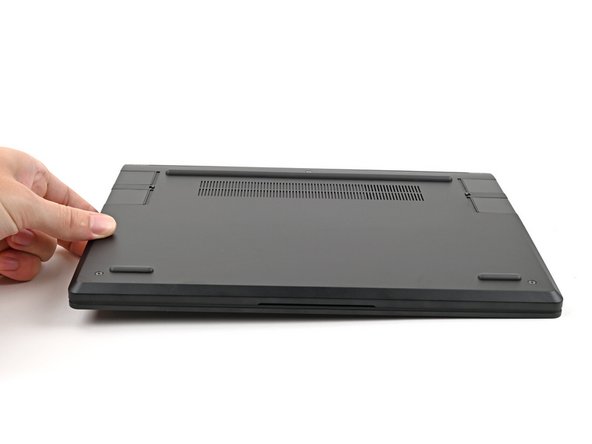
Unplug all cables and fully shut down your laptop from the OS.
-
-
-
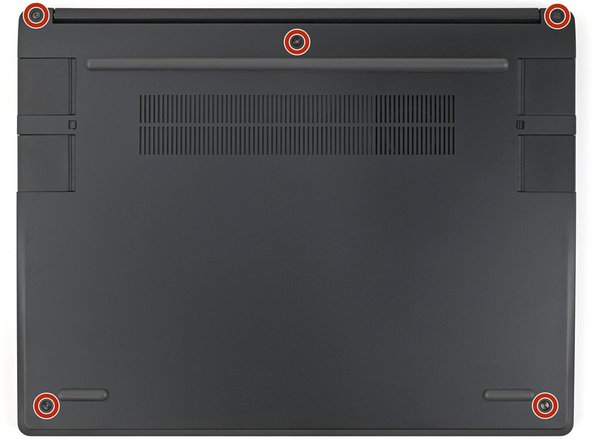
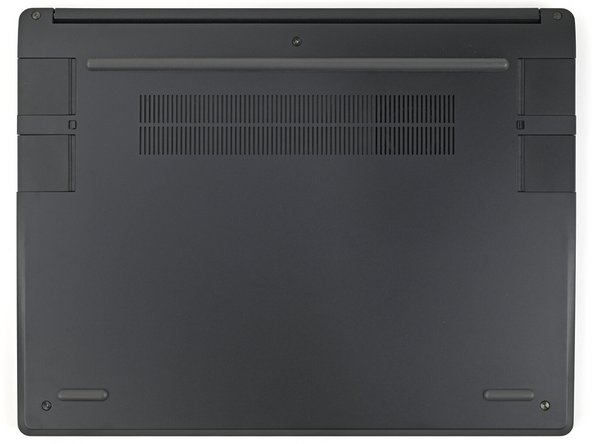
Use your Framework Screwdriver to loosen the five captive T5 Torx screws securing the Input Cover.
-
-
-
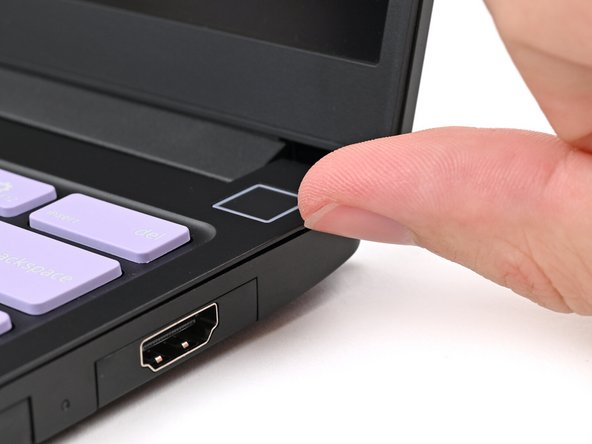
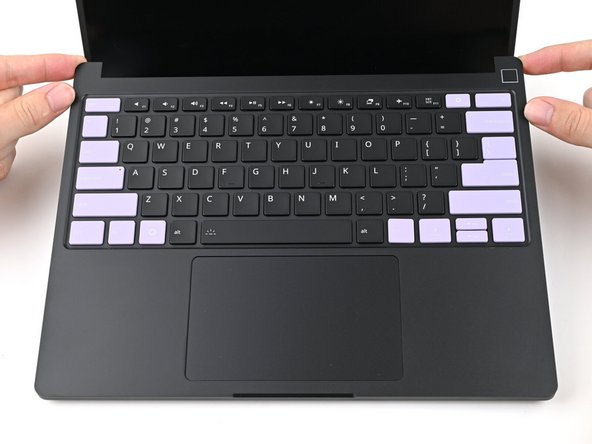
Flip over your laptop and open it.
-
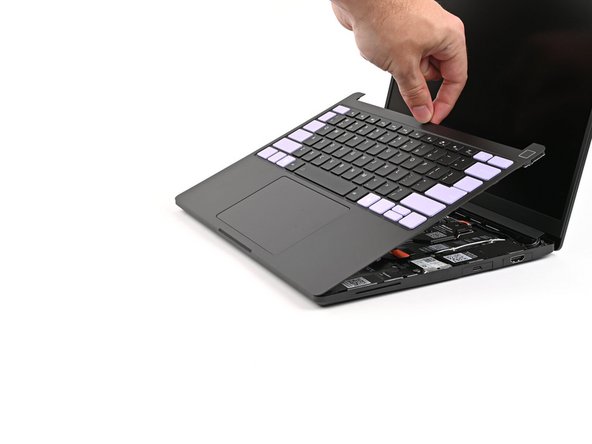
Use your fingers to lift the Input Cover up and release it from its magnets.
-
Don't fully remove the Input Cover yet, as it's still attached by the Touchpad Cable.
-
If you're having trouble lifting the Input Cover, you can leverage the gap at the bottom right corner to get your fingers fully under it.
-
-
-
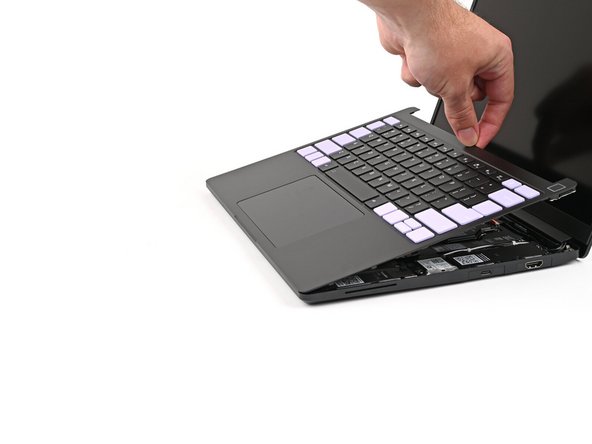
Flip the top of the Input Cover so the Keyboard is facing down.
-
Rest the Input Cover over the Battery, making sure the Touchpad Cable isn't being strained.
-
If the LEDs on the left and right sides of the Mainboard are flashing, then your laptop is still powered on. Make sure your laptop is completely powered off before continuing.
-
-
-
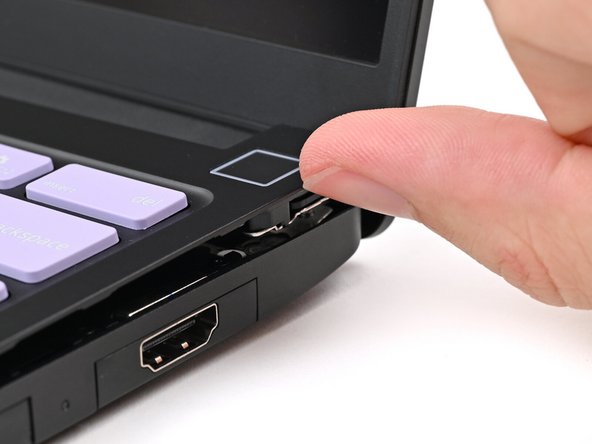
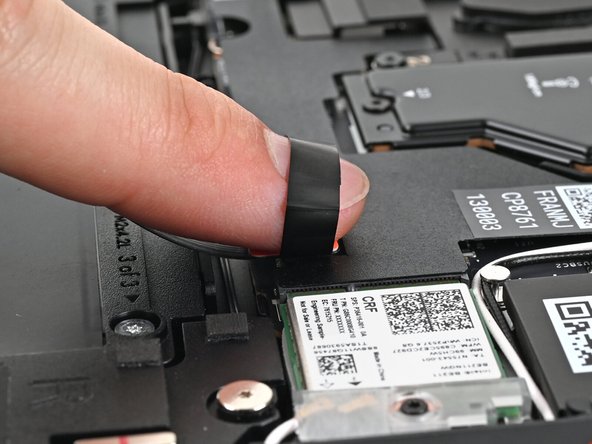
Insert your finger into the Touchpad Cable press connector loop.
-
Lift up to disconnect the Touchpad Cable from the Mainboard.
-
-
-
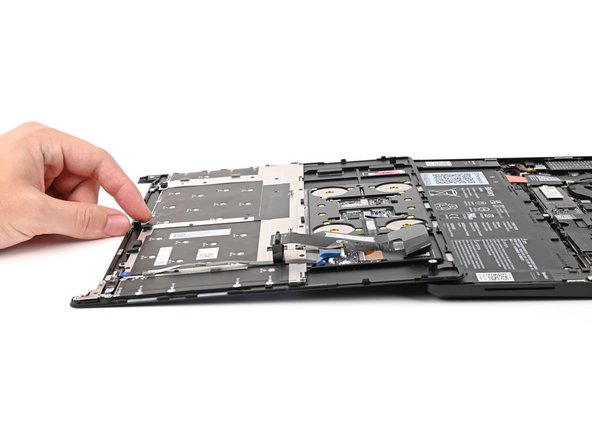
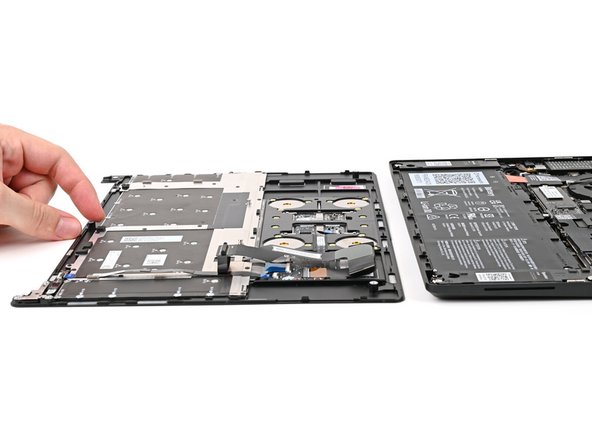
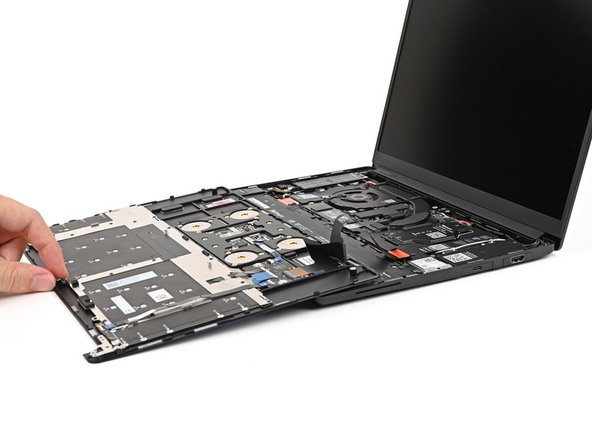
Remove the Input Cover.
-
-
-
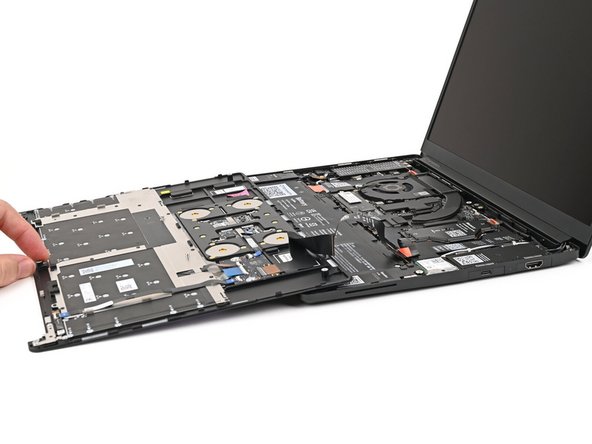
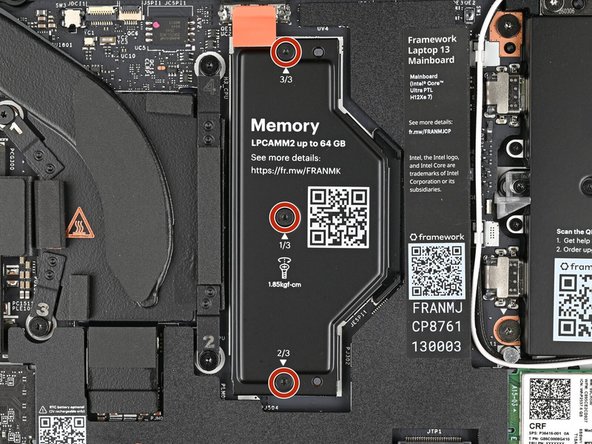
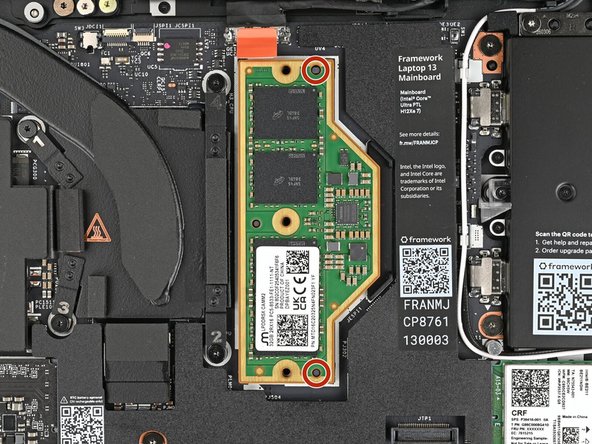
Use your Framework Screwdriver to loosen the captive T5 Torx screws securing the LPCAMM2 Memory Cover in reverse order from 3–1.
-
-
-
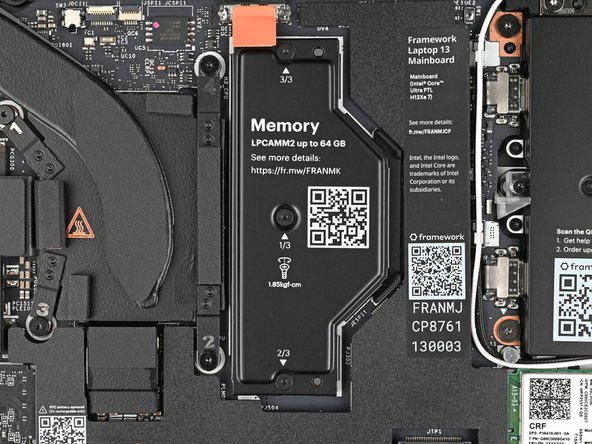
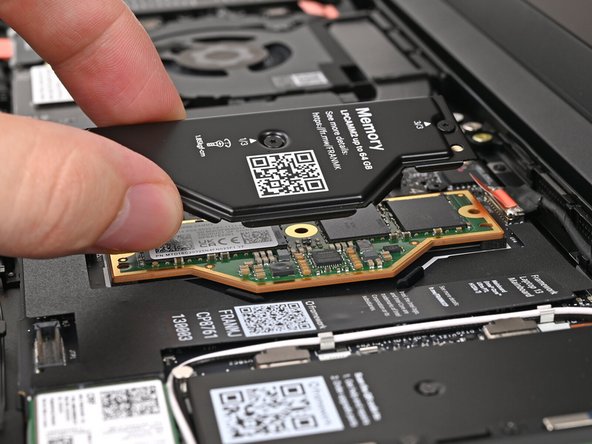
Lift the LPCAMM2 Memory Cover straight off the memory and remove it.
-
-
-
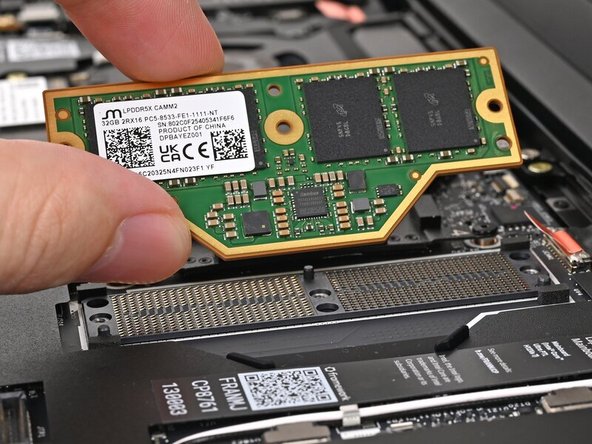
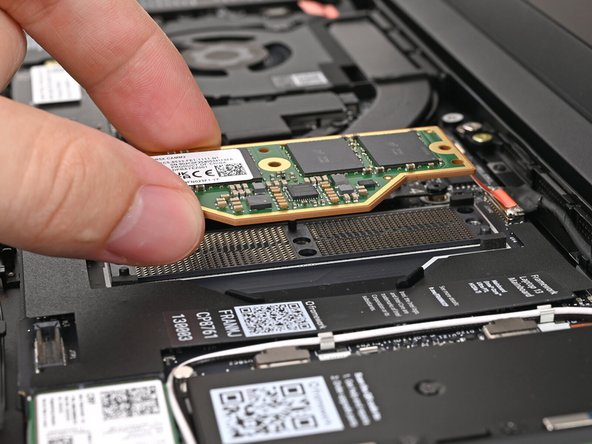
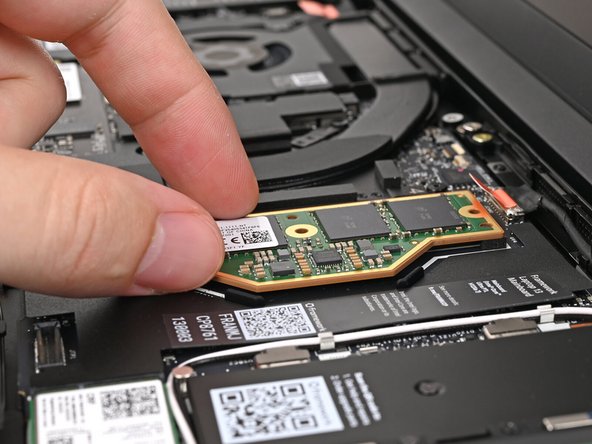
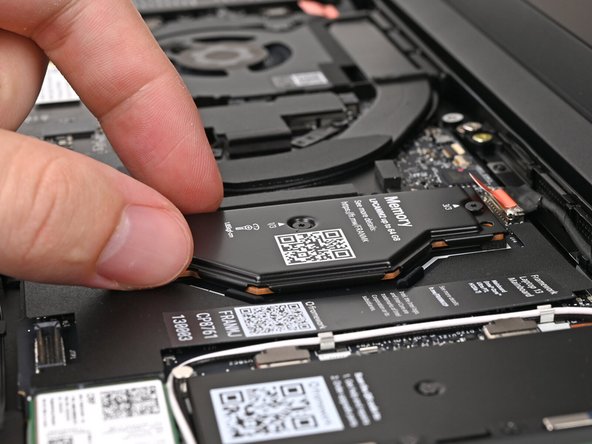
Grip the LPCAMM2 module by its edges and lift it straight off its alignment pegs to remove it.
-
Avoid touching the Interposer below the module. If the Interposer accidentally shifts, grab it by its edges to place it back into its alignment pegs.
-
Make sure there's no dust or debris on top of the Interposer before continuing.
-
-
-
Congratulations on completing disassembly! The remaining steps will show how to reassemble your Framework Laptop.
-
-
-
Place the LPCAMM2 module on top of the Interposer, making sure it slots into its alignment pegs.
-
-
-
Place the LPCAMM2 Memory Cover on top of the memory, making sure its screws align with the screw holes.
-
The cover should lay flat when aligned properly.
-
-
-
Use your Framework Screwdriver to tighten the captive T5 Torx screws securing the LPCAMM2 Memory Cover in order from 1–3.
-
Make sure the screws are snug enough to create proper contact between the memory and the Mainboard.
-
-
-
Position the Input Cover, Keyboard down, on top of the laptop so it just covers the Battery.
-
This allows the Touchpad Cable to be folded over and reconnected without straining it.
-
-
-
Insert your finger into the Touchpad Cable press connector loop.
-
Align the press connector over its socket and press down with your finger.
-
You should hear it "click" into place. If you're having trouble, reposition it and try again. Don't try to force the connector into place.
-
-
-
Flip the Input Cover over the laptop and align the bottom edges.
-
-
-
Lay the Input Cover over the laptop and let the magnets snap it into place.
-
The bottom right corner of the Input Cover won't sit flush with the laptop until you tighten its screws.
-
-
-
Close the laptop and flip it over.
-
-
-
Use your Framework Screwdriver to tighten the five captive T5 Torx screws securing the Input Cover.
-
Don't overtighten the screws—just make sure they're snug.
-


You finished fixing your Framework Laptop! The first boot will take longer and start with a “Memory Training in Progress” screen. If you run into any errors during Memory Training, please see this page.
Take your e-waste to an R2 or e-Stewards certified recycler.
If you need help, contact Framework support.