
Introduction
This guide shows how to remove and install Input Modules for your Framework Laptop 16.
The Input Modules are the different devices that allow you to customize the "Input Deck" on your laptop. These include the Touchpad Module, Touchpad Spacers, keyboard, numpad, LED Matrix, RGB Macropad, and decorative spacers.
The Input Modules are hot-swappable. You can install and remove them without turning off your laptop.
For all possible Input Module combinations, click here.
-
-
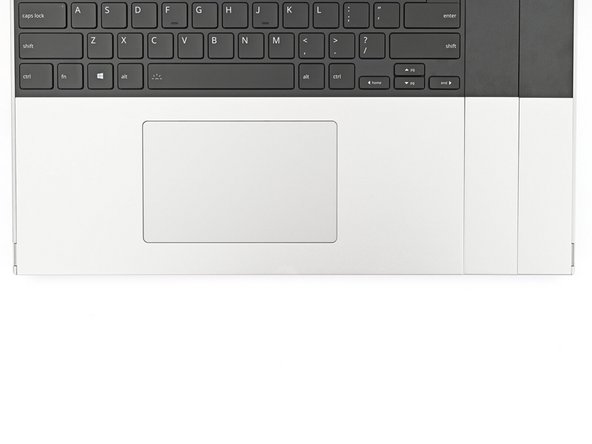
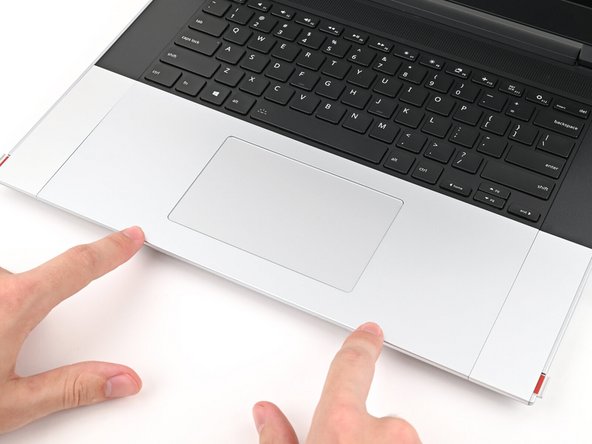
The bottom row of Input Modules includes the Touchpad Module and Touchpad Spacers.
-
The Touchpad Module can be placed either on the left, center, or right edges of the laptop. The Touchpad Spacers fill in the empty spaces.
-
Note: for the Touchpad Module to be on the left, the keyboard can't be installed in the center.
-
-
-
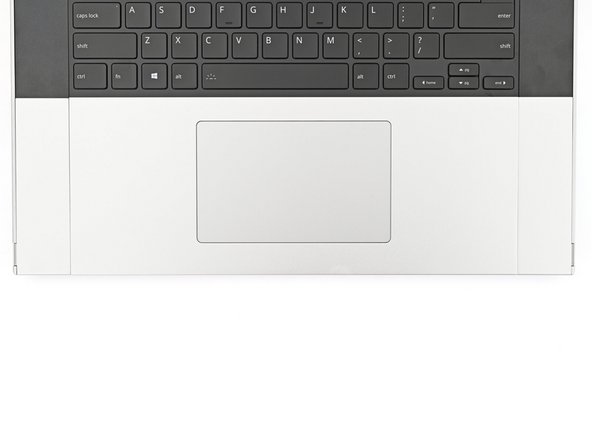
The next four steps show how to remove the Touchpad Spacers and Touchpad Module.
-
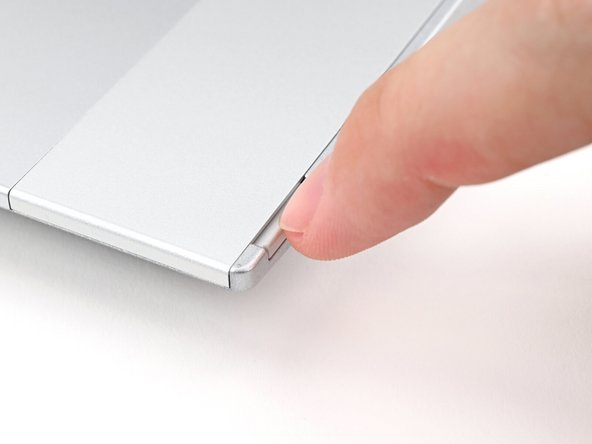
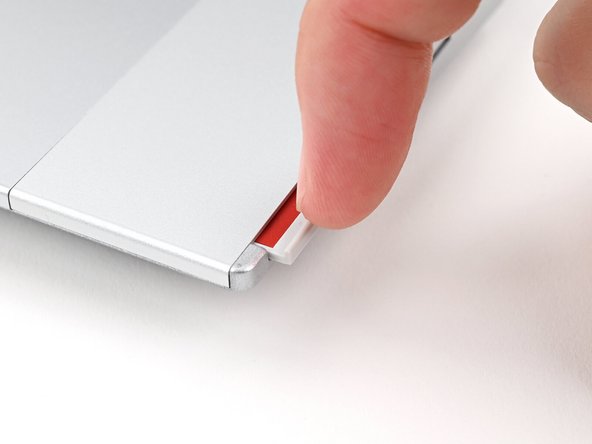
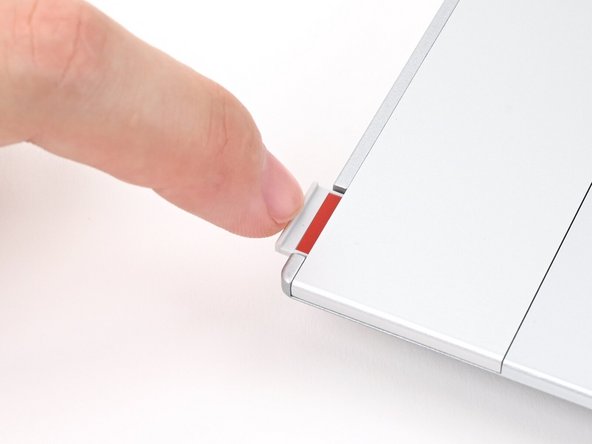
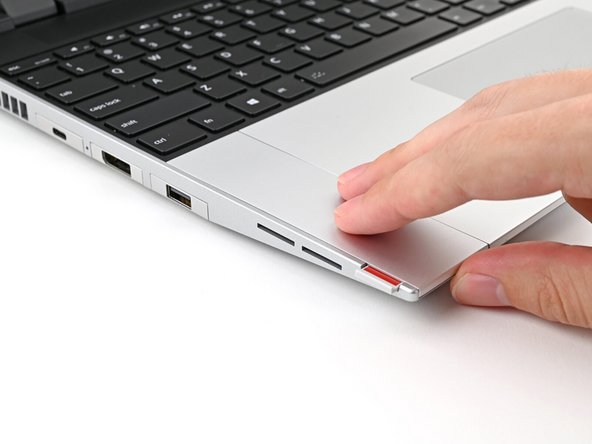
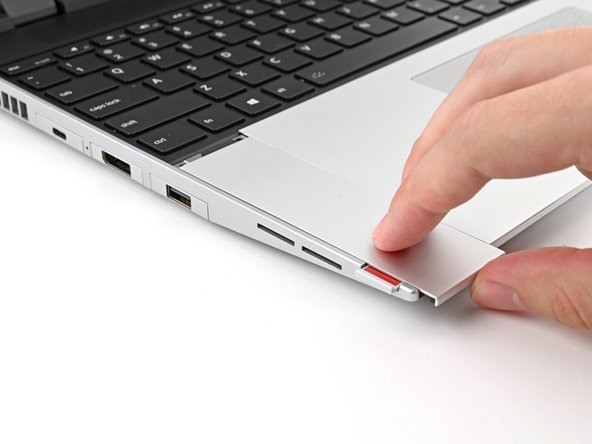
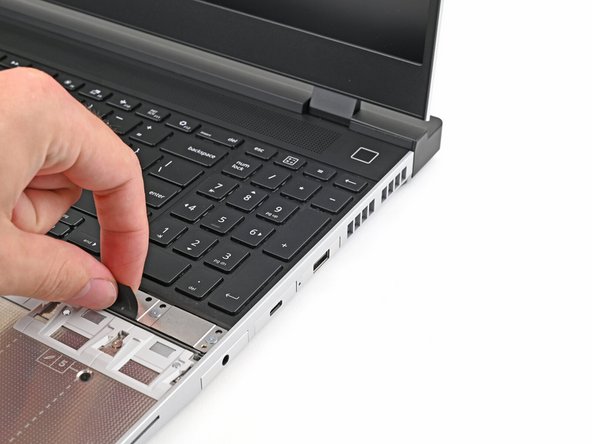
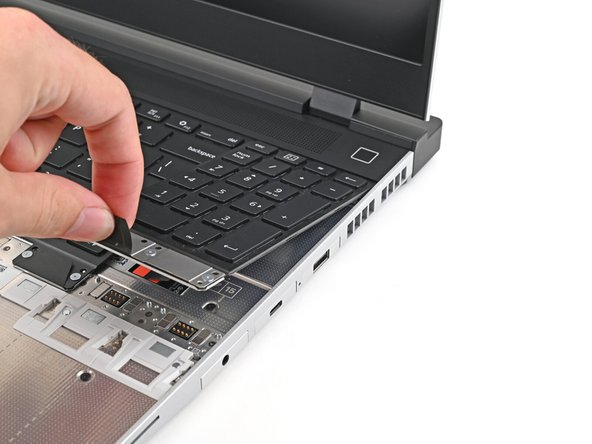
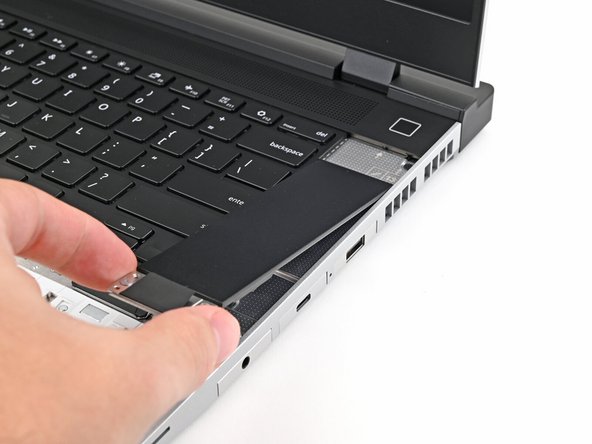
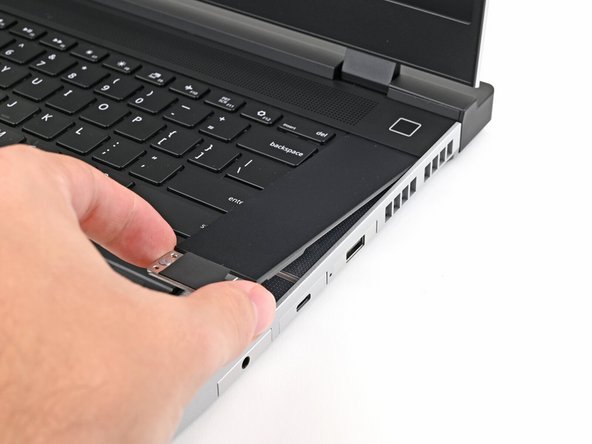
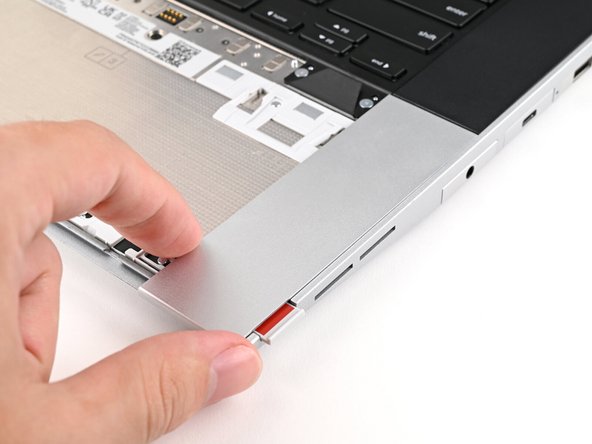
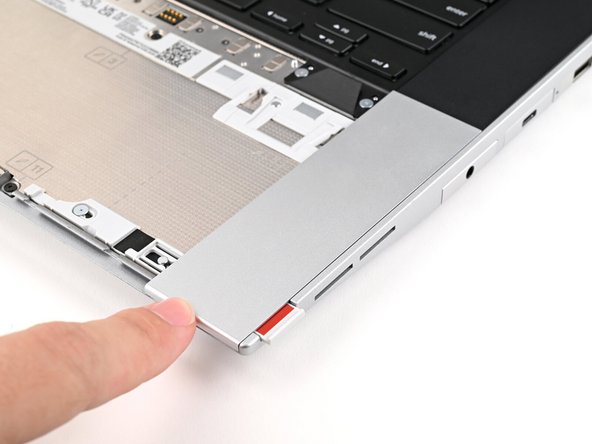
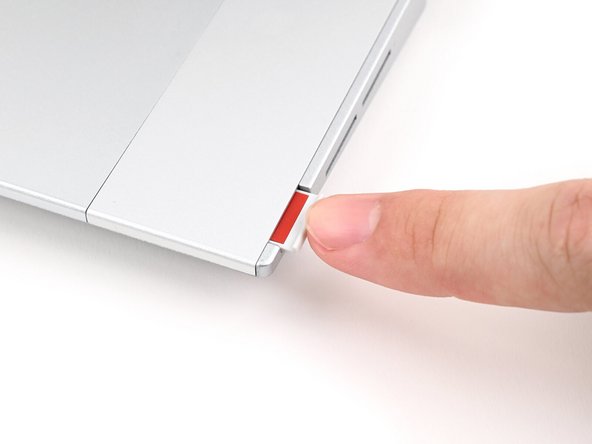
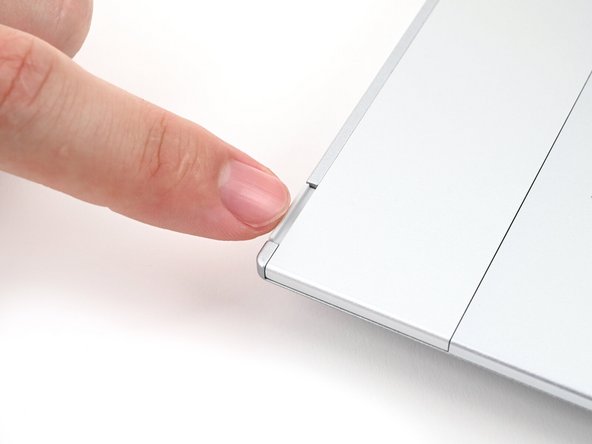
Use your fingernail to pull out the two Input Module latches and unlock them.
-
This unlocks the bottom row of Input Modules, i.e., the Touchpad Module and Touchpad Spacers.
-
The latch will show red if it's unlocked.
-
-
-
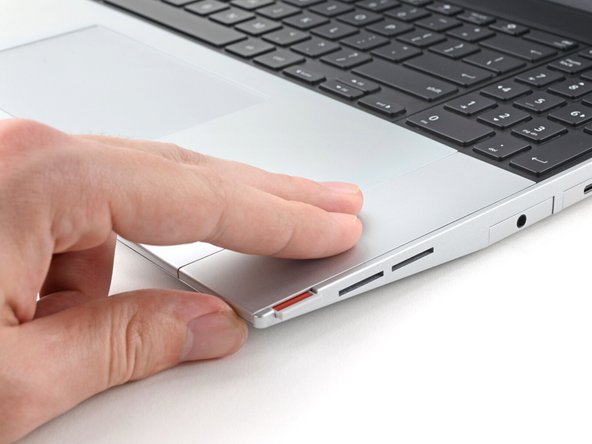
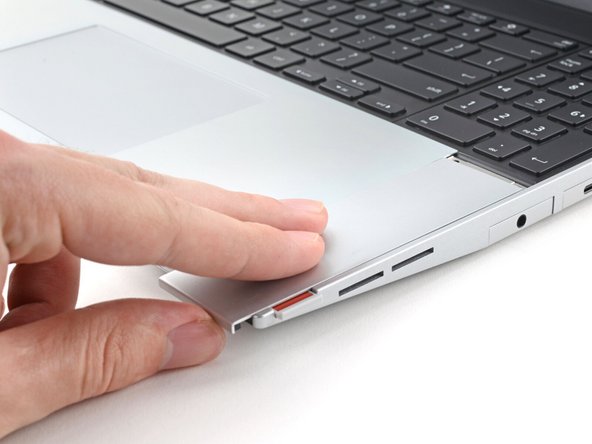
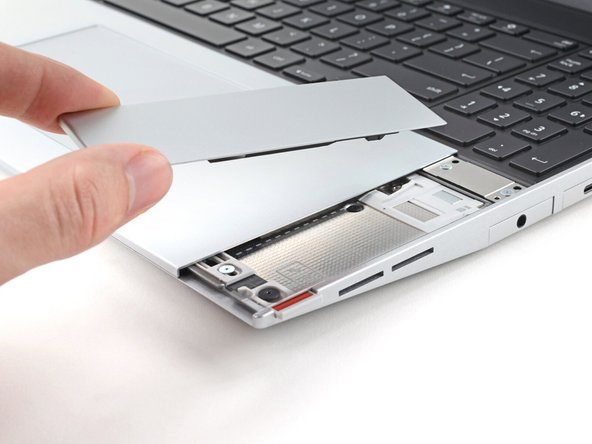
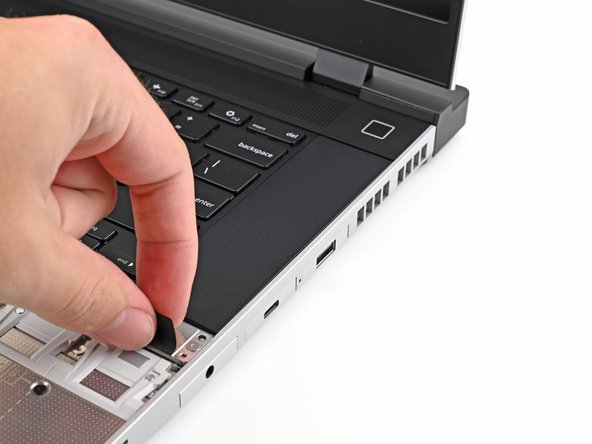
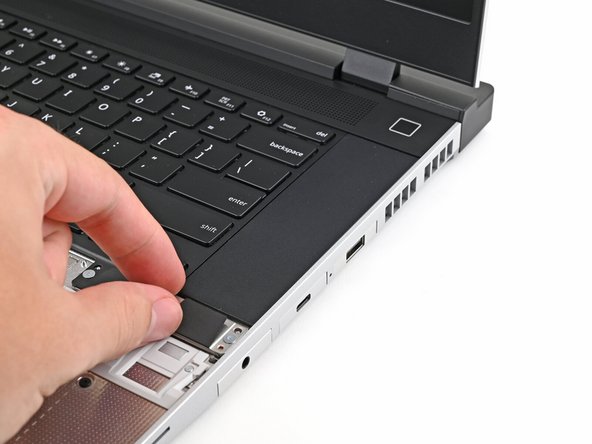
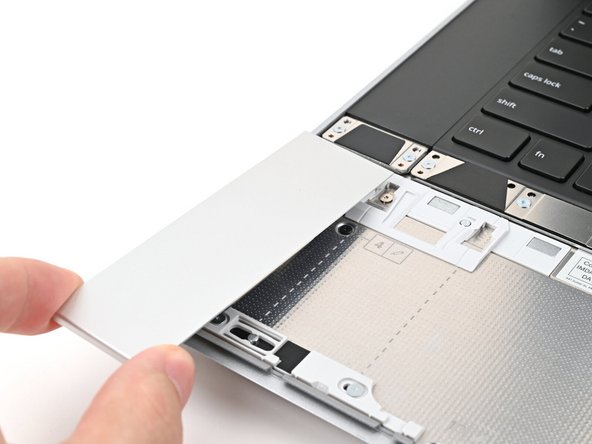
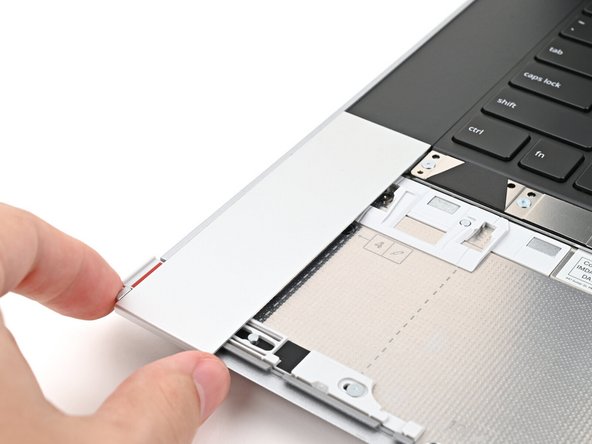
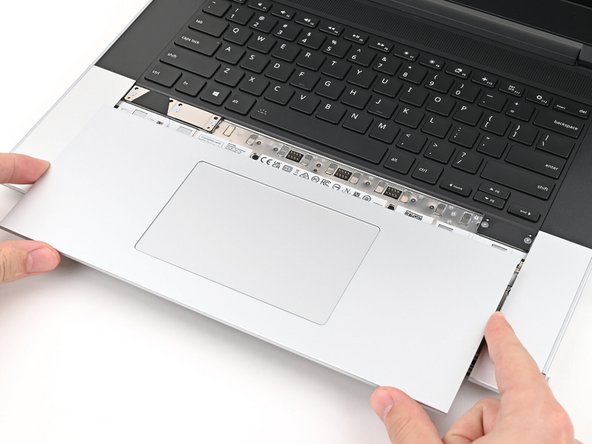
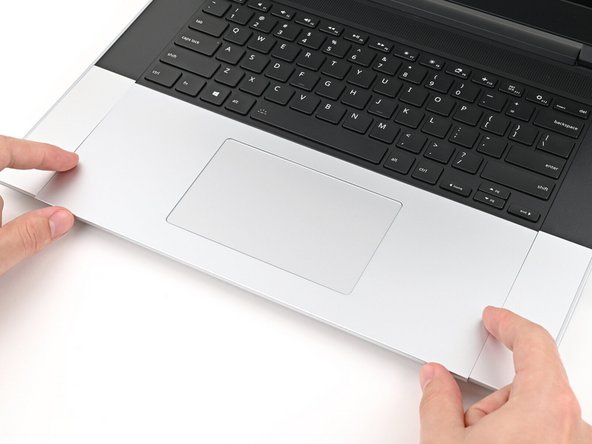
Use your fingers to slide the Touchpad Spacer toward the bottom edge of the laptop and unclip it.
-
If you're having trouble, check if the corresponding Input Module latch is properly unlocked.
-
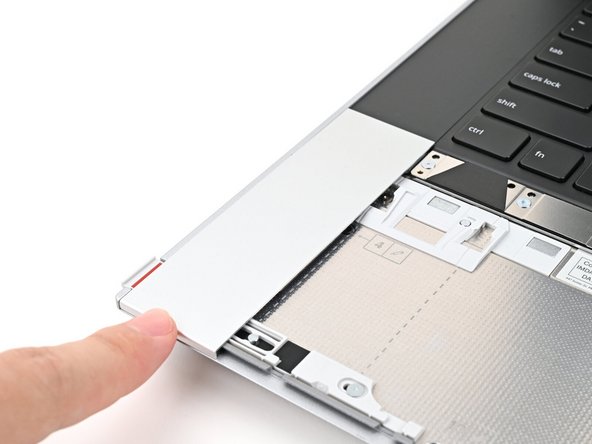
Lift the Touchpad Spacer off the laptop and remove it.
-
-
-
Repeat the previous step for the other Touchpad Spacer.
-
-
-
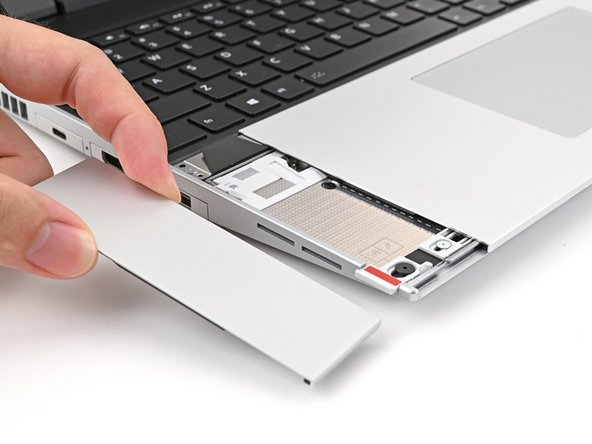
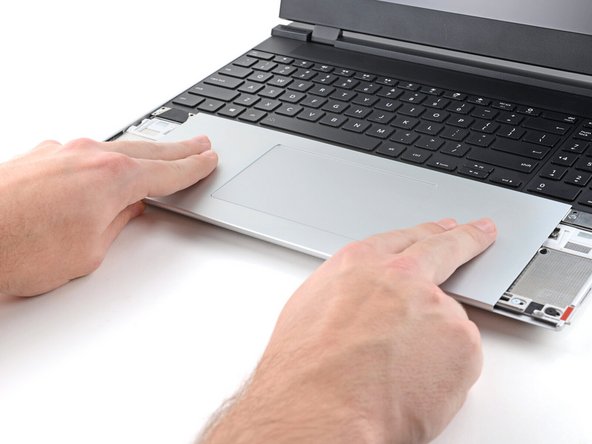
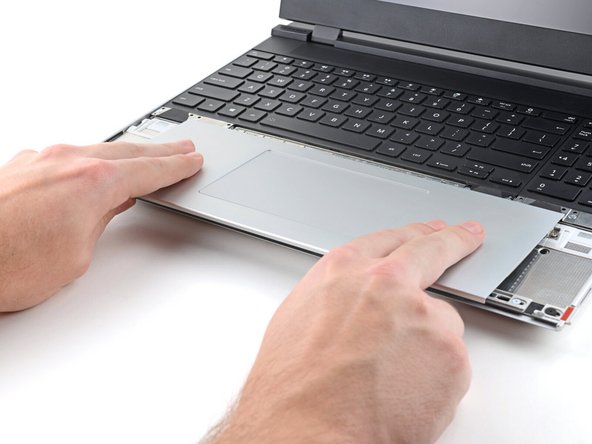
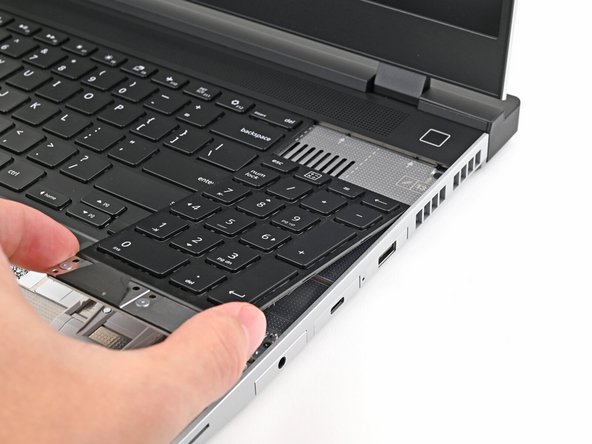
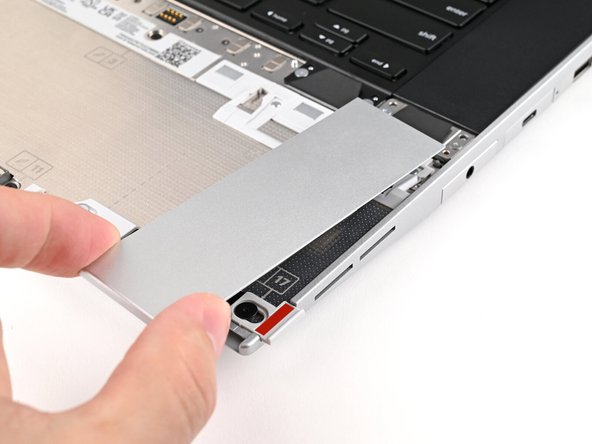
Use your fingers to slide the Touchpad Module toward the bottom edge of the laptop and disconnect it.
-
If you're having trouble, check if the Input Module latches are properly unlocked.
-
Lift the Touchpad Module and remove it.
-
-
-
The top row of Input Modules can include a combination of a keyboard and two spacers or a keyboard and a numpad.
-
The keyboard can be placed either on the left, center, or right edges of the laptop. Two spacers or a numpad can fill in the empty spaces.
-
-
-
The next three steps show how to remove the Numpad, Spacers, and the Keyboard.
-
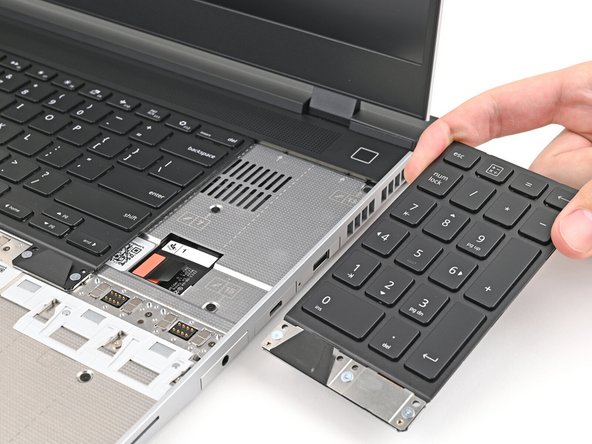
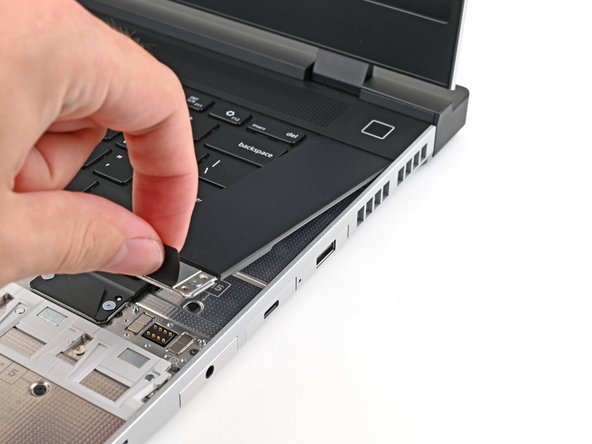
The numpad is held in place with strong magnets. Apply gradually increasing force to avoid having the Numpad violently eject.
-
Grip the pull tab at the bottom of the Numpad.
-
Lift the pull tab until the Numpad magnets release.
-
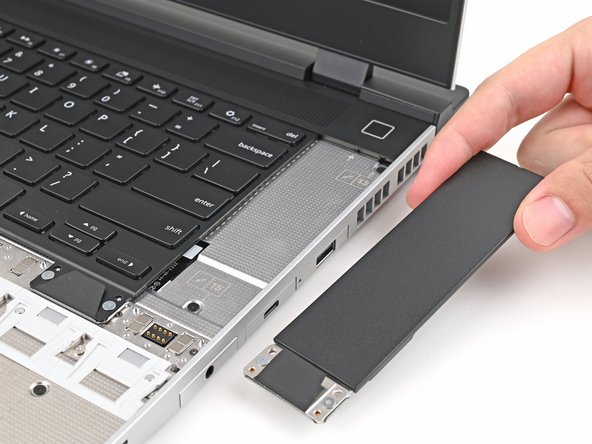
Remove the Numpad.
-
-
-
To remove a spacer, follow the same removal procedure as the Numpad.
-
-
-
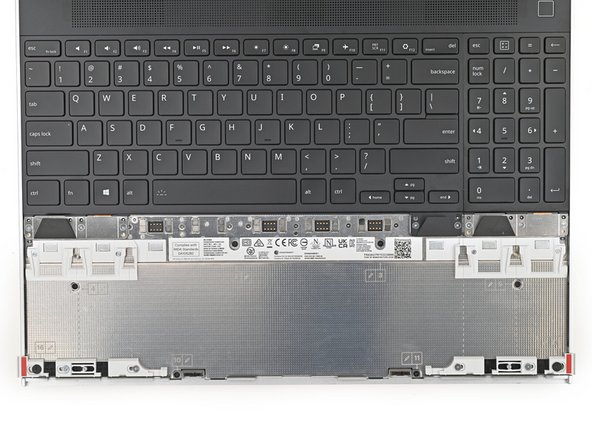
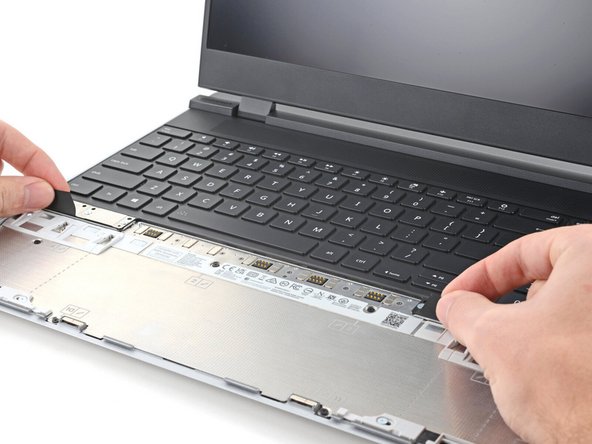
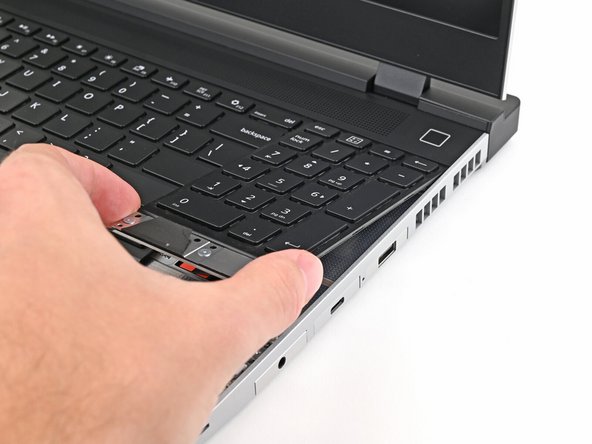
The Keyboard is held in place with strong magnets. Apply gradually increasing force to avoid having the Keyboard violently eject.
-
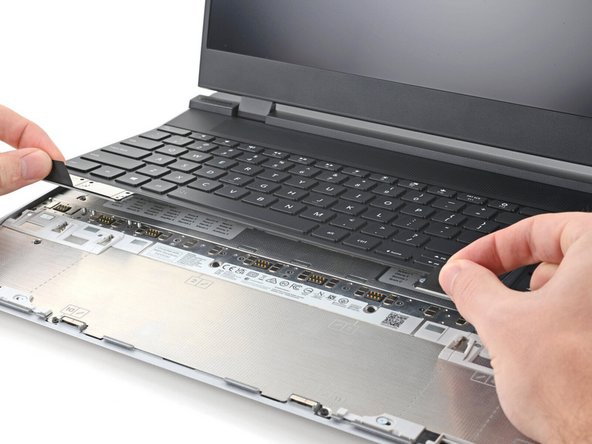
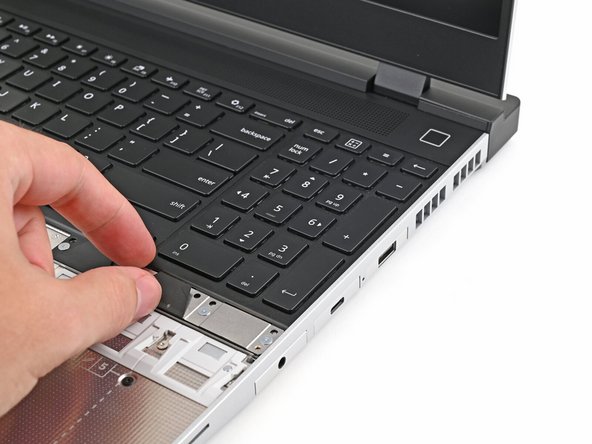
Grip the two pull tabs along the bottom of the Keyboard.
-
Lift the pull tabs until the Keyboard magnets release.
-
Remove the Keyboard.
-
-
-
The next three steps show how to install the top row of Input Modules.
-
Hold the Input Module at a slight downward angle and align it with one of the dotted lines on the Mid Plate.
-
Slide the top lip of the Input Module underneath the ventilation plate and lay the module down flat to let the magnets pull it into place.
-
Make sure the alignment pegs are slotted into the Input Module and that it sits flat. Otherwise, pull the module off the Laptop and readjust it.
-
-
-
To install a Numpad, follow the same procedure—except it'll require twice the amount of free space.
-
-
-
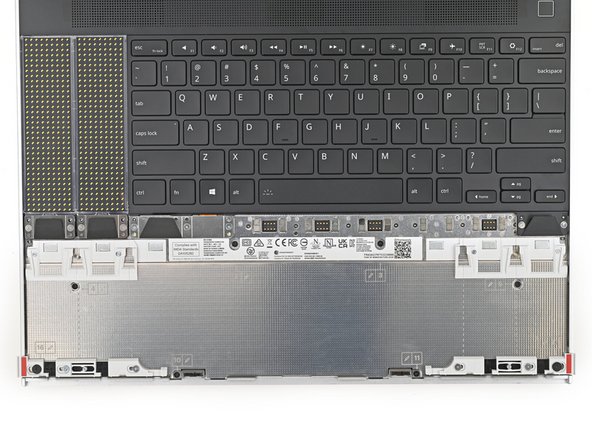
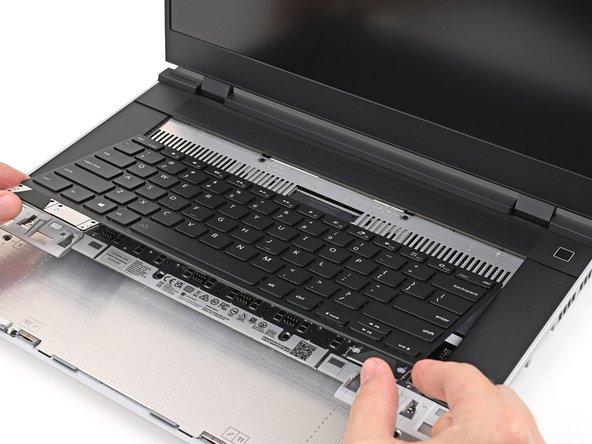
Hold the Keyboard at a slight downward angle and align it with two of the dotted lines on the Mid Plate.
-
The Keyboard can be placed either on the left, center, or right edges of the laptop.
-
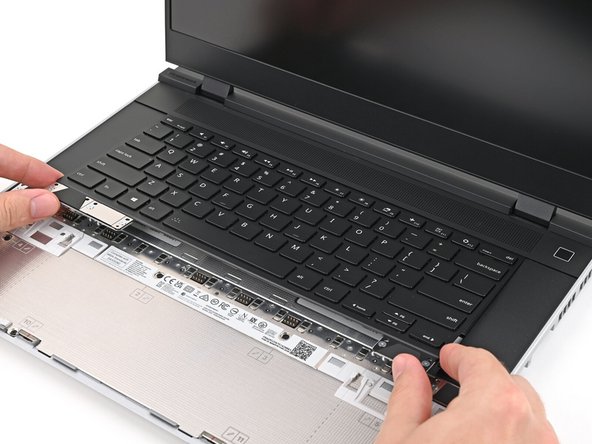
Slide the top lip of the Keyboard underneath the ventilation plate and lay the Keyboard down flat to let the magnets pull it into place.
-
Make sure the alignment pegs are slotted into the Keyboard and that it sits flat. Otherwise, pull the Keyboard off the Laptop and readjust it.
-
-
-
The next four steps show how to install the bottom row of Input Modules.
-
Place the Touchpad Spacer over its spot on the laptop with the bottom edge overhanging slightly.
-
Slide the Touchpad Spacer towards the top of the laptop to secure it.
-
-
-
Repeat the previous step for the other Touchpad Spacer.
-
-
-
Place the Touchpad Module flat on its cutout so its clips are properly aligned.
-
Press the Touchpad Module down and slide it into place so it lines up evenly with the bottom edge of the laptop.
-
-
-
Push the Input Module latches back into place to lock them.
-


If you need help, contact Framework support.
If you need help, contact Framework support.
Cancel: I did not complete this guide.
15 other people completed this guide.