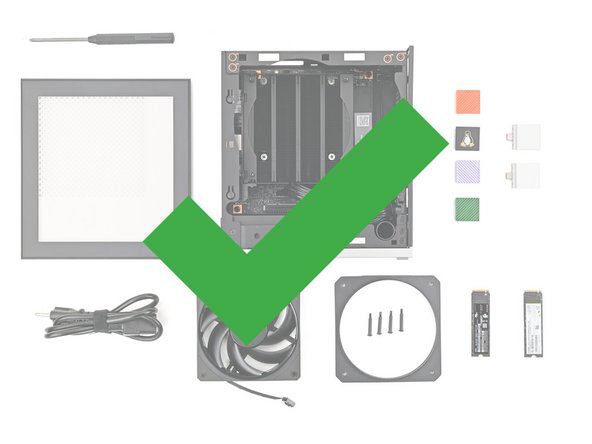
Introduction
This guide shows how to install and remove the Tiles on your Framework Desktop.
The Tiles are mainly for decoration; they aren't necessary for your desktop to function.
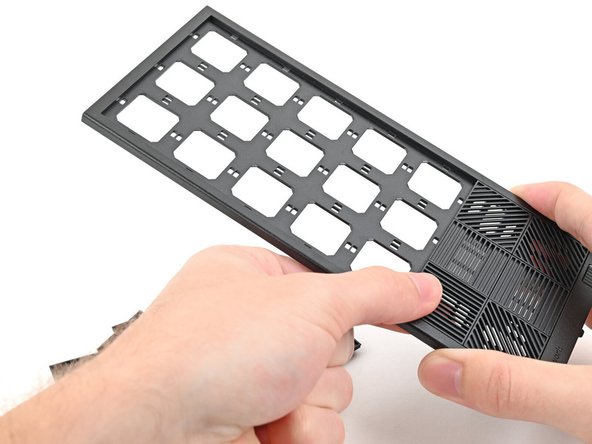
The Front Panel can support up to 21 tiles.
-
-
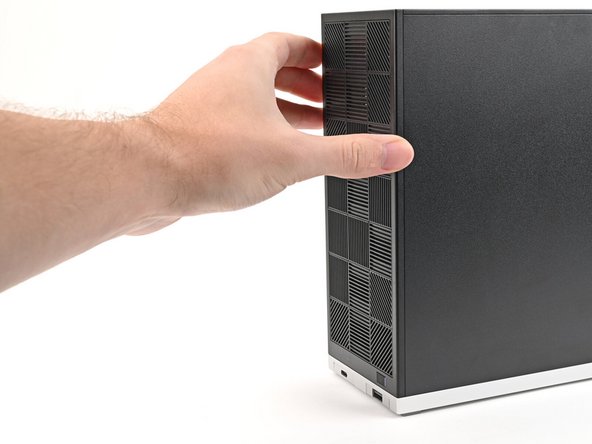
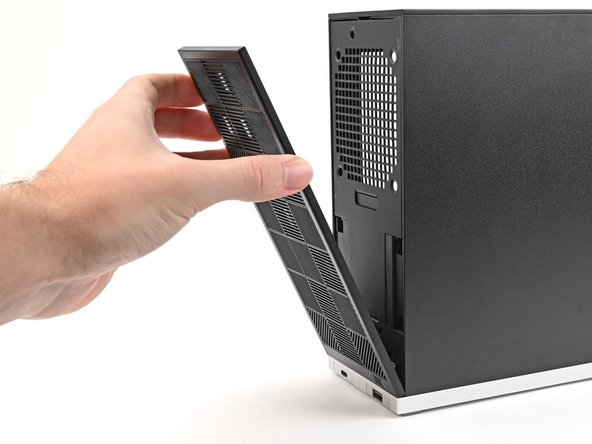
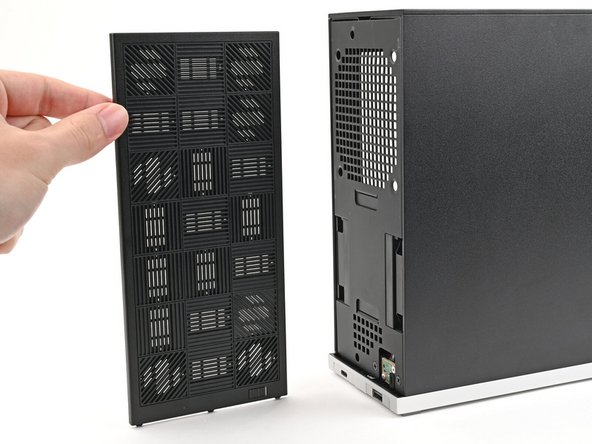
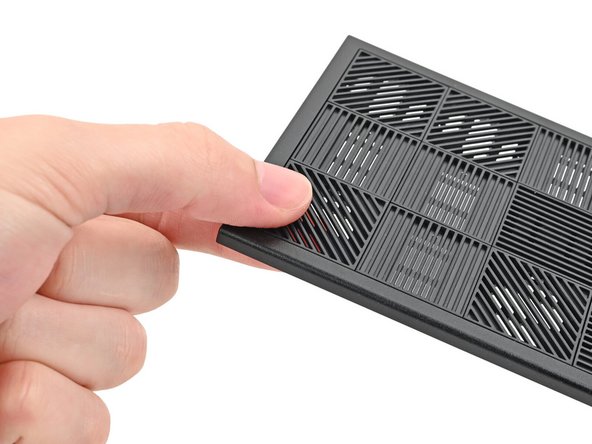
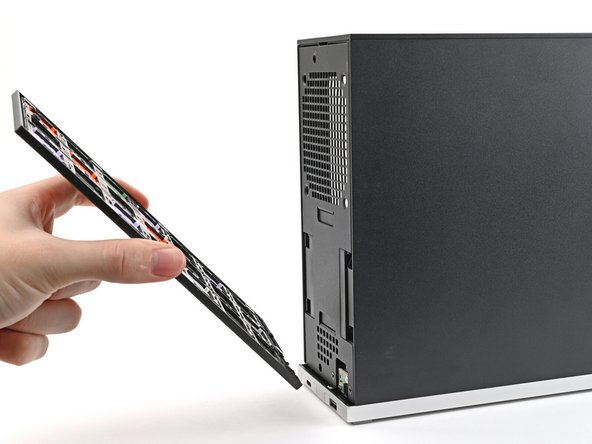
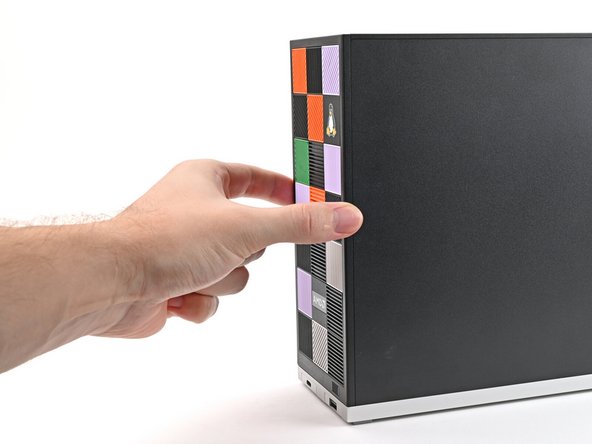
Use your fingers to pull the Front Panel off the magnets securing it to the chassis.
-
-
-
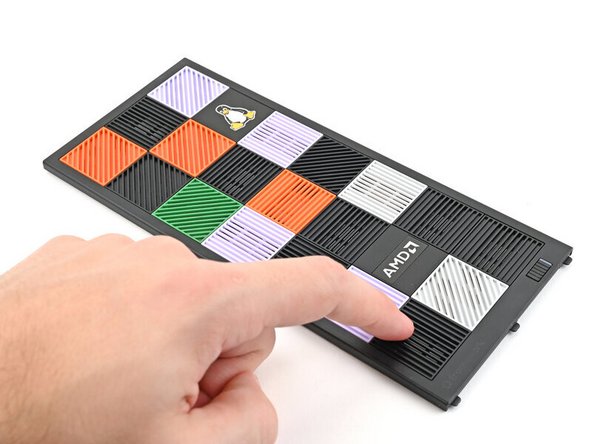
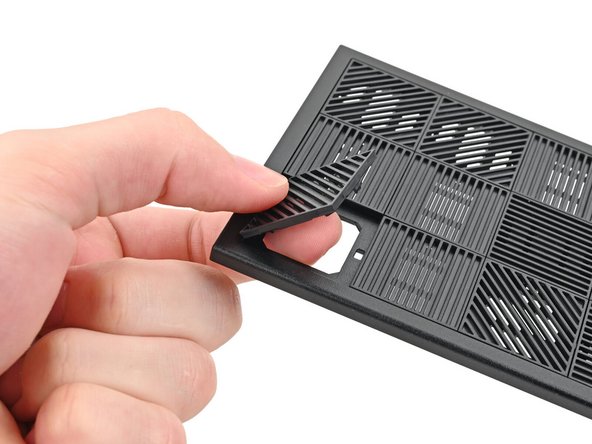
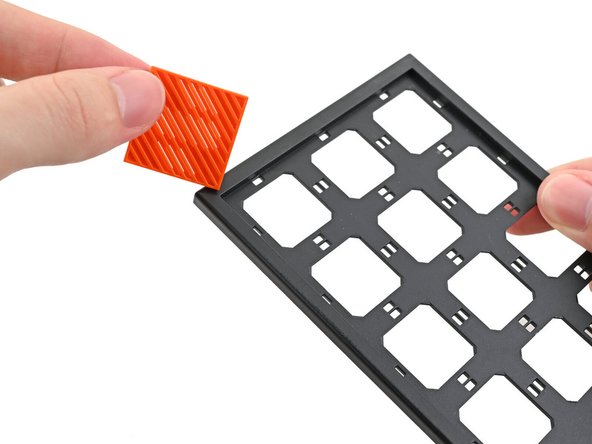
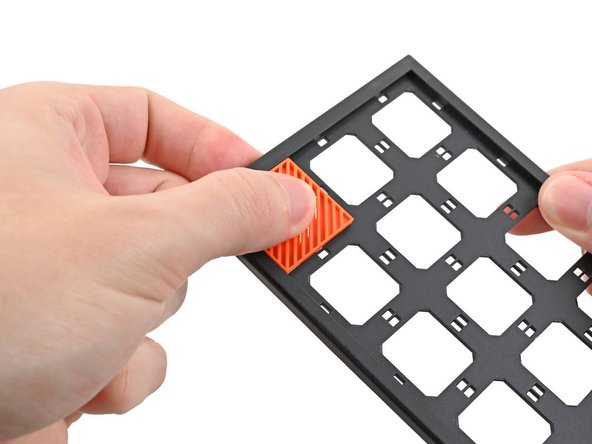
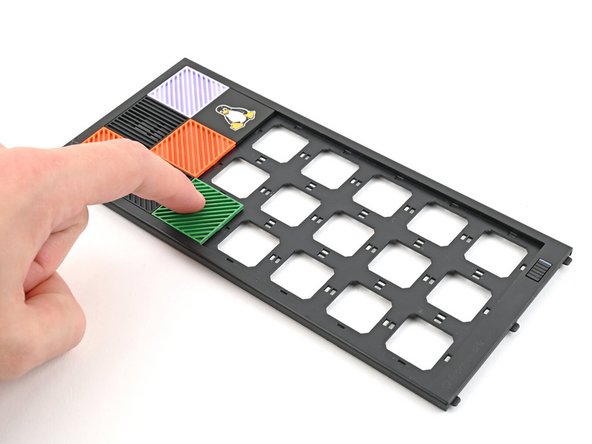
Use your fingers to push the bottom of the Tile up and off the front panel and release its clips.
-
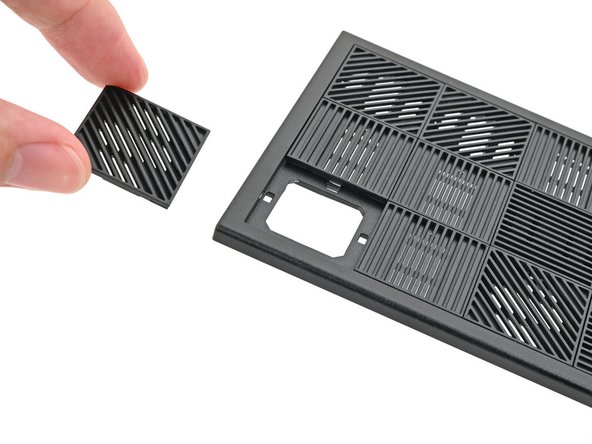
Remove the Tile.
-
-
-
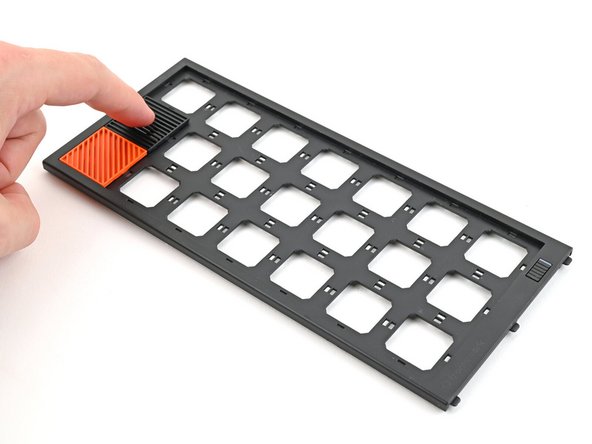
Repeat this procedure for the remaining tiles.
-
-
-
Congratulations on completing disassembly! The remaining steps will show how to reassemble your Framework Desktop.
-
-
-
Tiles can be installed in any orientation, even the ones with graphics.
-
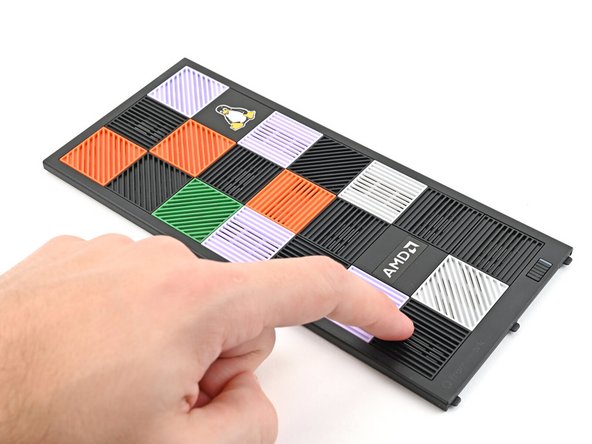
Lay a Tile over an open slot on your Front Panel.
-
Use your fingers to press the tile into the slot and engage the clips.
-
You'll hear and feel an audible "click" when the clips engage.
-
-
-
Install the remaining Tiles.
-
-
-
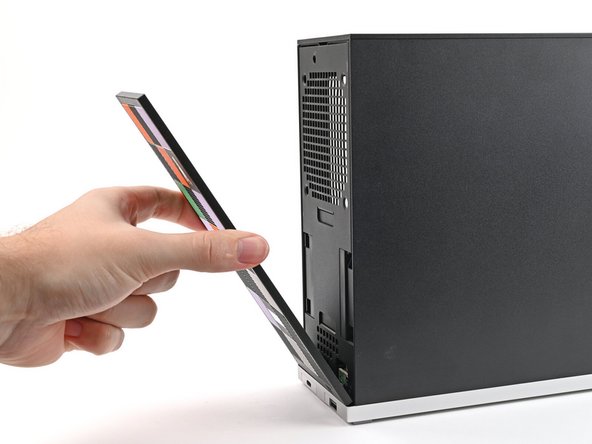
Lay the bottom of the Front Panel on the small, protruding lip in the silver base to align its tabs.
-
Press the Front Panel flat to the chassis and let it align to the magnets.
-


If you need help, contact Framework support.
If you need help, contact Framework support.