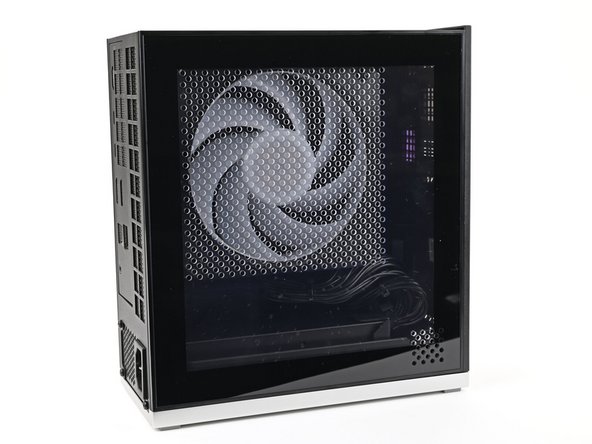
Introduction
Congratulations on getting the Framework Desktop DIY Edition! Follow this quick start guide to assemble your Desktop and get it running.
Parts
No parts specified.
-
-
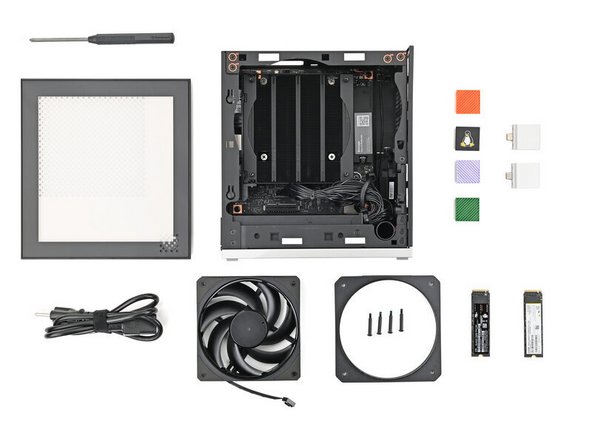
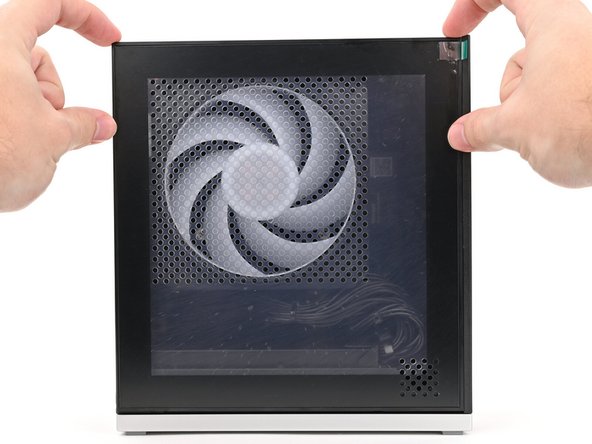
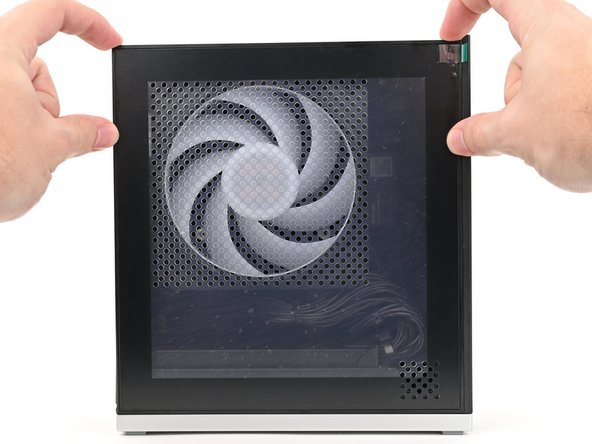
Unbox your Framework Desktop and make sure you've received the following items:
-
Framework Desktop chassis with pre-installed Mainboard, Heatsink, Power Supply, Top Panel, and Front Panel
-
Left Panel—either the Black or Translucent version
-
Framework Desktop Screwdriver
-
At least 21 Tiles for the Front Panel
-
-
-
Additionally, make sure you've received the optional items you purchased from Framework:
-
AC Cable
-
Your choice of Fan and Mounting Kit
-
Expansion Card(s)
-
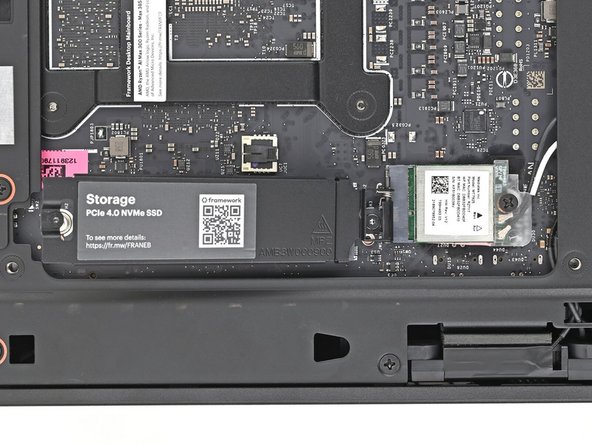
Primary and Secondary Storage
-
-
-
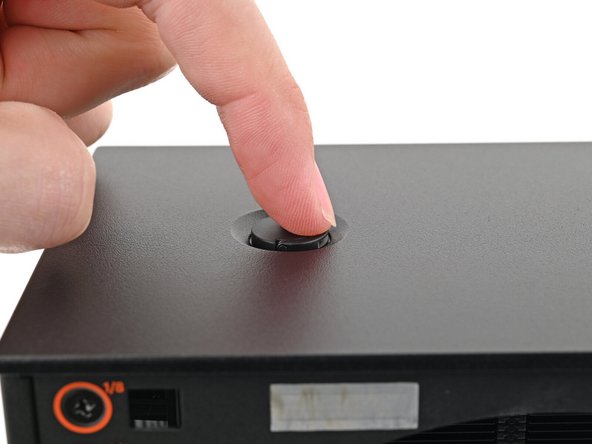
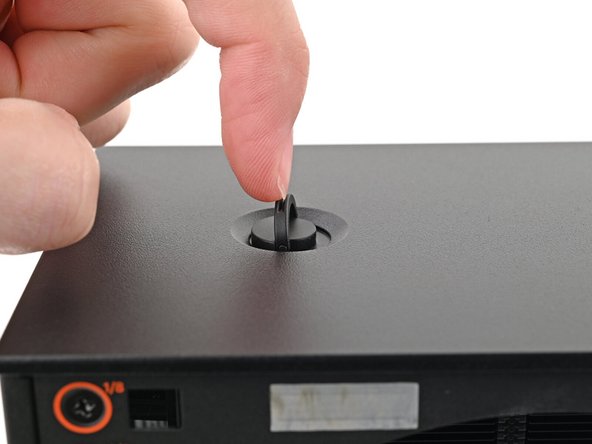
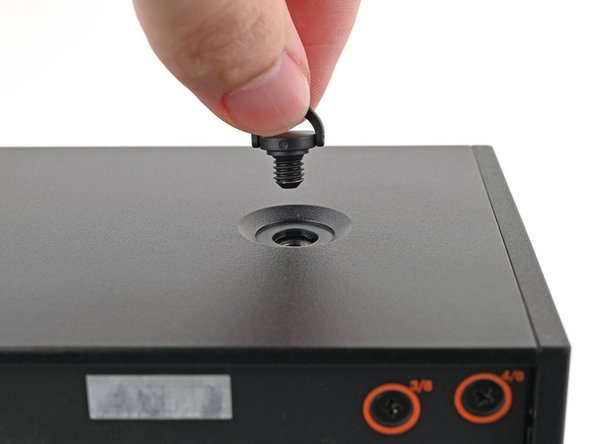
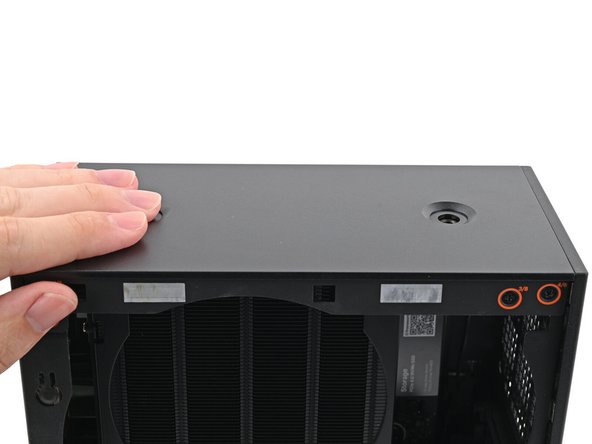
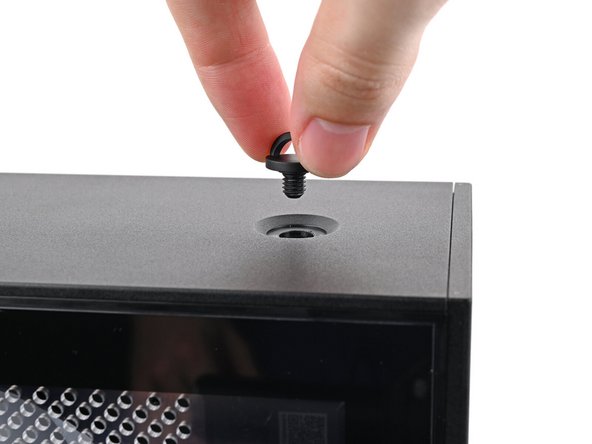
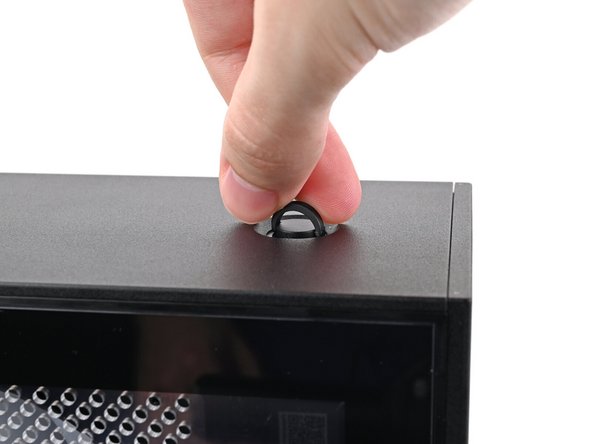
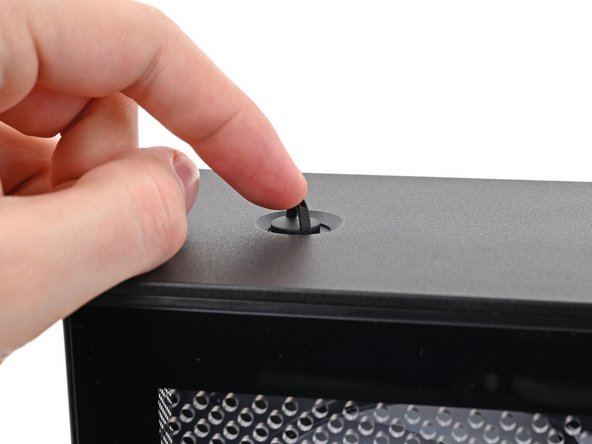
Use your finger to lift up the two D-rings on the Top Panel screws.
-
-
-
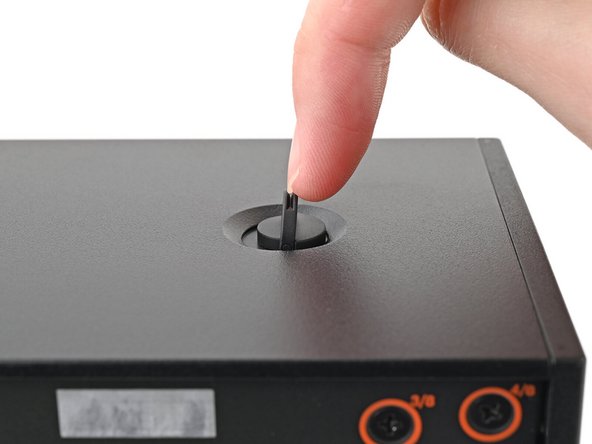
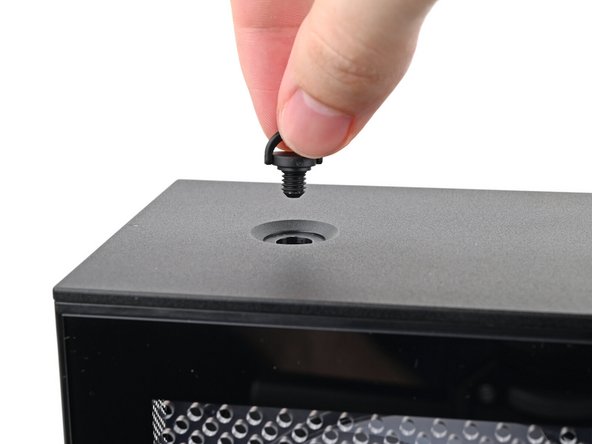
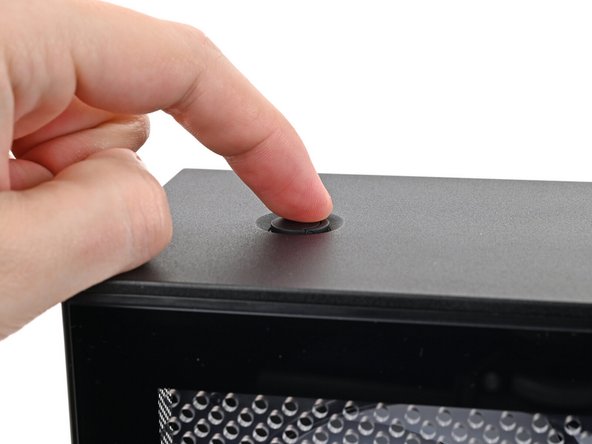
Use your fingers to twist the screw counter-clockwise and loosen it.
-
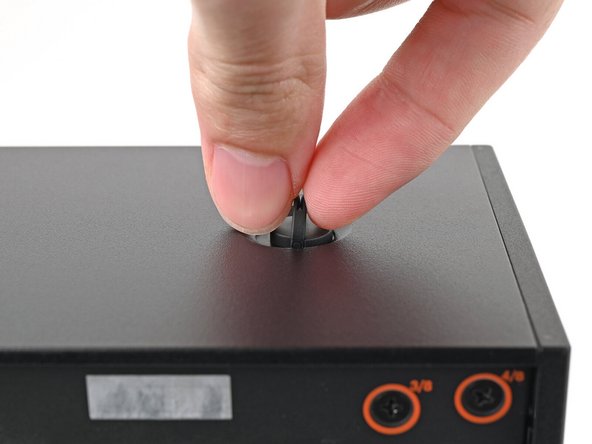
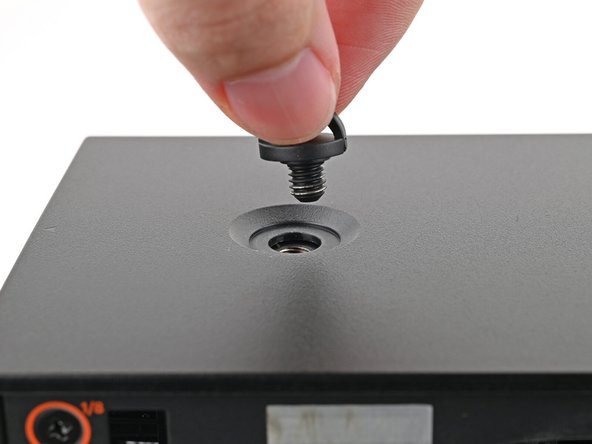
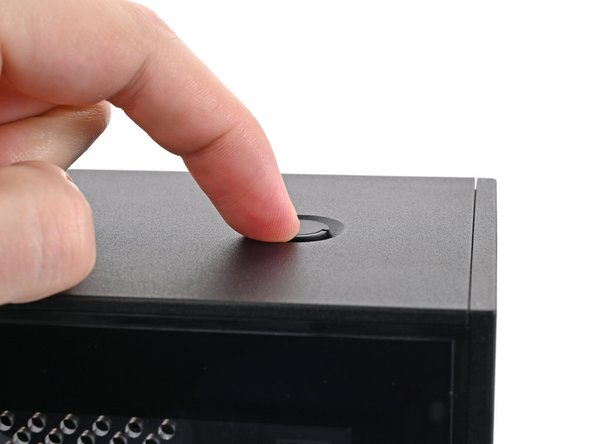
Remove the Top Panel screw.
-
-
-
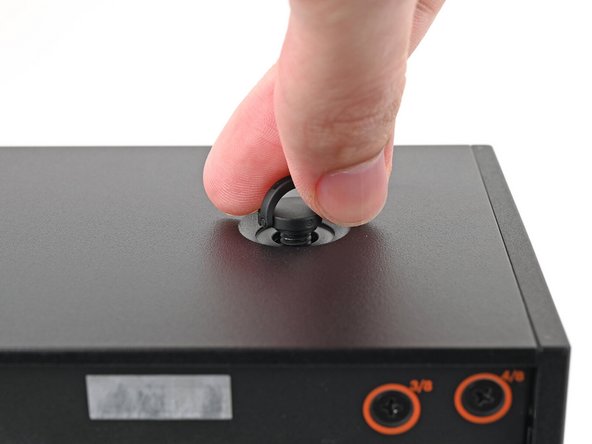
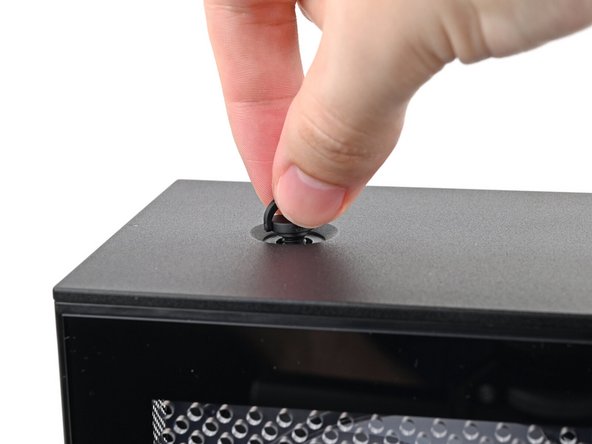
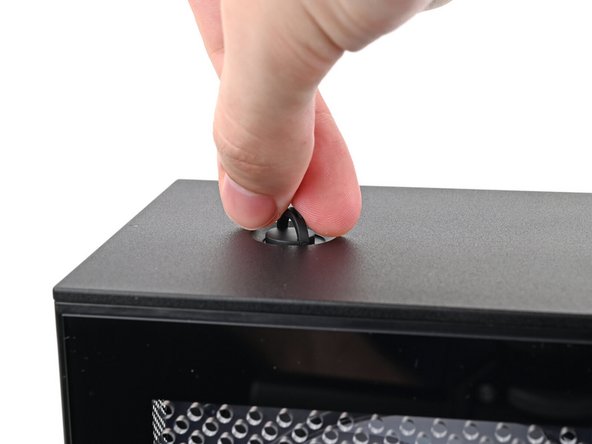
Repeat the same procedure for the other Top Panel screw.
-
-
-
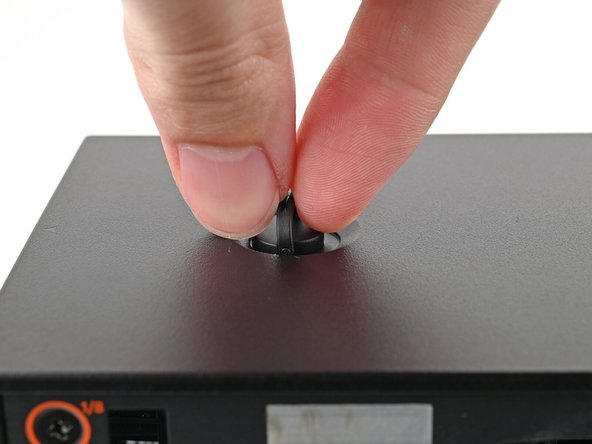
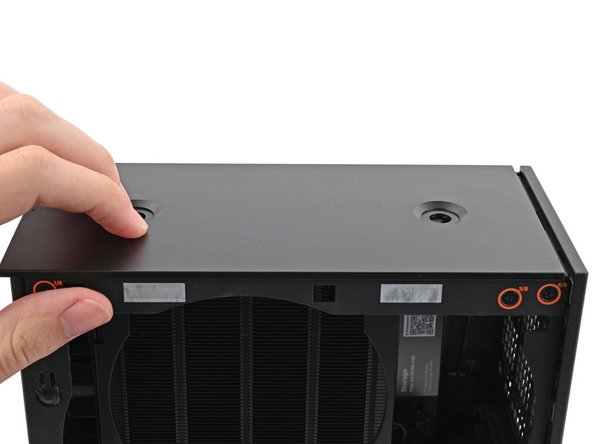
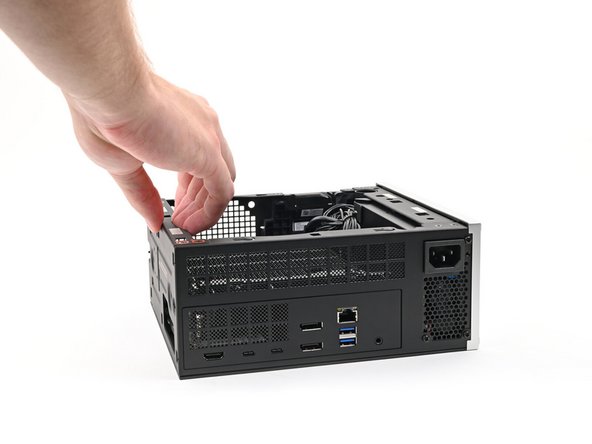
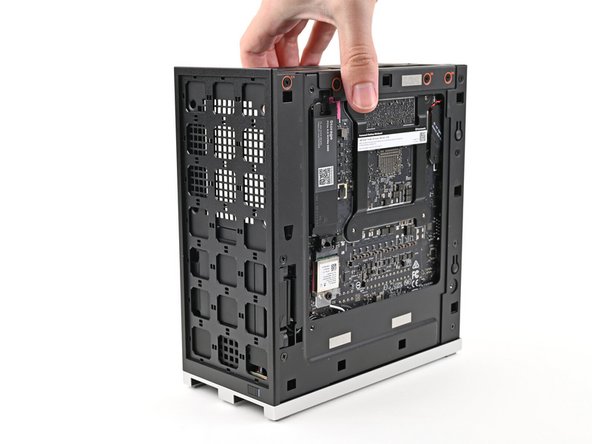
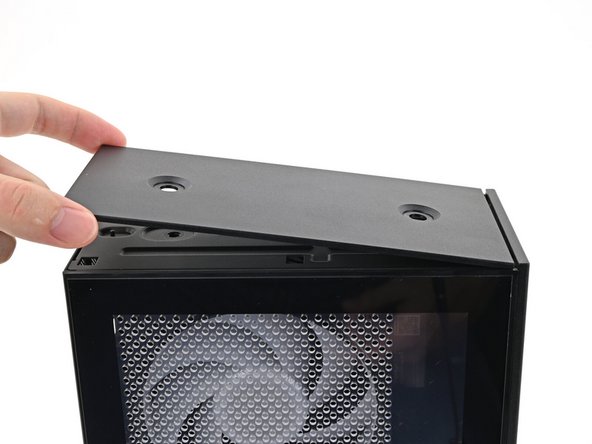
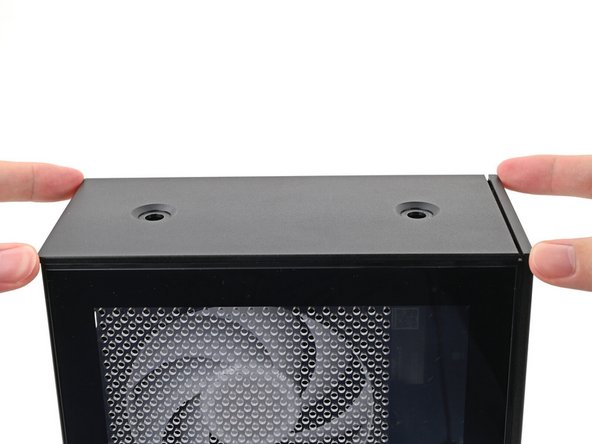
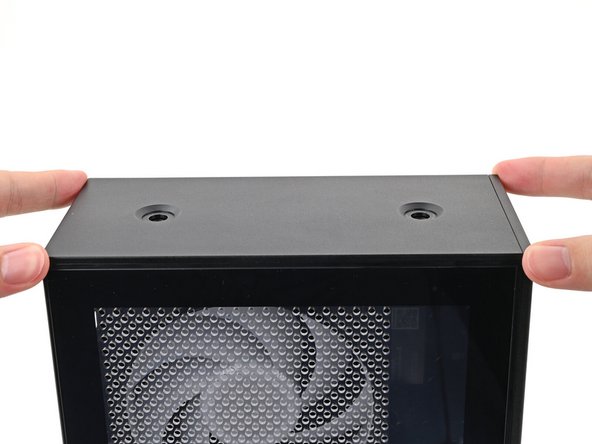
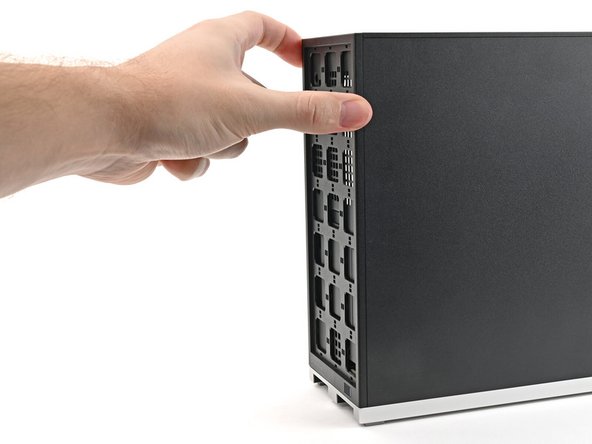
Slide the Top Panel towards the rear of the computer to release the clips securing it to the chassis.
-
If you're having a hard time gripping the Top Panel, use the screw holes to get a better handhold.
-
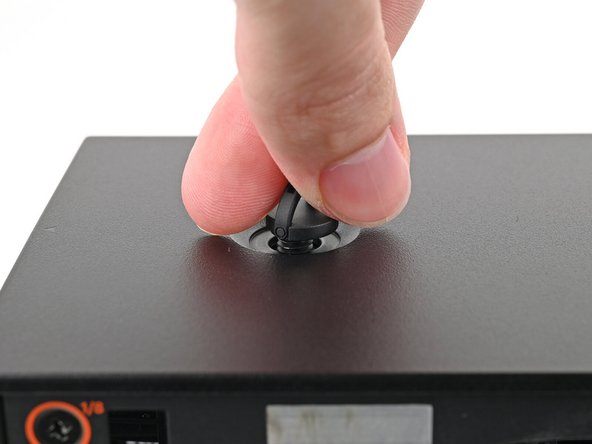
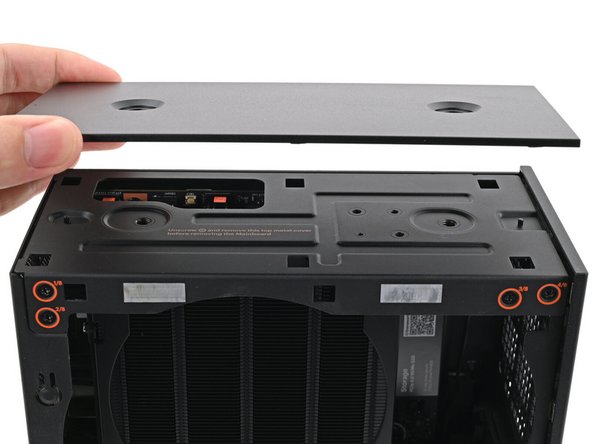
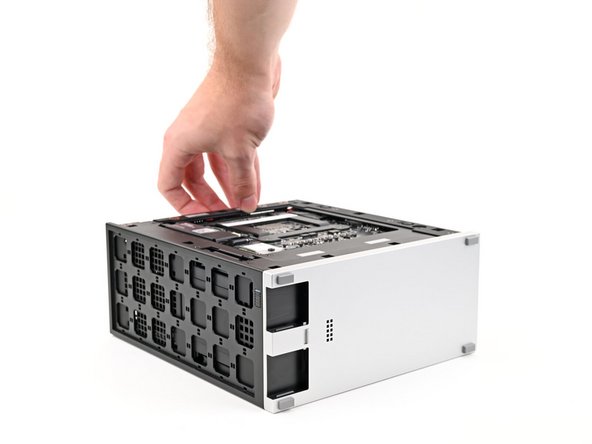
Lift the Top Panel off the chassis and remove it.
-
-
-
Lay the Desktop on its right side so its exposed internals are facing upward.
-
-
-
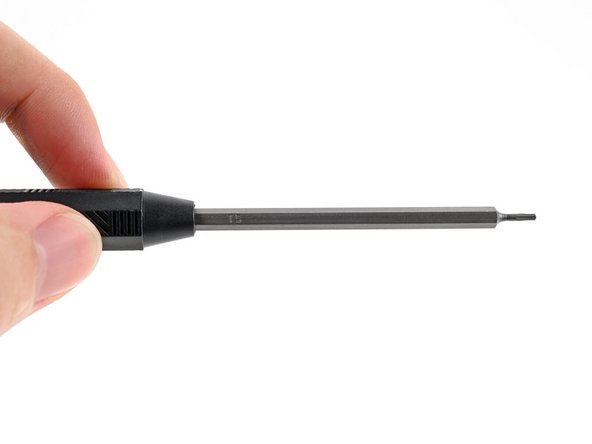
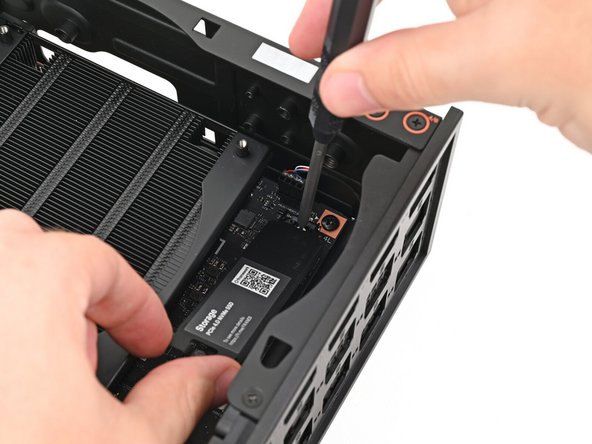
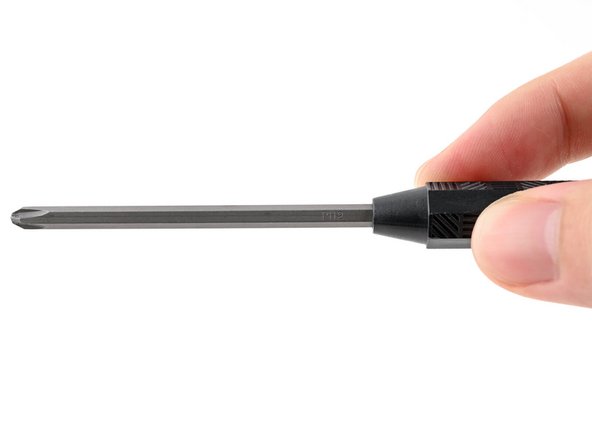
Make sure your Framework Desktop Screwdriver has the T5 Torx bit (labeled as T5) facing outwards. If it's not, pull the bit out and flip it.
-
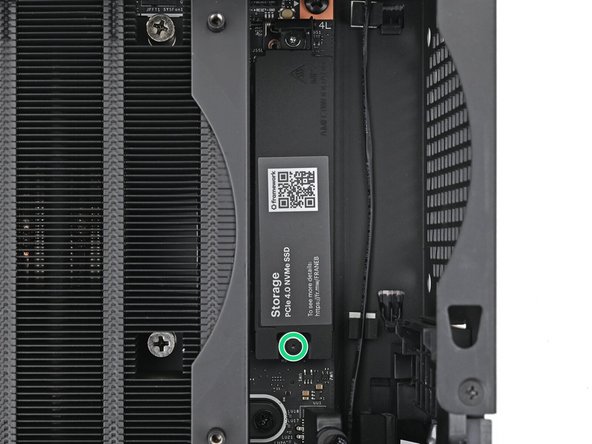
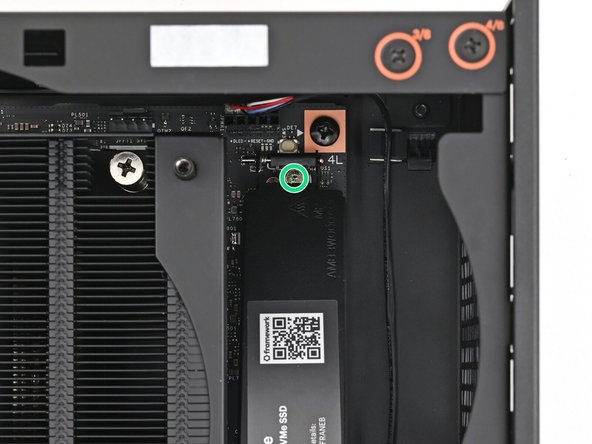
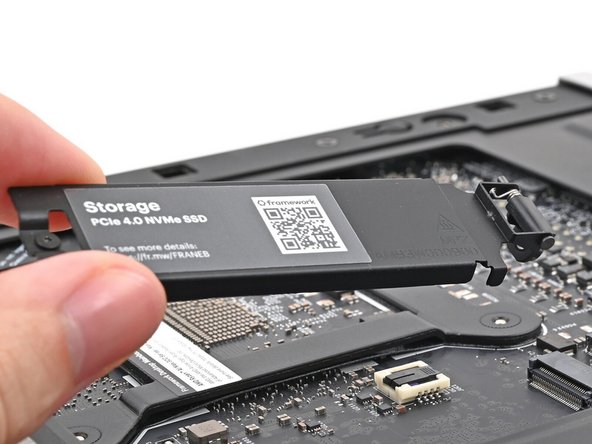
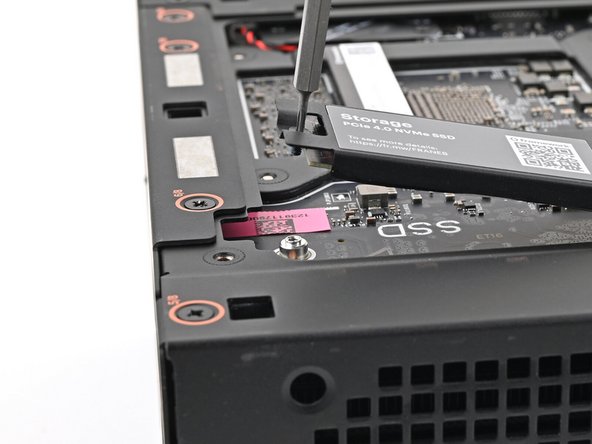
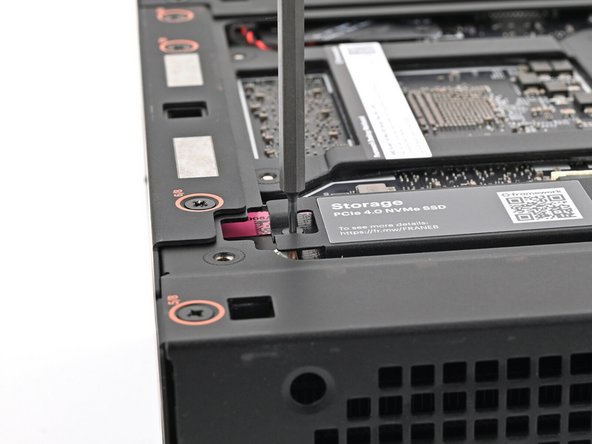
Use your Framework Desktop Screwdriver to loosen the captive screw T5 Torx securing the primary storage heat spreader.
-
The heat spreader will pop up to an angle when its screw is fully loosened.
-
-
-
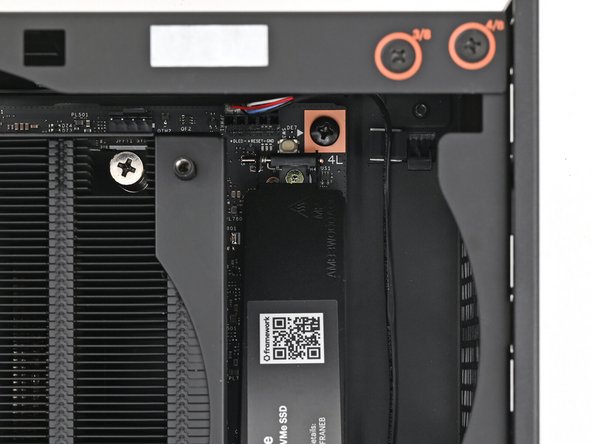
If your SSD comes with a pre-installed heat spreader, follow the next two steps. Otherwise skip to Step 11.
-
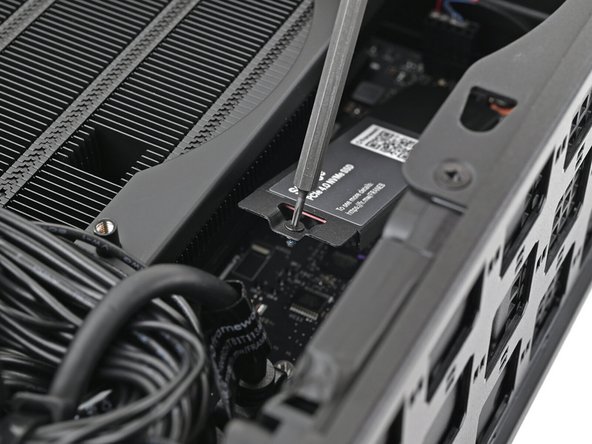
While securing the primary storage heat spreader with one hand, use your Framework Desktop Screwdriver to remove the 4.5 mm‑long T5 Torx screw securing it.
-
-
-
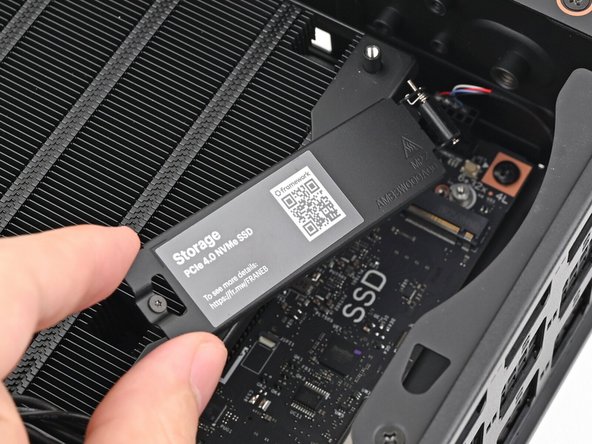
Lift the primary storage heat spreader out of the Desktop and remove it.
-
Follow the guide normally, making sure to ignore instructions that involve the primary storage heat spreader.
-
-
-
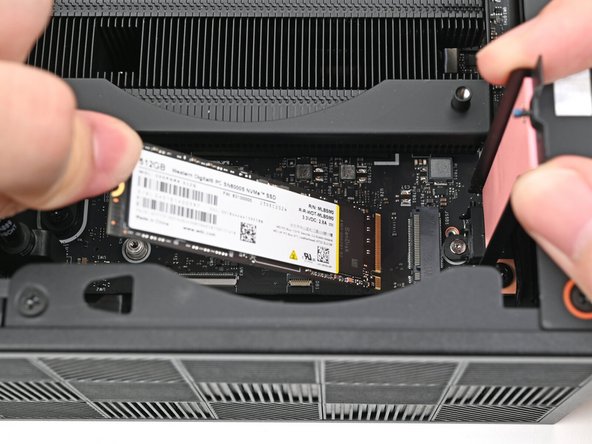
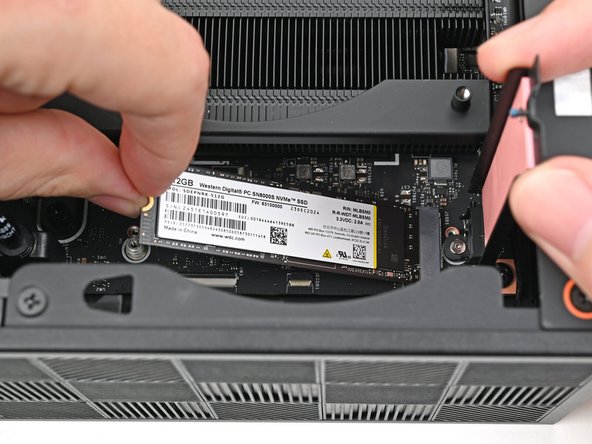
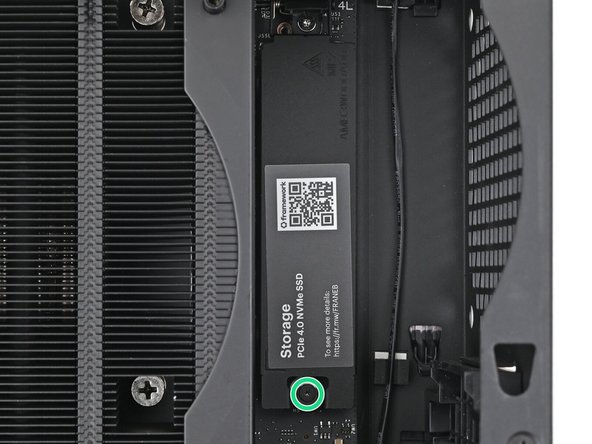
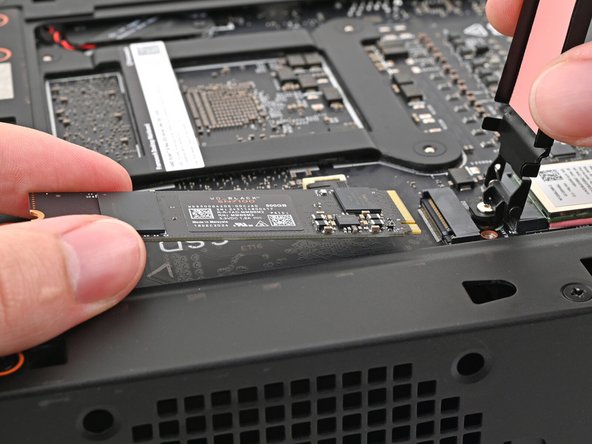
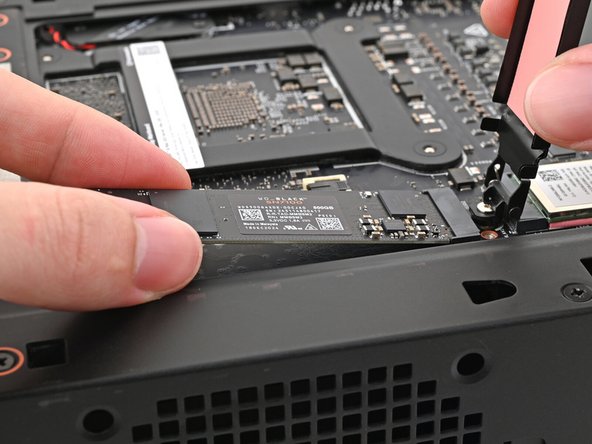
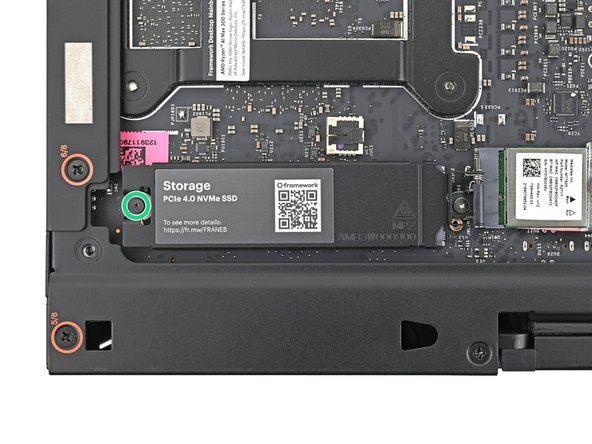
Hold the SSD by its edges. Don't touch the gold contacts with your fingers. If you do, wipe the contacts with a clean, lint-free cloth to remove any finger oils.
-
While holding the heat spreader upright, align the SSD's gold contacts with its socket.
-
Insert the SSD into the socket at a shallow angle. The gold contacts should mostly be covered by the socket.
-
The SSD fits into the socket in one orientation. If it doesn't feel like it fits, try flipping the module.
-
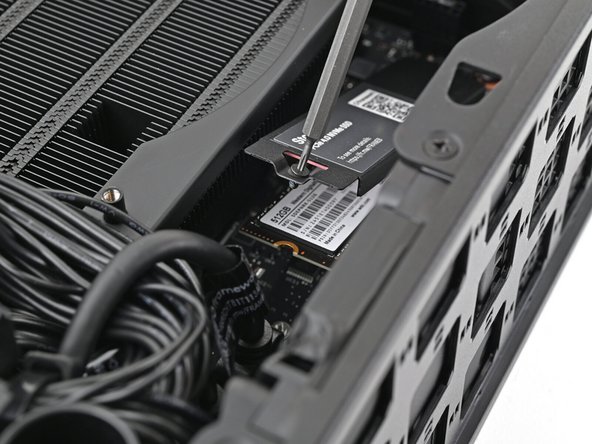
Lay the heat spreader back onto the SSD.
-
-
-
Insert your Framework Desktop Screwdriver into the captive screw on the primary storage heat spreader and press it flat to the Mainboard.
-
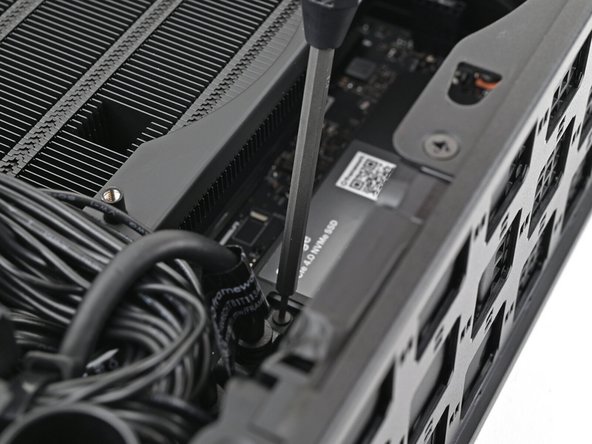
Tighten the screw securing the primary storage.
-
-
-
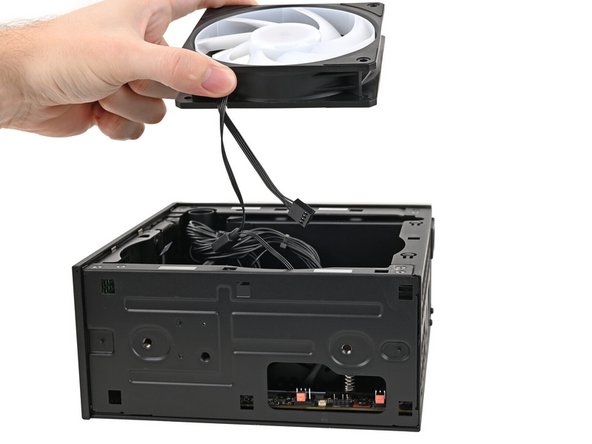
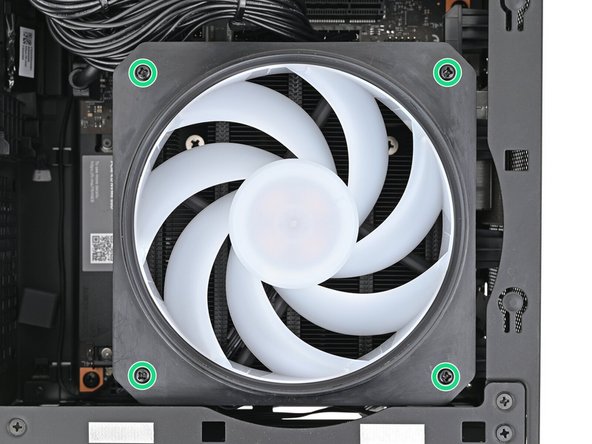
The next seven steps show how to install the CPU fan. Depending on which fan you have, these steps might look slightly different. Follow the directions closely to ensure you install your fan correctly.
-
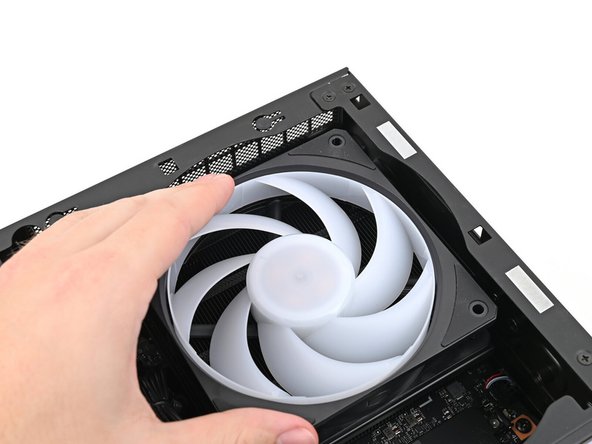
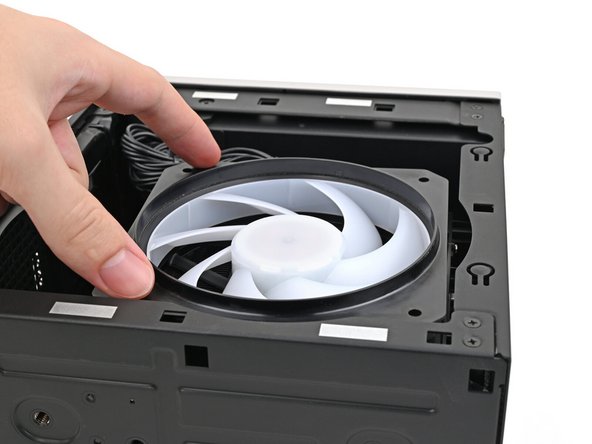
Orient the fan so its label is facing downward and the cable(s) is pointing towards the top of the computer.
-
If your fan has an arrow indicating airflow direction, make sure it's pointed towards the heatsink.
-
If you're using a different fan, orient it such that the fan is blowing towards the heatsink, not away.
-
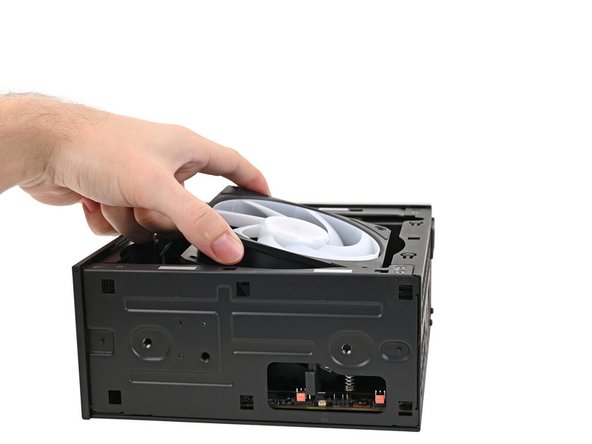
Lay the fan on top of the heatsink, making sure the cable(s) are routed so they poke out of the hole on the top of the computer.
-
-
-
If the cable(s) aren't routed properly, lift the fan up slightly and use your fingers to reposition the cables over the side of the heatsink.
-
If you're installing an RGB fan, make sure the "male" end of the RGB cable is covered and set aside in the corner of the chassis.
-
-
-
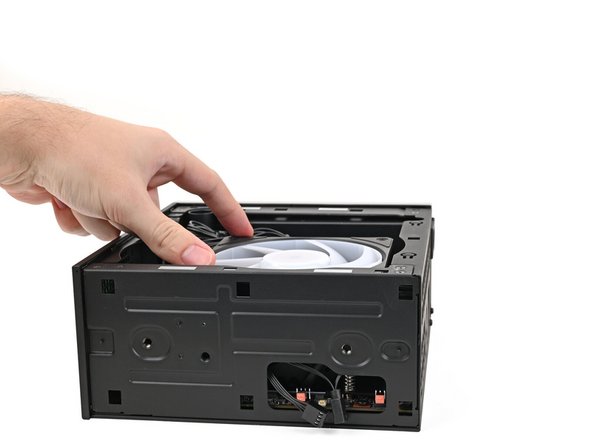
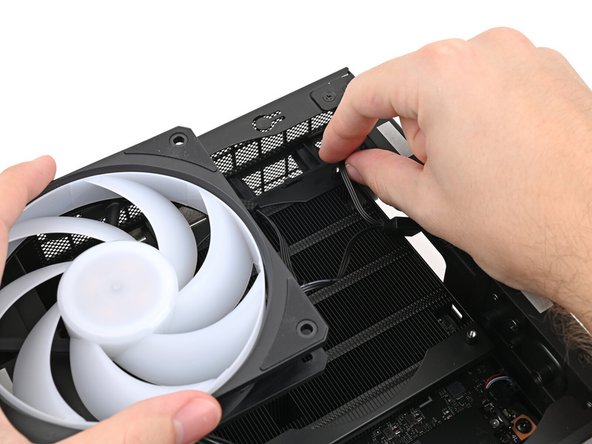
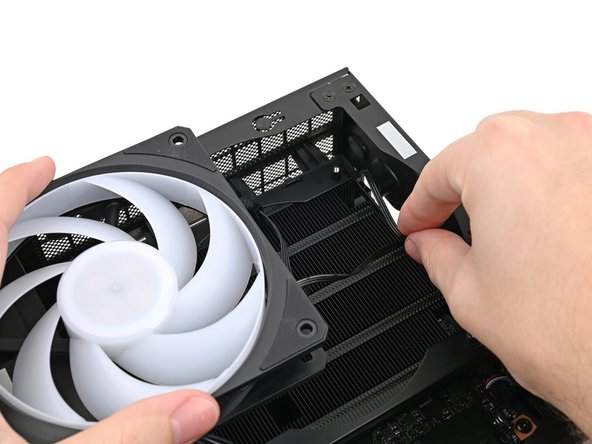
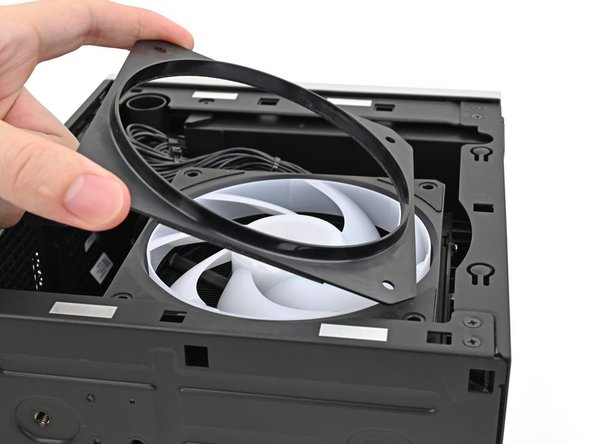
Lay the fan duct on top of the fan with the lip facing upward.
-
Align the screw holes on the fan duct with the ones on the fan.
-
-
-
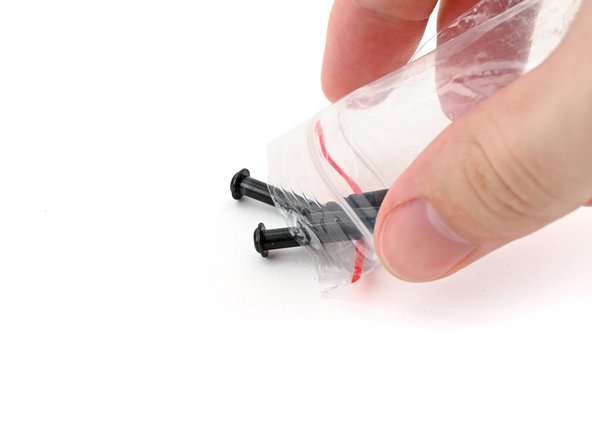
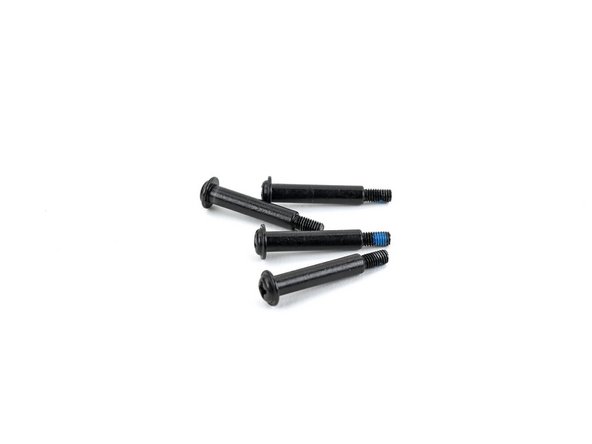
Remove the fan screws from their packaging and make sure there are four screws total.
-
-
-
Make sure your Framework Desktop Screwdriver has the Phillips #2 bit (labeled as PH2) facing outwards. If it's not, pull the bit out and flip it.
-
Use your Framework Desktop Screwdriver to install the four 27.3 mm‑long Phillips screws securing the fan and fan duct.
-
-
-
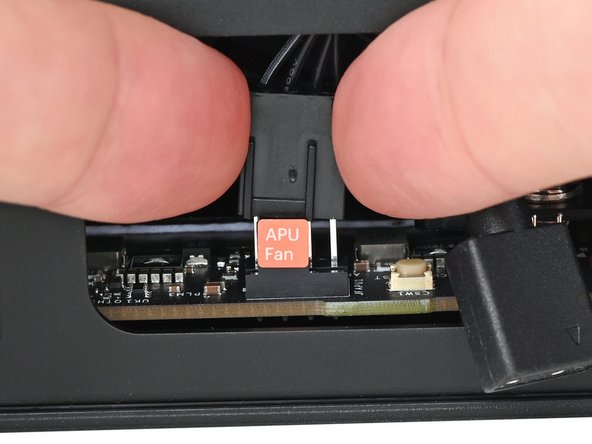
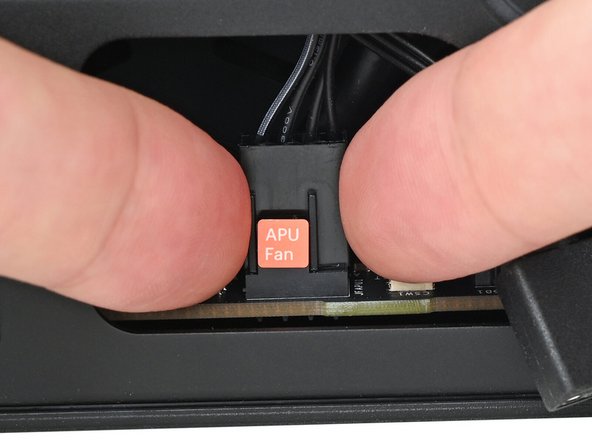
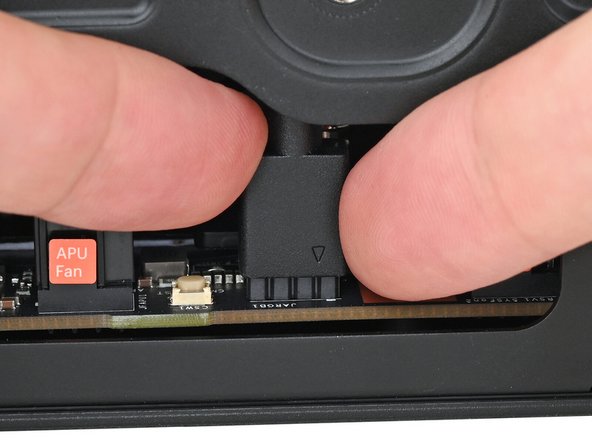
Orient the main fan cable so its two vertical lines are facing you.
-
Slide the main fan cable over the four-pronged connector labeled "APU Fan," making sure the orange label slots between the vertical lines.
-
-
-
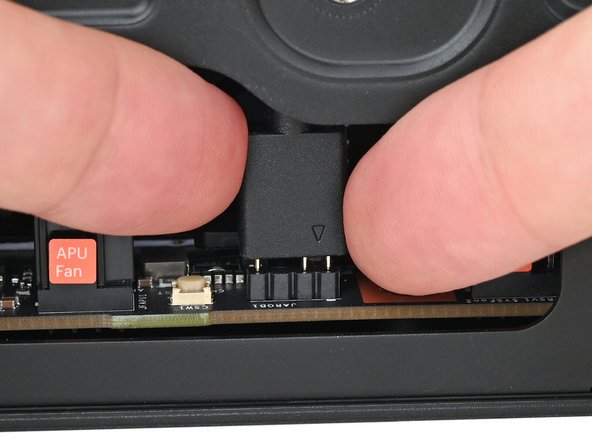
If you aren't using an RGB fan, then skip this step.
-
Orient the RGB cable so the arrow is on the right side of the connector.
-
Use your fingers to slide the RGB cable over the three pronged connector located to the right of the "APU Fan" connector.
-
-
-
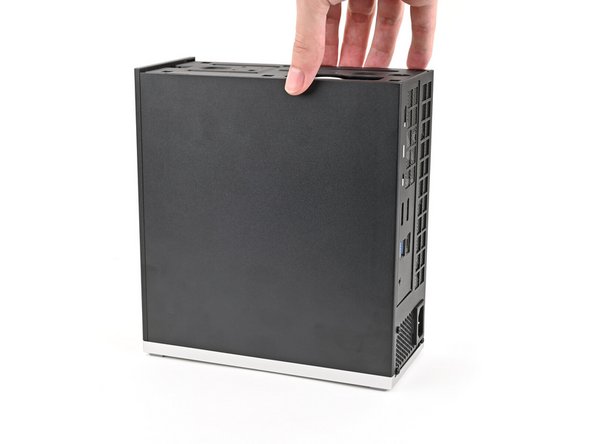
Rotate the Desktop so it sits upright on your work surface.
-
-
-
Slide the Left Panel onto the left edge of the chassis, from top to bottom, and press it flat to ensure its clips are slotted into place.
-
There should be a small gap between the bottom of the Left Panel and the silver base.
-
Push the Left Panel towards the base of the computer to engage the clips.
-
-
-
The next seven steps show how to install a secondary SSD. If you don't have another SSD, skip to Step 31.
-
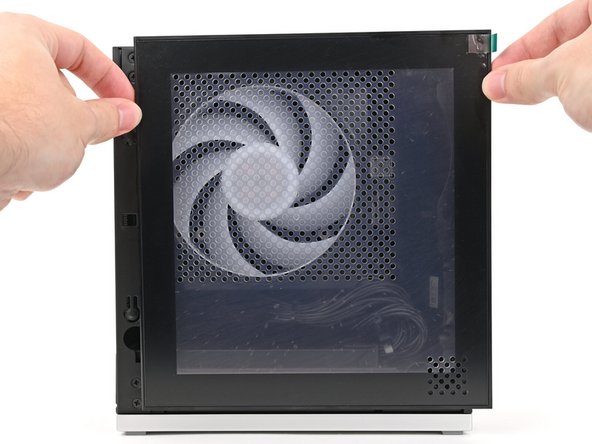
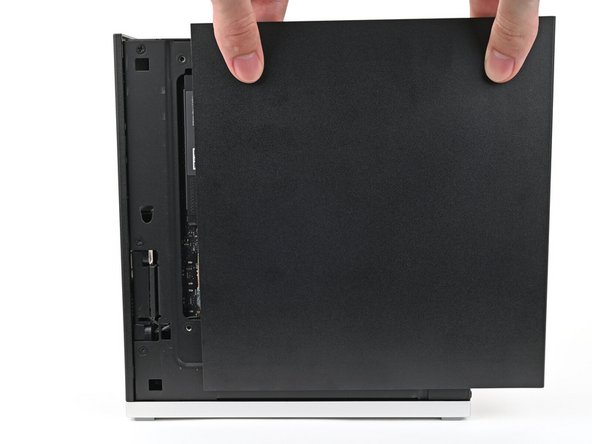
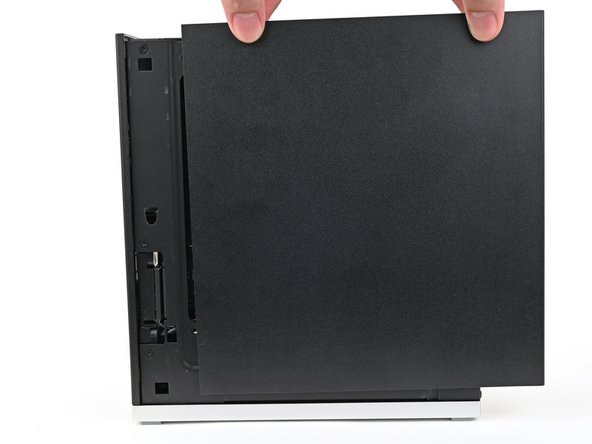
Use your fingers to grip the top of the Right Panel and slide it upward to release its clips.
-
Remove the Right Panel.
-
-
-
Lay the left side of the Desktop on your work surface so the Mainboard is facing upward.
-
-
-
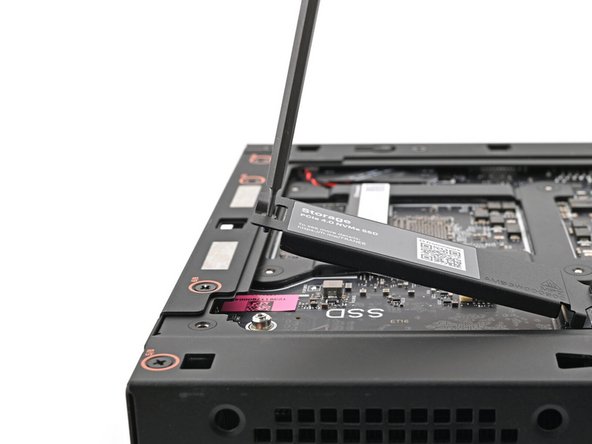
Make sure your Framework Desktop Screwdriver has the T5 Torx bit (labeled as T5) facing outwards. If it's not, pull the bit out and flip it.
-
Use your Framework Desktop Screwdriver to loosen the captive T5 Torx screw securing the secondary storage.
-
The heat spreader will pop up to an angle when its screw is fully loosened.
-
-
-
If your SSD comes with a pre-installed heat spreader, follow the next two steps. Otherwise skip to Step 27.
-
While securing the secondary storage heat spreader with one hand, use your Framework Desktop Screwdriver to remove the 4.5 mm‑long T5 Torx screw securing it.
-
-
-
Lift the secondary storage heat spreader out of the Desktop and remove it.
-
Follow the guide normally, making sure to ignore instructions that involve the secondary heat spreader.
-
-
-
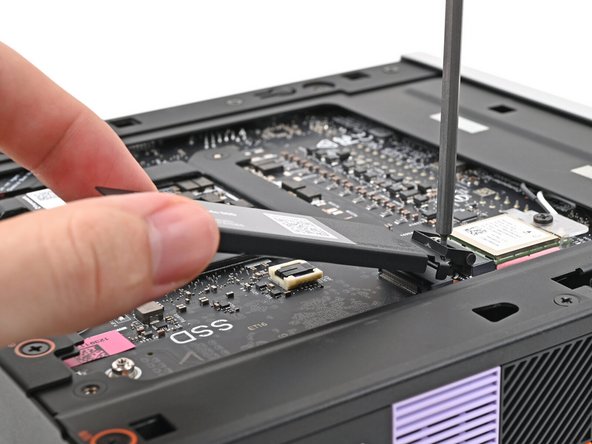
Hold the SSD by its edges. Don't touch the gold contacts with your fingers. If you do, wipe the contacts with a clean, lint-free cloth to remove any finger oils.
-
While holding the heat spreader upright, align the SSD's gold contacts with its socket.
-
Insert the SSD into the socket at a shallow angle. The gold contacts should be mostly covered by the socket.
-
The SSD fits into the socket in one orientation. If it doesn't feel like it fits, try flipping the module.
-
-
-
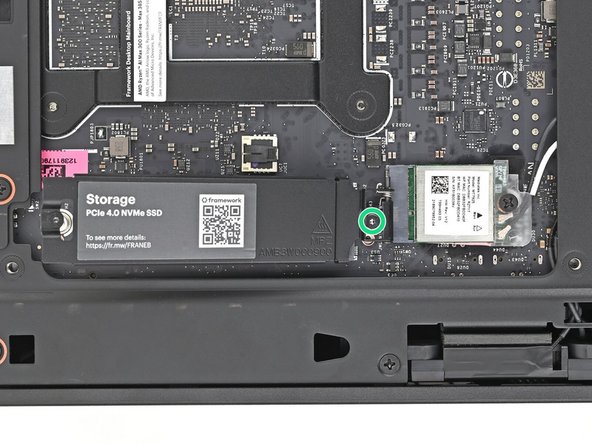
Insert your Framework Desktop Screwdriver into the captive screw on the secondary storage heat spreader and press it flat to the Mainboard.
-
Tighten the screw securing the secondary storage.
-
-
-
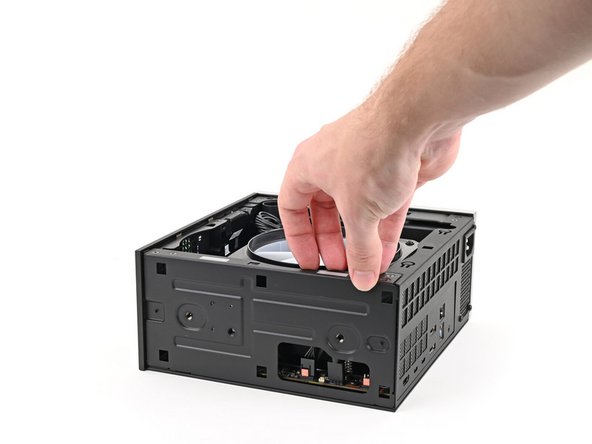
Lift the Desktop so it stands upright on your work surface.
-
-
-
Slide the Right Panel onto the right edge of the chassis and press it flat to ensure its clips are slotted into place.
-
There should be a small gap between the bottom of the Right Panel and the silver base.
-
Push the Right Panel towards the base of the computer to engage the clips.
-
-
-
Orient the Top Panel so its arrow is pointing towards the rear of the computer.
-
While holding the Top Panel at a slight downward angle, slide it across the top of the chassis (from rear to front) until you feel its clips catch.
-
There should be a small gap between the Top Panel and the front of the Desktop
-
Lay the Top Panel flat on the chassis to align the remaining clips.
-
-
-
While securing the computer with one hand, use the other hand to slide the Top Panel towards the front of the computer and engage the clips.
-
-
-
Insert the Top Panel screw into its hole and twist clockwise until it feels snug.
-
-
-
Repeat the same procedure for the other Top Panel screw.
-
-
-
Use your finger to close the two D-rings on the Top Panel screws.
-
-
-
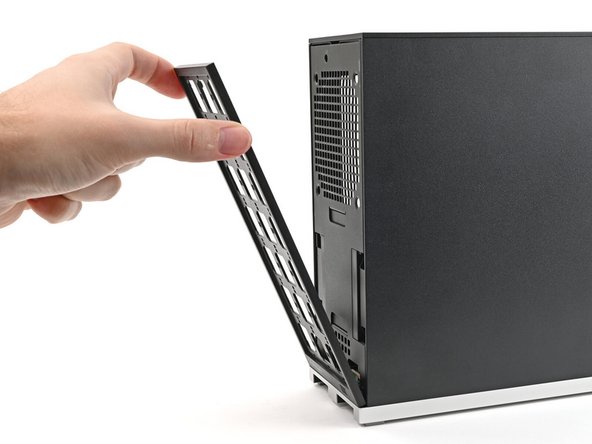
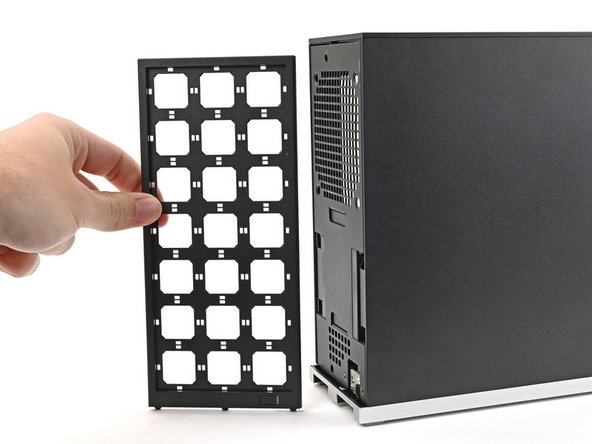
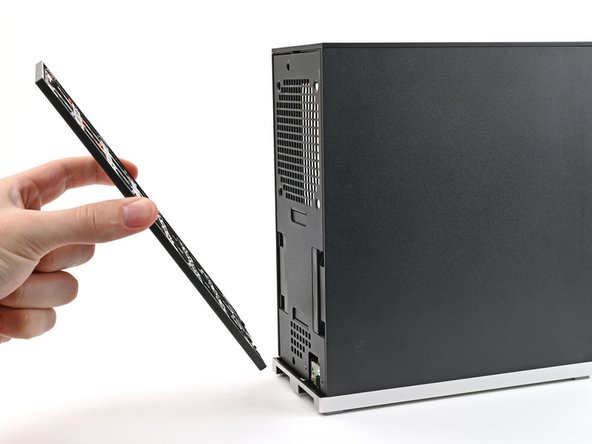
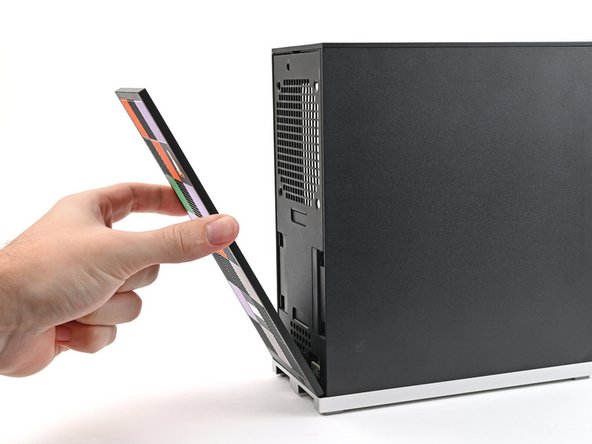
Use your fingers to pull the Front Panel off the magnets securing it to the chassis.
-
-
-
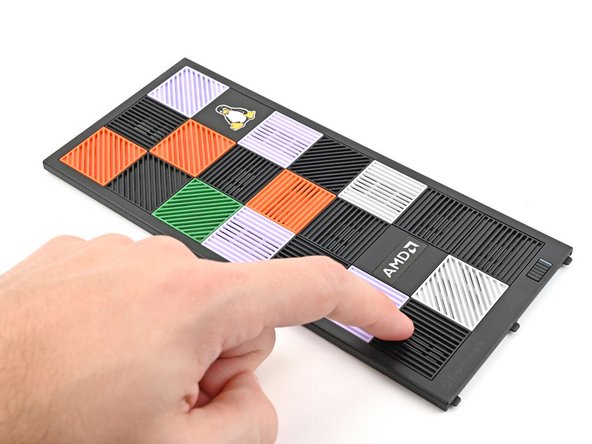
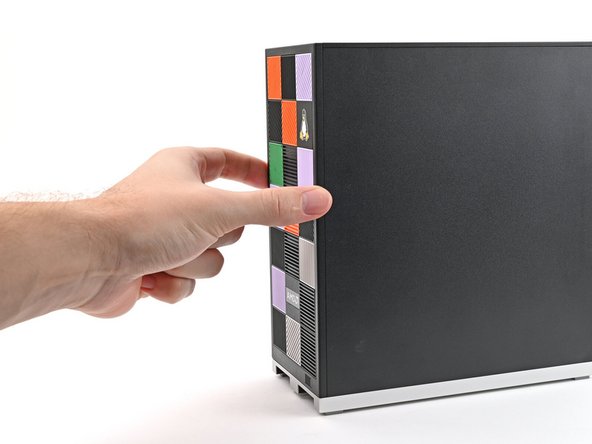
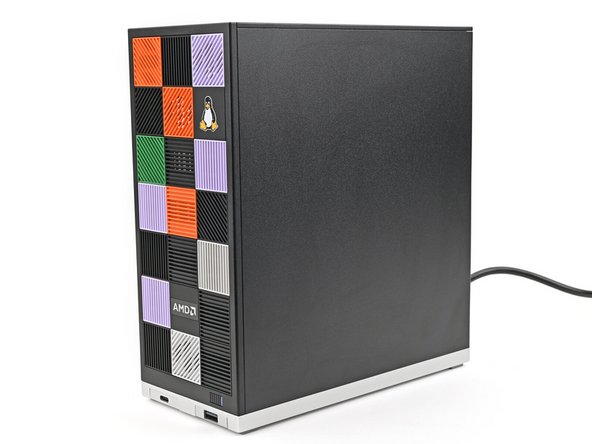
Depending on what Tiles you ordered, your setup could look different. You should have at least 21 tiles to completely fill out your Front Panel.
-
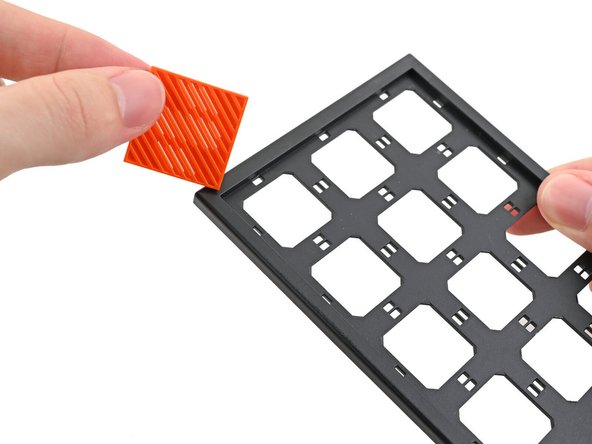
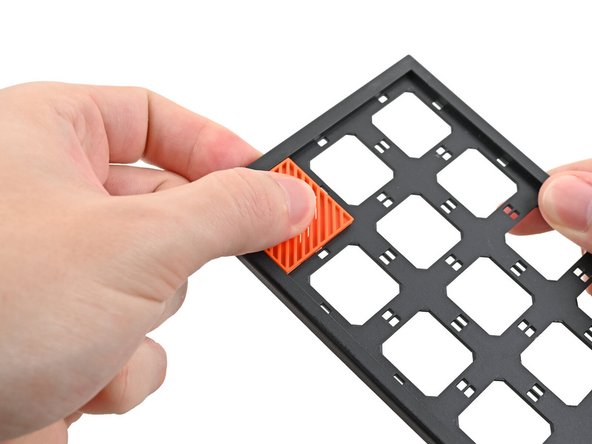
Lay a Tile over an open slot on the Front Panel.
-
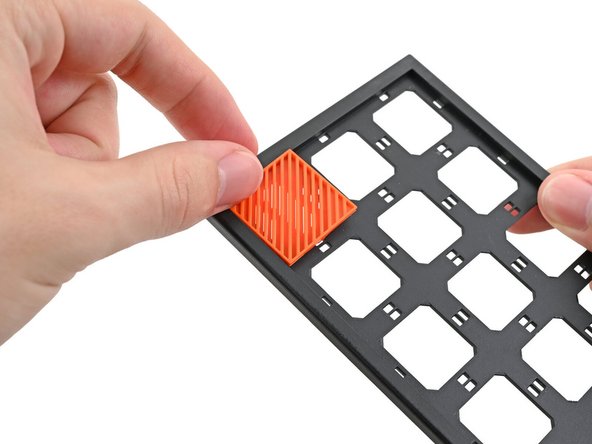
Use your fingers to press the tile into the slot and engage the clips.
-
You'll hear and feel an audible "click" when the clips engage.
-
-
-
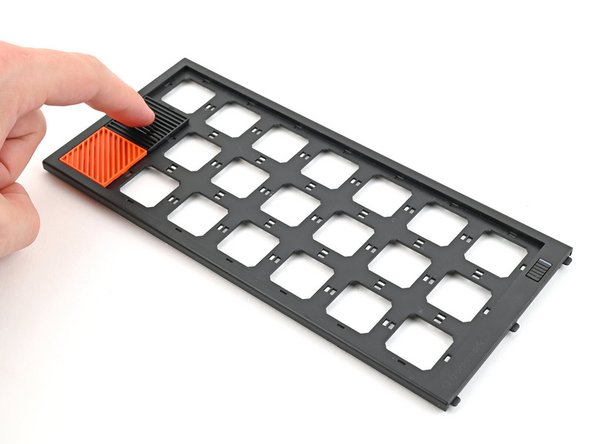
Install the remaining Tiles.
-
-
-
Lay the bottom of the Front Panel on the small, protruding lip in the silver base to align its tabs.
-
Press the Front Panel flat to the chassis and let it align to the magnets.
-
-
-
Rotate the Desktop so its rear is resting on your workspace.
-
-
-
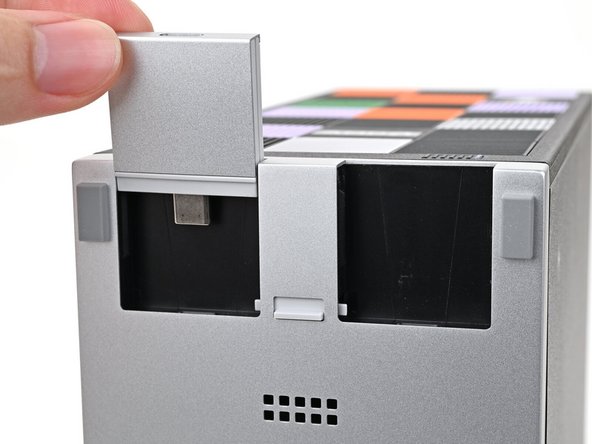
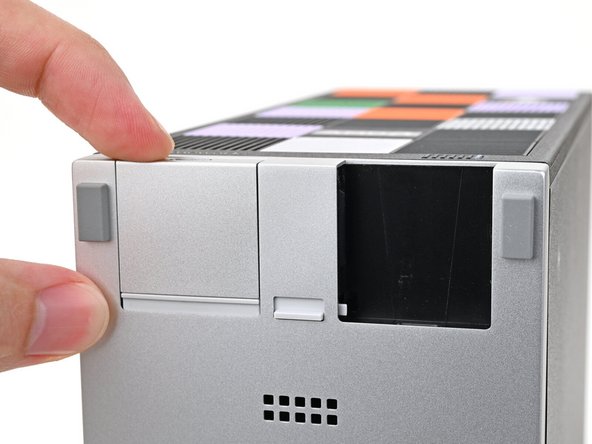
Slide an Expansion Card into an Expansion Card slot.
-
You don't need to unlock the latch to install the Expansion Cards—only when you want to remove them.
-
The Expansion Cards should click into place, and the front edge should be flush with silver base.
-
Repeat for the other Expansion Card slot.
-
-
-
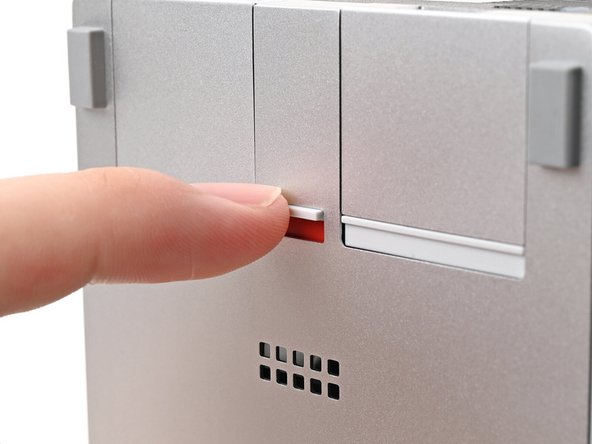
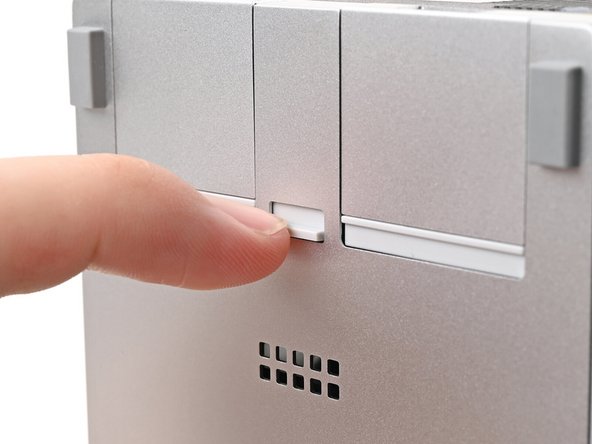
If there's a red bar showing under the Expansion Card latch, use your finger to flip the latch and lock the Expansion Cards into their slots.
-
Locking the Expansion Card slots helps keep the cards in place when you unplug cables from them.
-
-
-
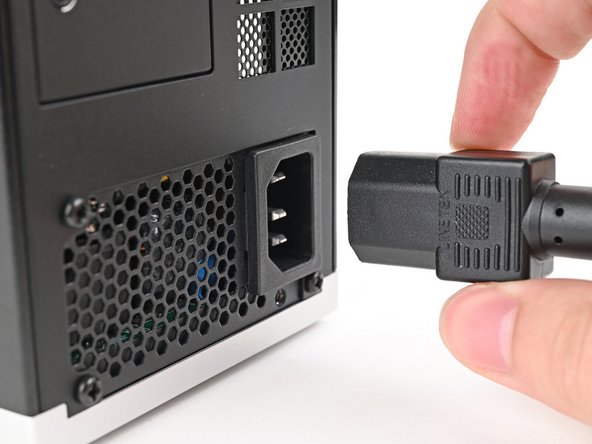
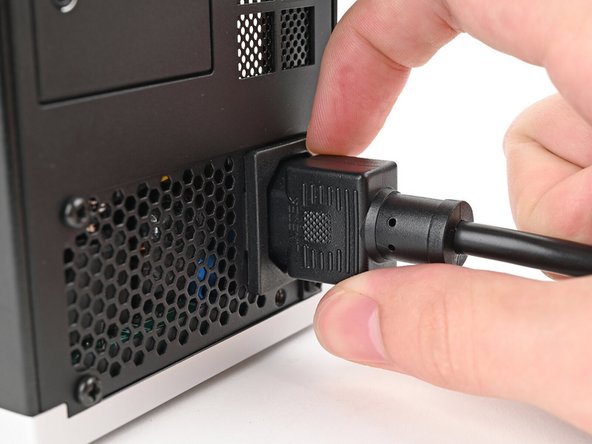
Plug the AC Cable into the back of the Desktop.
-
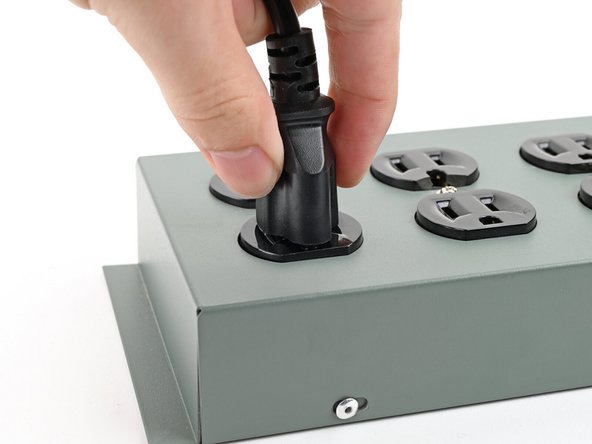
Plug the AC Cable into a power outlet.
-
-
-
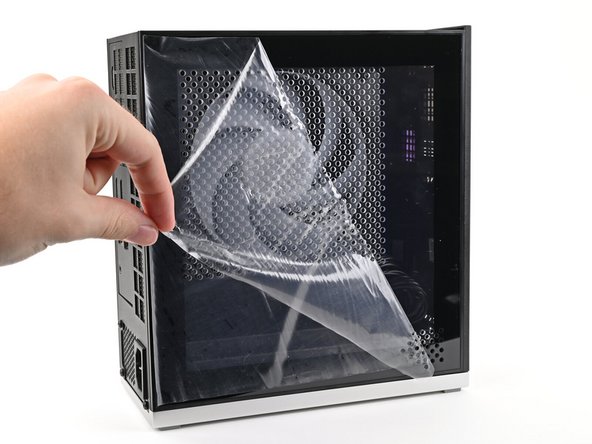
If your Left Panel came with a protective liner, remove it.
-
-
-
For information on the rear ports and what to plug in, click here.
-
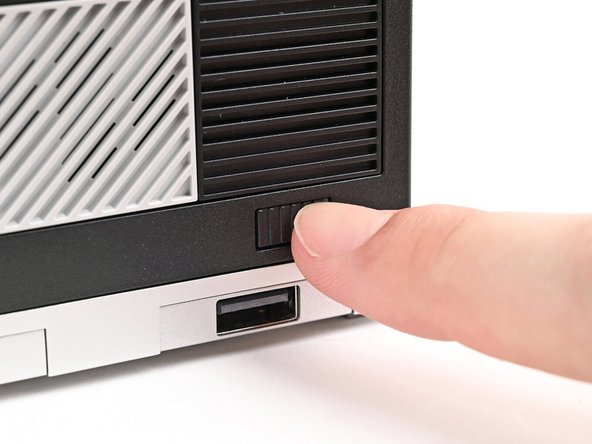
Press the power button on the bottom right of the Front Panel to turn the Desktop on.
-
You're done assembling your Framework Desktop! Now, you'll need to install an OS.
-
If you're installing Microsoft Windows, check out this guide.
-
If you're installing Linux, check this page for more details.
-


For drivers, firmware, and software updates, check out this page.
If you need help, contact Framework support.
For drivers, firmware, and software updates, check out this page.
If you need help, contact Framework support.
Cancel: I did not complete this guide.
19 other people completed this guide.