Introduction
Did you lose a screw in your Framework Laptop 12? Fear not! Follow this guide to replace your missing screws with the Framework Laptop 12 Fastener Kit.
The Fastener Kit only replaces the non-captive screws in your laptop.
Use the links below to jump to the part and find which screw to use:
Tools
Parts
No parts specified.
-
-
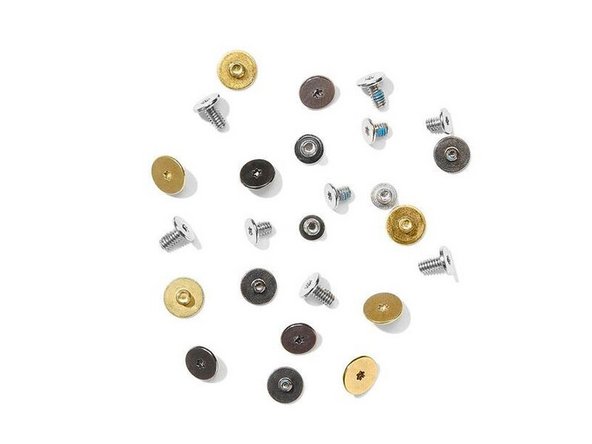
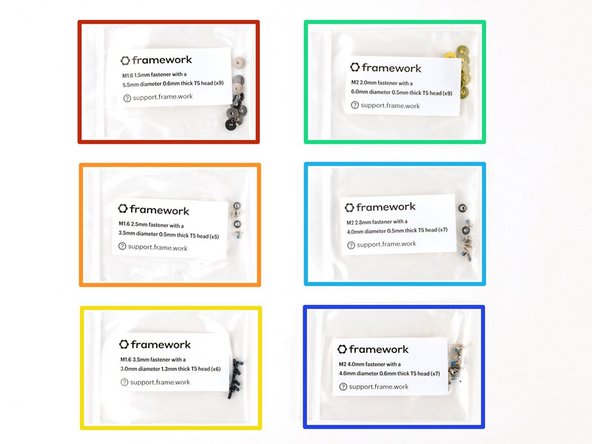
The Fastener Kit contains the following:
-
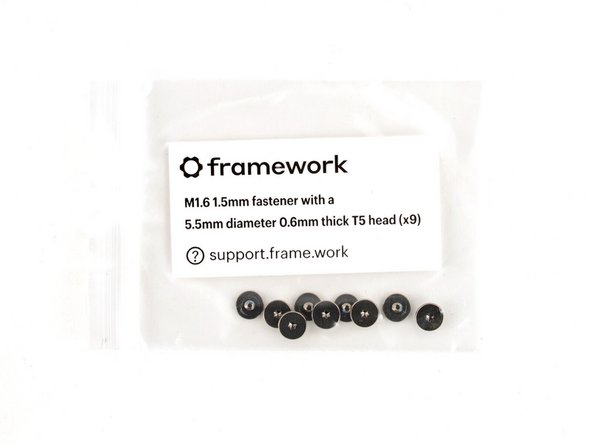
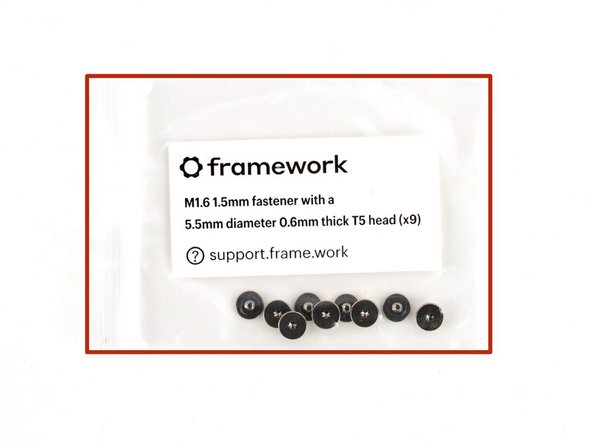
Nine grey screws labeled "M1.6 1.5mm fastener with a 5.5mm diameter 0.6mm thick T5 head"
-
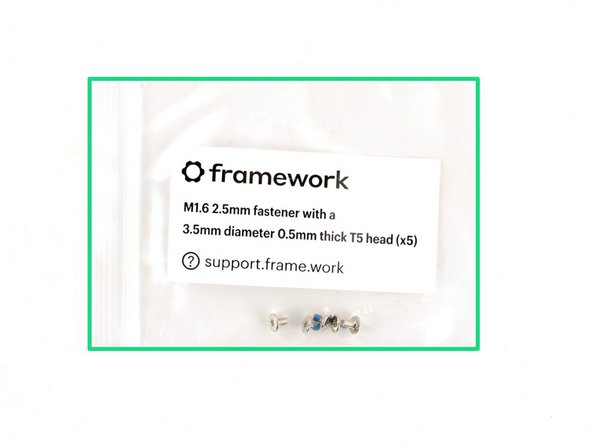
Five silver screws labeled "M1.6 2.5mm fastener with a 3.5mm diameter 0.5mm thick T5 head"
-
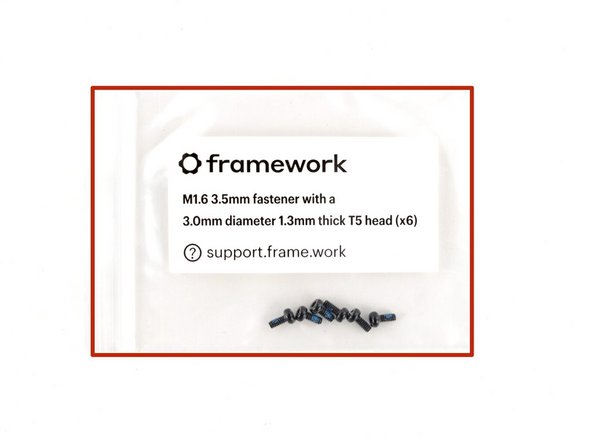
Six black screws labeled "M1.6 3.5mm fastener with a 3.0mm diameter 1.3mm thick T5 head"
-
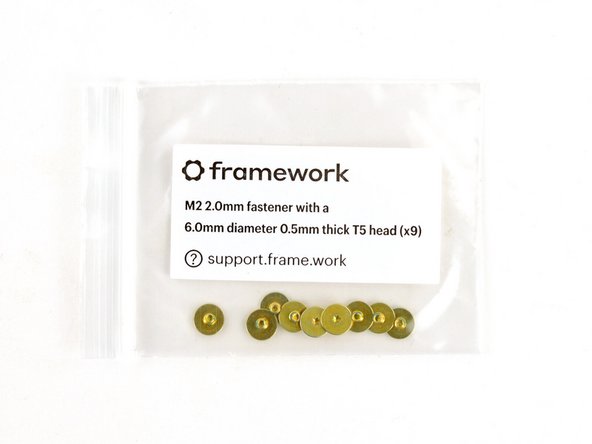
Nine gold screws labeled "M2 2.0mm fastener with a 6.0mm diameter 0.5mm thick T5 head"
-
Seven silver screws labeled "M2 2.8mm fastener with a 4.0mm diameter 0.5mm thick T5 head"
-
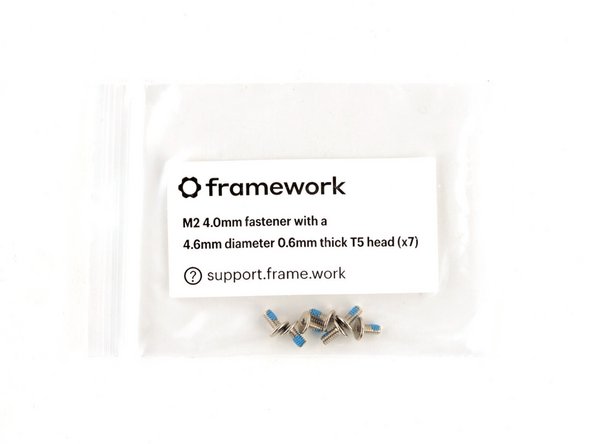
Seven silver screws labeled "M1.6 4.0mm fastener with a 4.6mm diameter 0.6mm thick T5 head"
-
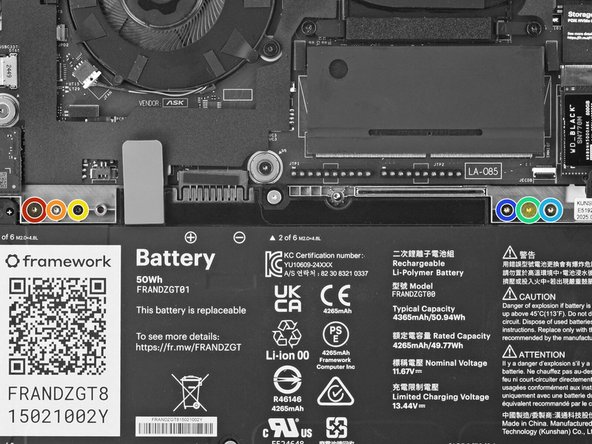
Your Framework Laptop comes with a spare screw of each size, attached to the chassis above the battery. You can use the Fastener Kit to replenish any screws you used there.
-
-
-
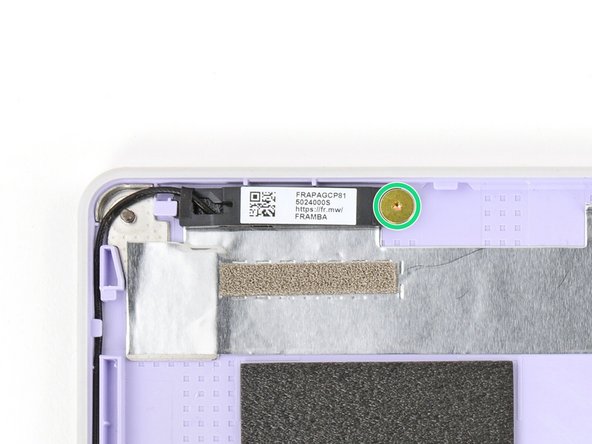
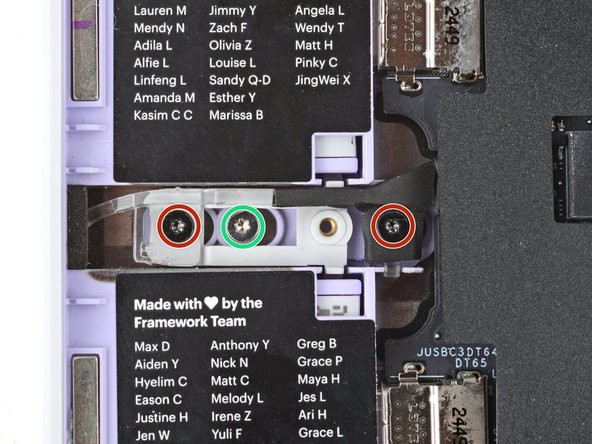
Use the gold screws labeled "M2 2.0mm fastener with a 6.0mm diameter 0.5mm thick T5 head" to secure the antennas.
-
-
-
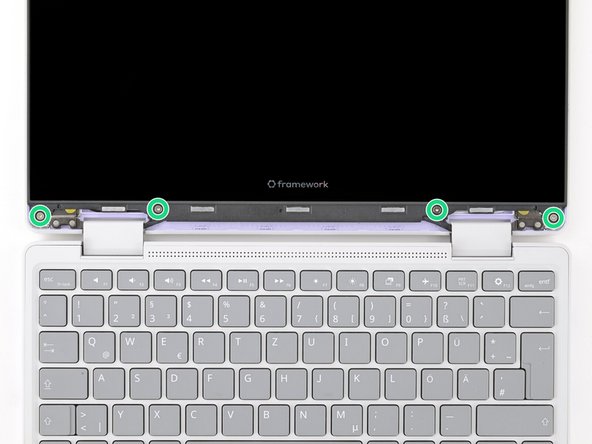
Use the silver screws labeled "M2 2.8mm fastener with a 4.0mm diameter 0.5mm thick T5 head" to secure the display.
-
Tighten the screws until they're snug. Don't over-tighten them, or you may break the screw tabs.
-
-
-
Use the black screws labeled "M1.6 3.5mm fastener with a 3.0mm diameter 1.3mm thick T5 head" to secure the Expansion Card latches.
-
Use the silver screws labeled "M1.6 2.5mm fastener with a 3.5mm diameter 0.5mm thick T5 head" to replace the Expansion Card lock screws.
-
-
-
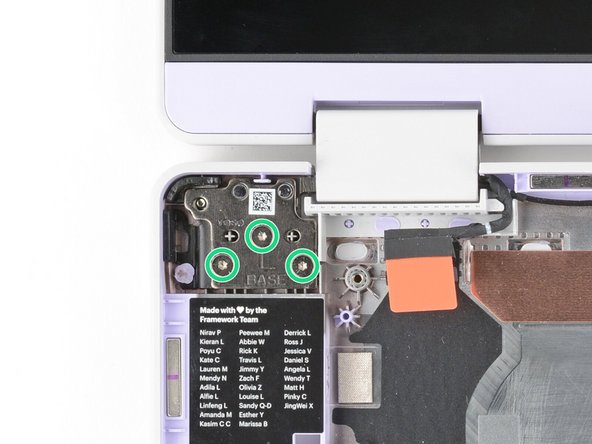
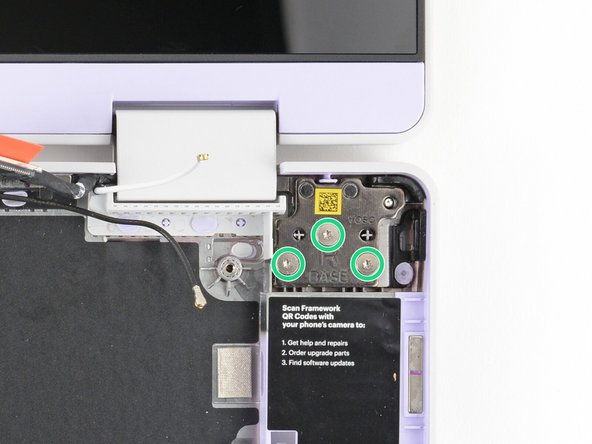
Use the silver screws labeled "M2 4.0mm fastener with a 4.6mm diameter 0.6mm thick T5 head" to secure the hinges to the Bottom Cover.
-
-
-
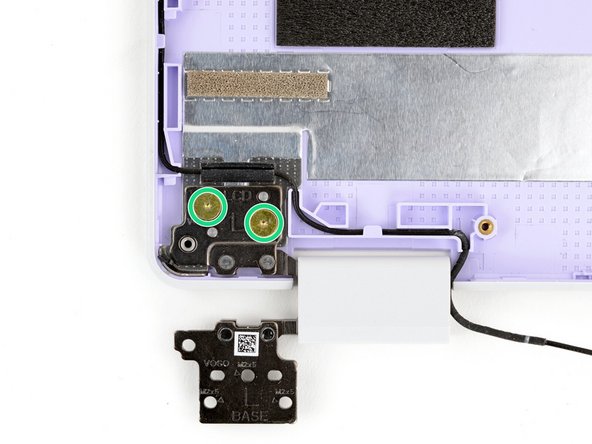
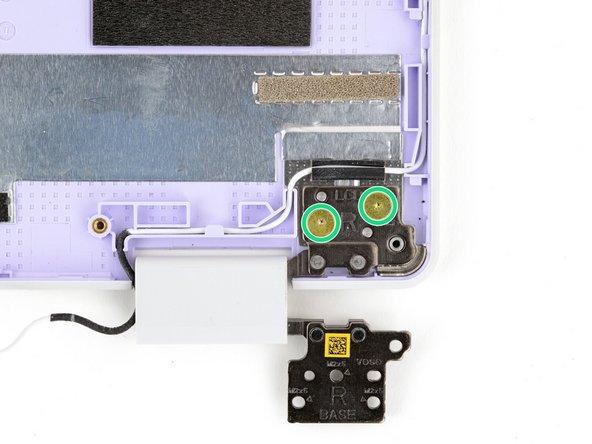
Use the gold screws labeled "M2 2.0mm fastener with a 6.0mm diameter 0.5mm thick T5 head" to secure the hinges to the Top Cover.
-
-
-
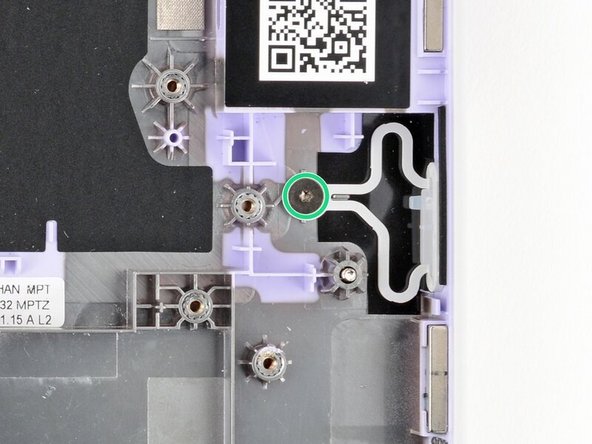
Use the grey screw labeled "M1.6 1.5mm fastener with a 5.5mm diameter 0.6mm thick T5 head" to secure the Power Button.
-
-
-
Use the black screw labeled "M1.6 3.5mm fastener with a 3.0mm diameter 1.3mm thick T5 head" to secure the SSD clip.
-
-
-
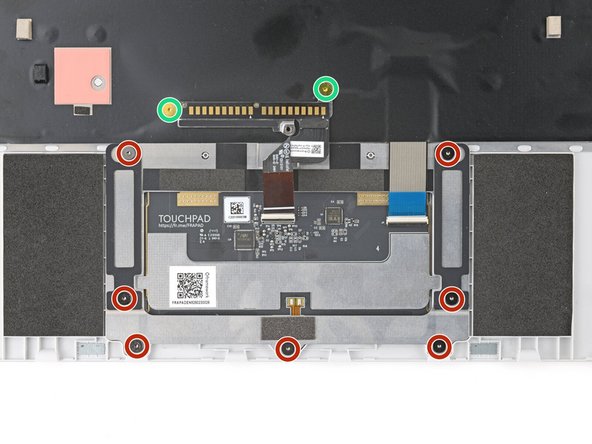
Use the grey screws labeled "M1.6 1.5mm fastener with a 5.5mm diameter 0.6mm thick T5 head" to secure the Touchpad.
-
Use the gold screws labeled "M2 2.0mm fastener with a 6.0mm diameter 0.5mm thick T5 head" to secure the Touchpad pogo connector.
-
-
-
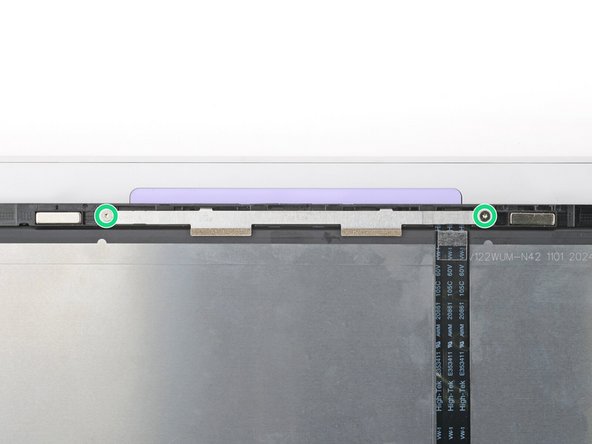
Use the silver screws labeled "M2 2.8mm fastener with a 4.0mm diameter 0.5mm thick T5 head" to secure the webcam.
-


If you need help, contact Framework support.
If you need help, contact Framework support.