Introduction
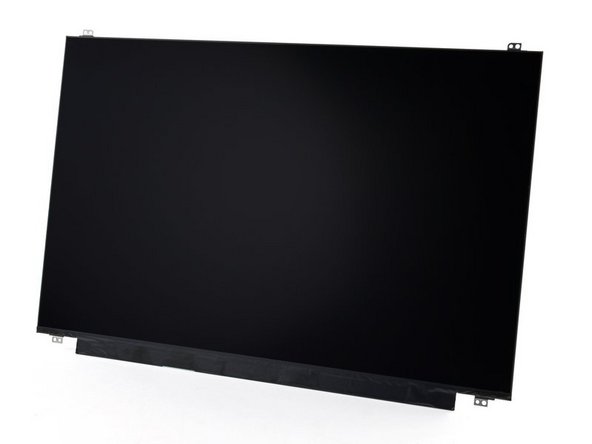
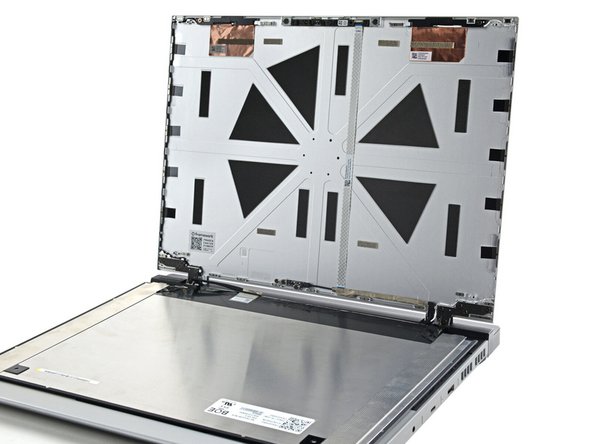
The Framework Laptop 16 was designed so that the Display can be replaced without removing the Top Cover from the Bottom Cover, simply remove the Bezel to access all of the fasteners and connectors as shown.
Tools
-
-
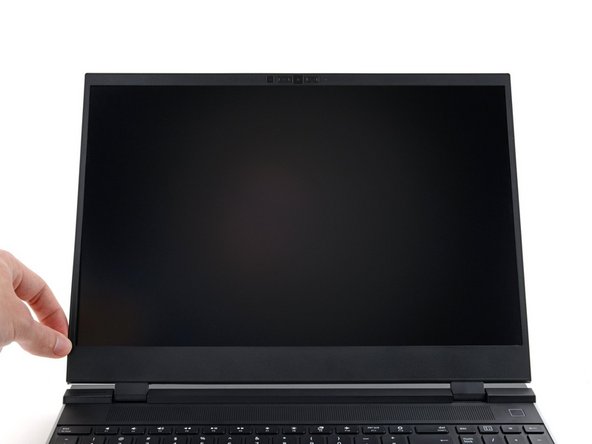
Unplug all cables and fully shut down your laptop.
-
-
-
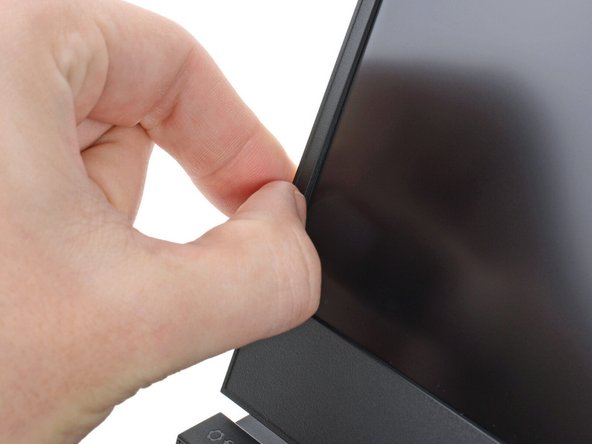
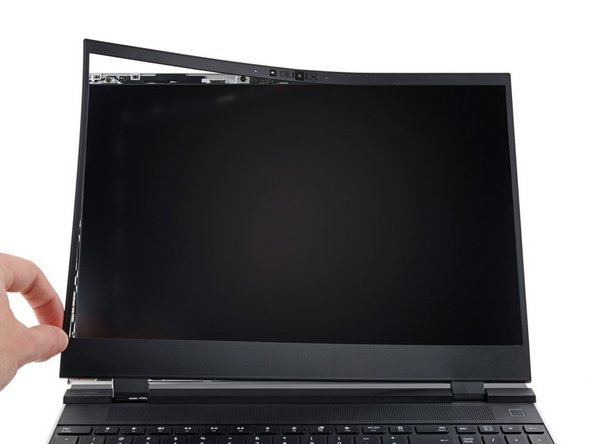
The bezel is secured with magnets.
-
Slide your fingernail under the inside edge of either bottom corner of the bezel.
-
Pull the bezel away from the screen to release the first few magnets.
-
-
-
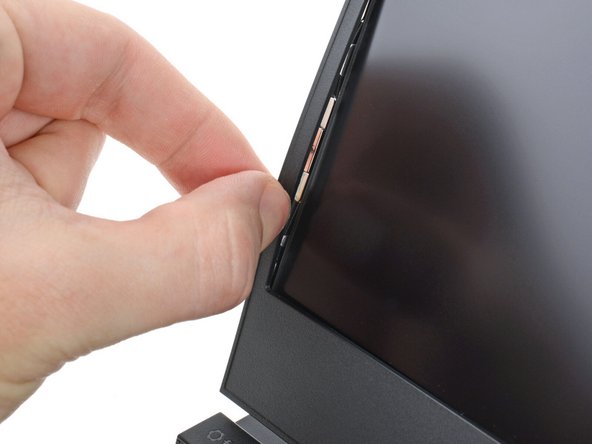
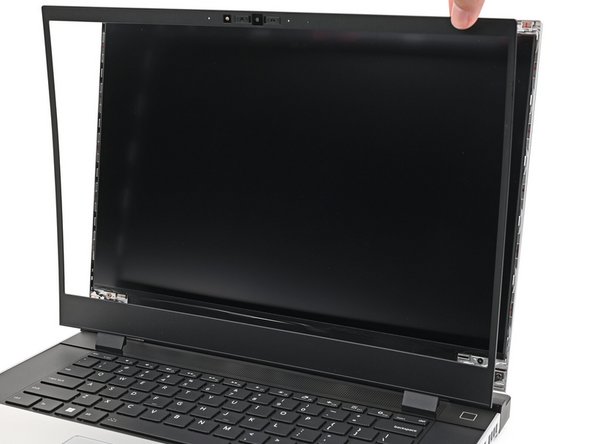
Lift the bezel around the perimeter of the screen until all of its magnets are released.
-
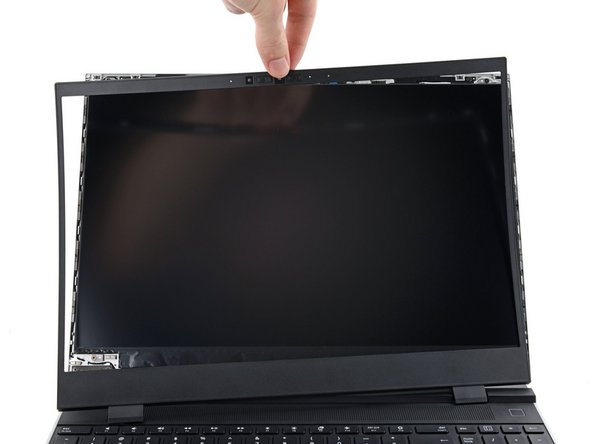
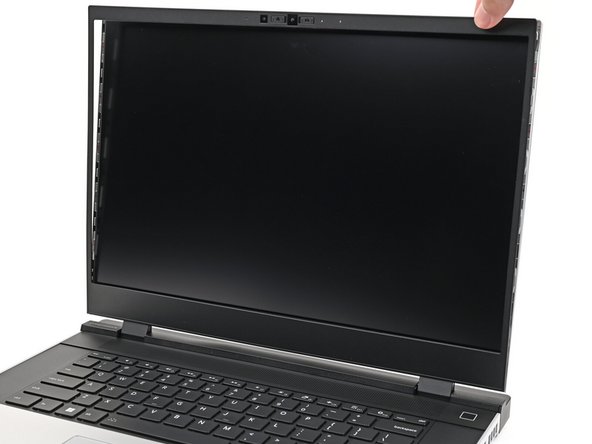
Remove the bezel.
-
-
-
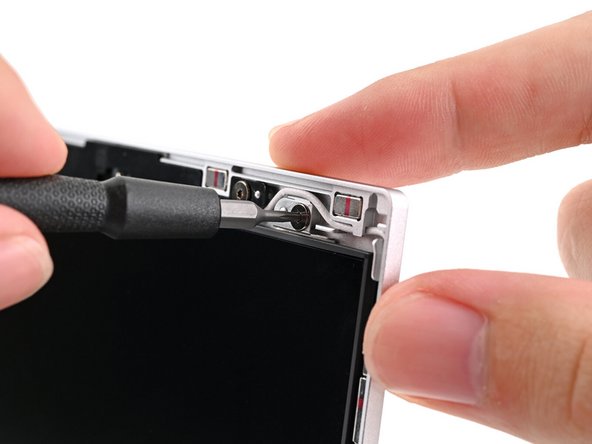
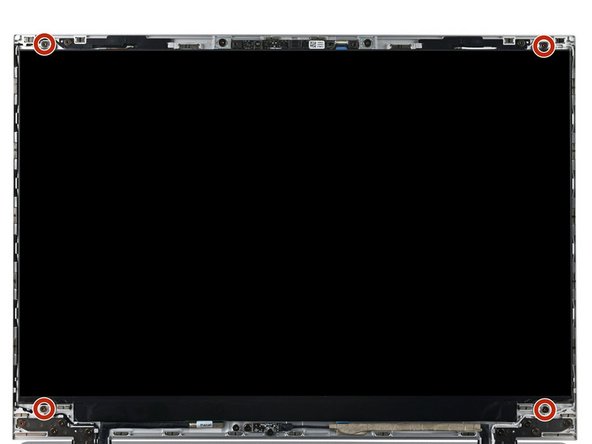
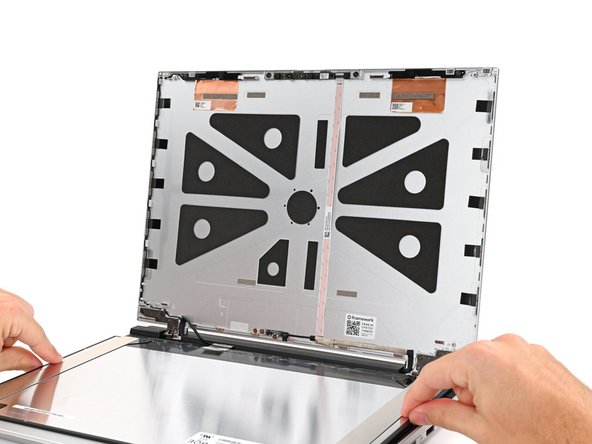
While supporting the display with one hand, use your Framework Screwdriver to remove the four 2.4 mm‑long T5 Torx screws securing the display.
-
-
-
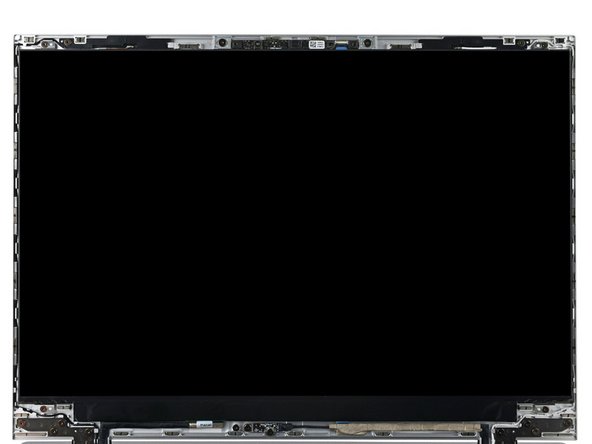
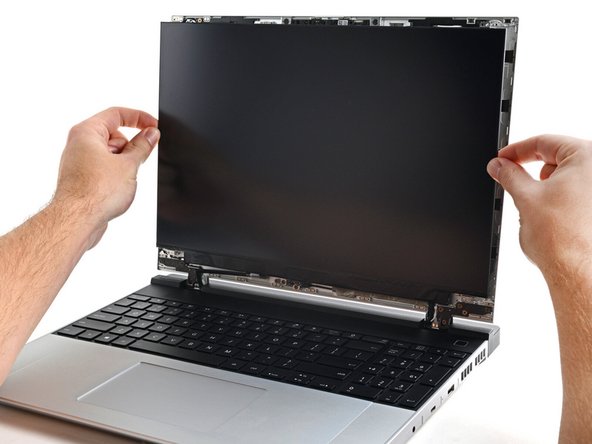
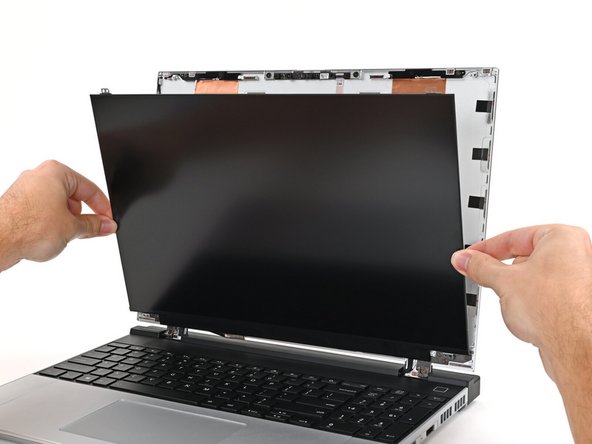
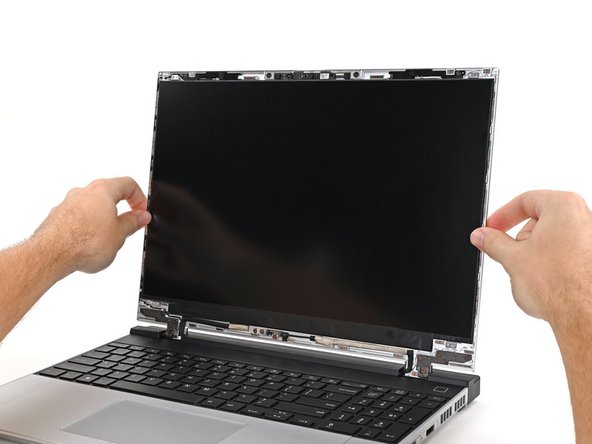
Grab the display and pull it straight off the Top Cover to free it from its alignment pegs.
-
Don't pull the display too far from the Top Cover, as it's still attached by a cable.
-
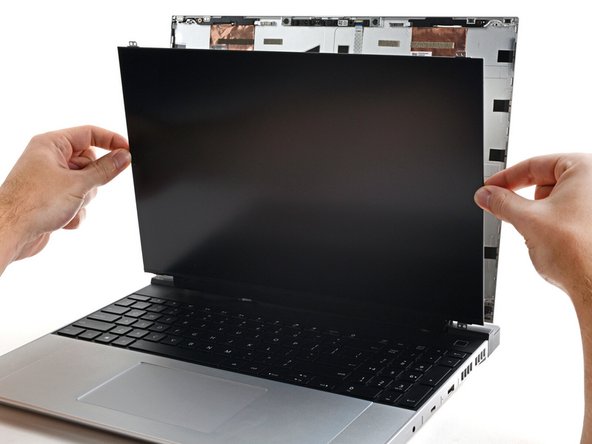
Flip the front of the display down and rest it on the keyboard.
-
-
-
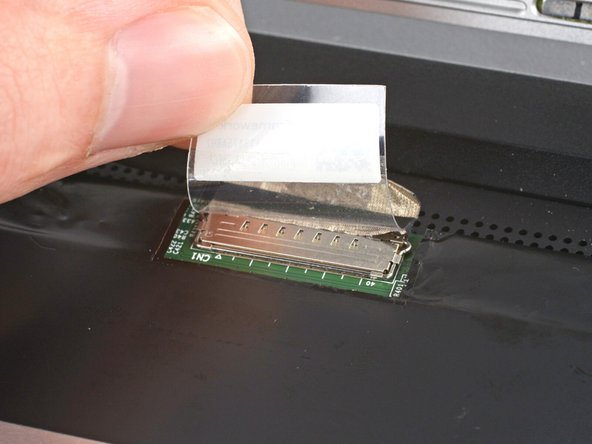
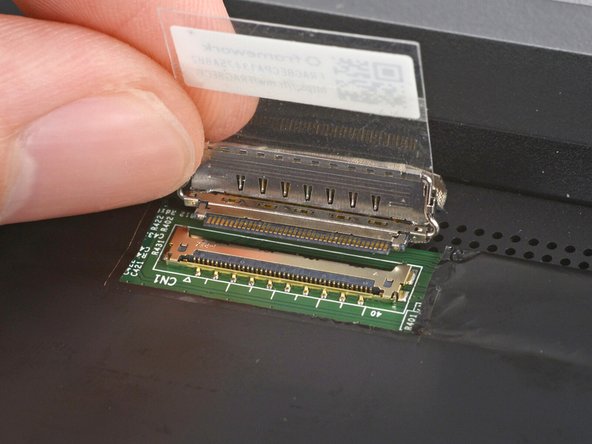
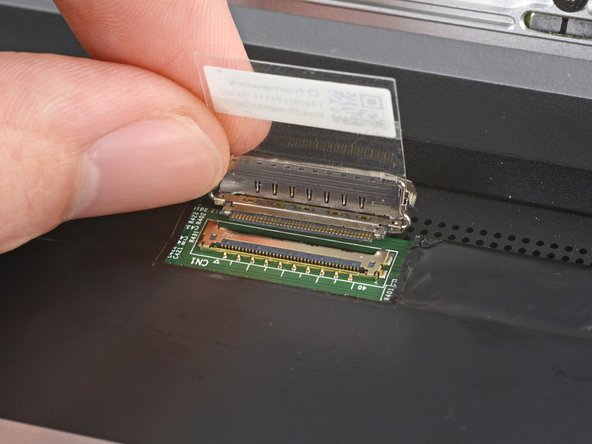
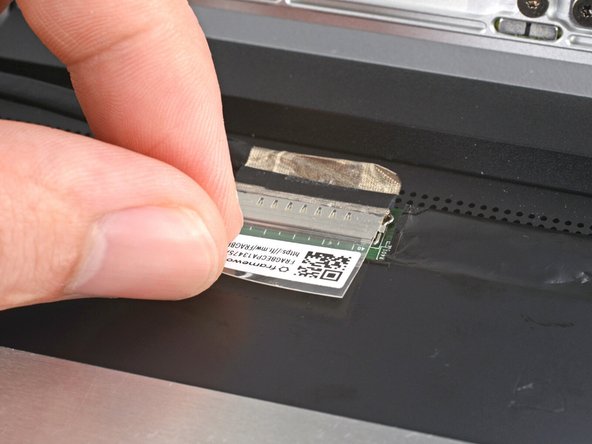
Use your fingers to flip up the plastic tab and access the connector underneath.
-
-
-
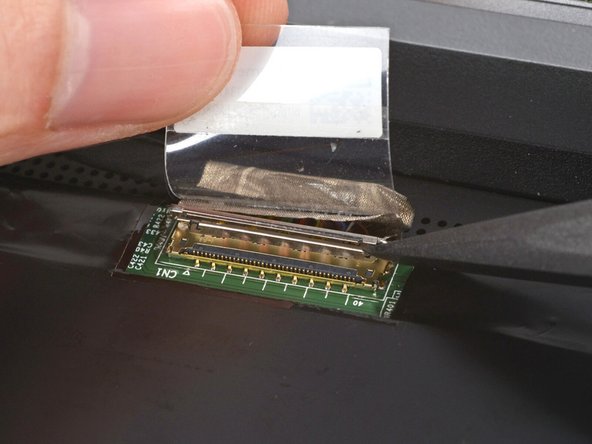
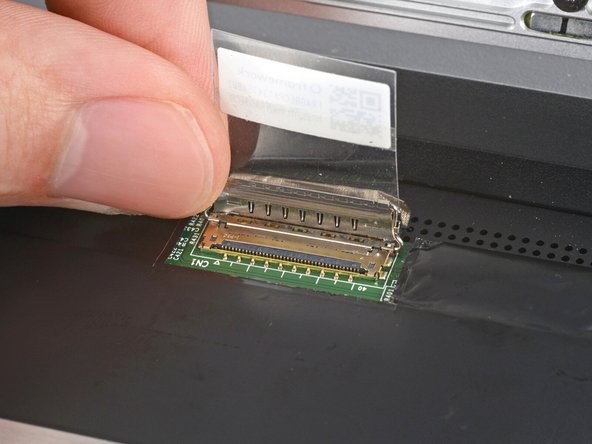
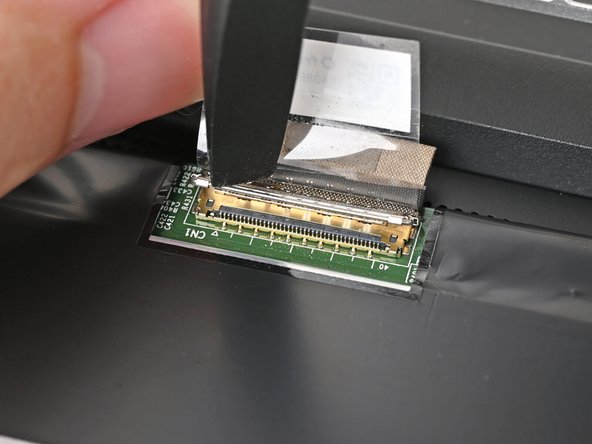
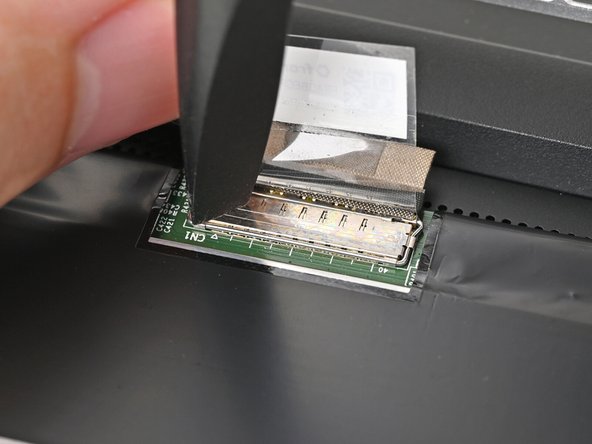
Use the flat end of your Framework Screwdriver to lift up the metal locking tab over the eDP cable connector.
-
-
-
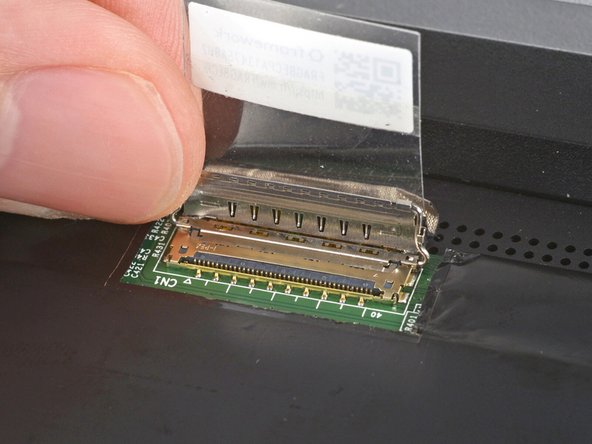
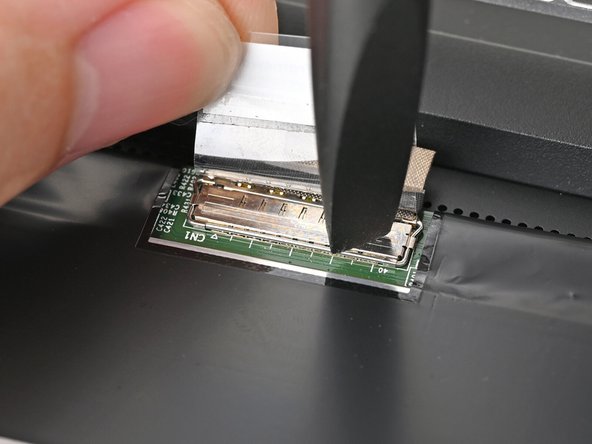
Grip the eDP cable where it meets the connector head.
-
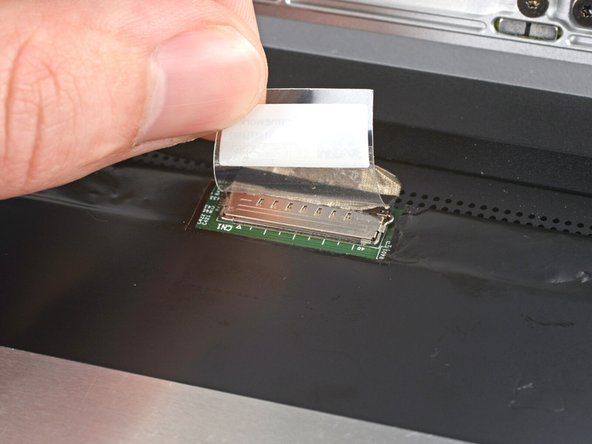
Slide the connector straight out of its socket to disconnect it.
-
-
-
Congratulations on completing disassembly! The remaining steps will show how to reassemble your Framework Laptop.
-
-
-
Grip the eDP cable where it meets the connector head.
-
Slide the eDP cable connector straight into its socket.
-
-
-
Push the metal locking tab down over the eDP cable connector until it snaps into place.
-
-
-
Use your fingers to flip down the plastic tab.
-
-
-
Align the display with its alignment pegs and place it on the Top Cover.
-
-
-
While supporting the display with one hand, use your Framework Screwdriver to install the four 2.4 mm‑long T5 Torx screws securing the display.
-
-
-
Align the bezel over the perimeter of the display and let the magnets pull the bezel into place.
-
The bezel should "snap" into place. If it doesn't, realign it and make sure it sits flush with the display.
-


You finished fixing your Framework Laptop!
Take your e-waste to an R2 or e-Stewards certified recycler.
If you need help, contact Framework support.
You finished fixing your Framework Laptop!
Take your e-waste to an R2 or e-Stewards certified recycler.
If you need help, contact Framework support.
Cancel: I did not complete this guide.
6 other people completed this guide.