Introduction
Follow this guide to remove and replace the Display Cover in your Framework Laptop 12.
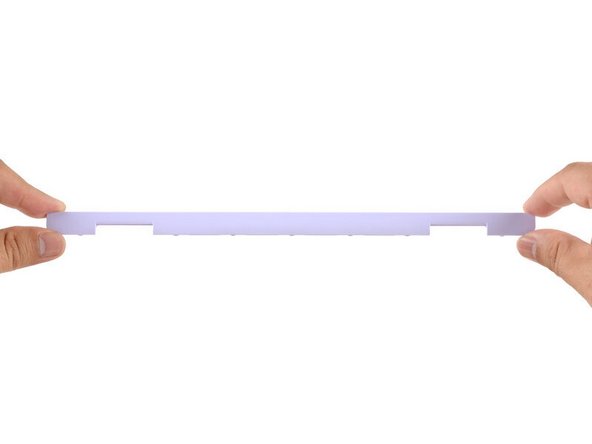
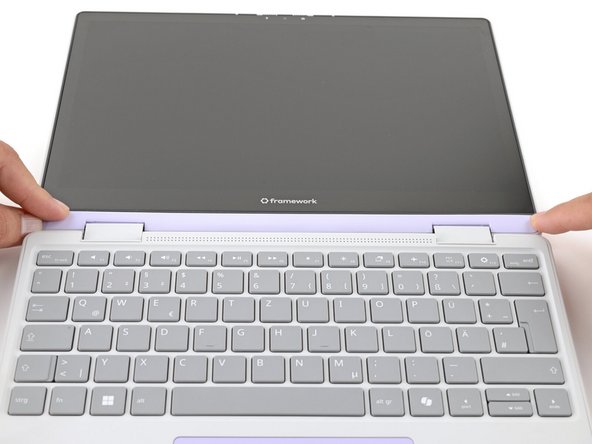
The Display Cover is the plastic bezel strip below the screen. You can easily replace a broken one or swap out a different colored one.
Tools
Parts
No parts specified.
-
-
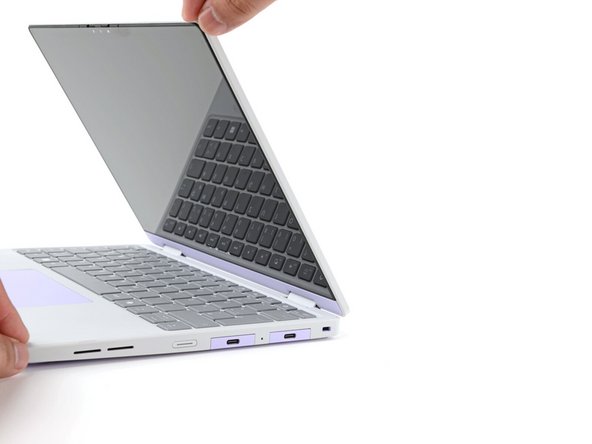
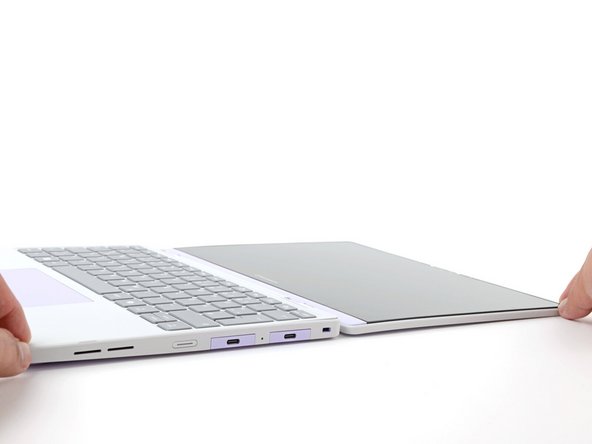
Open the laptop lid so that both the screen and the base lie flat on your work surface.
-
-
-
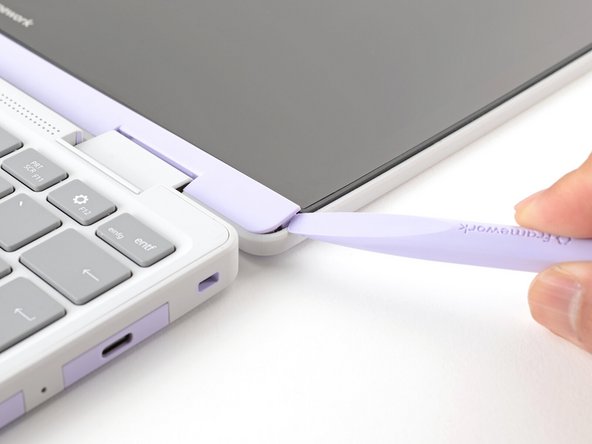
The Display Cover is held in place with magnets along the top edge and clips along the remaining edges.
-
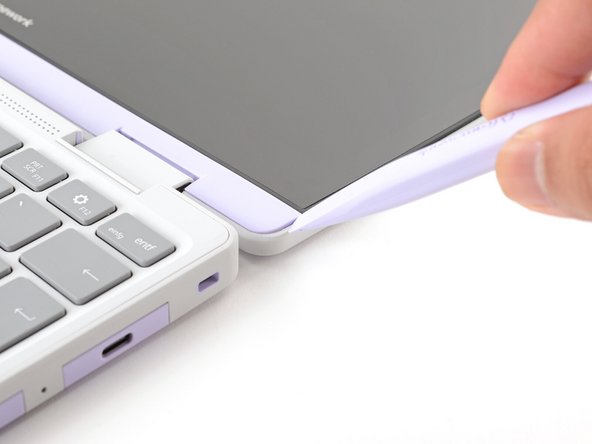
Use the flat end of your Framework Screwdriver to pry up the right edge of the Display Cover.
-
-
-
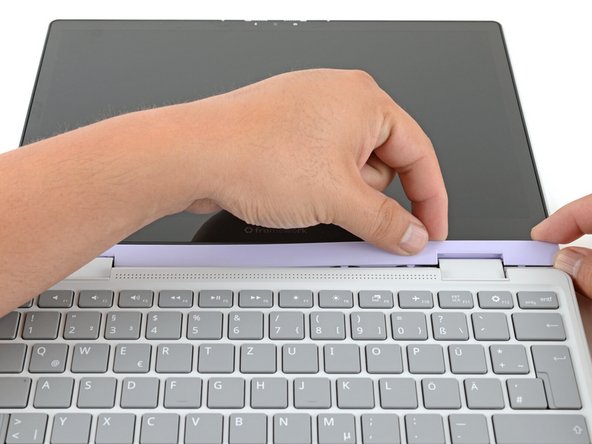
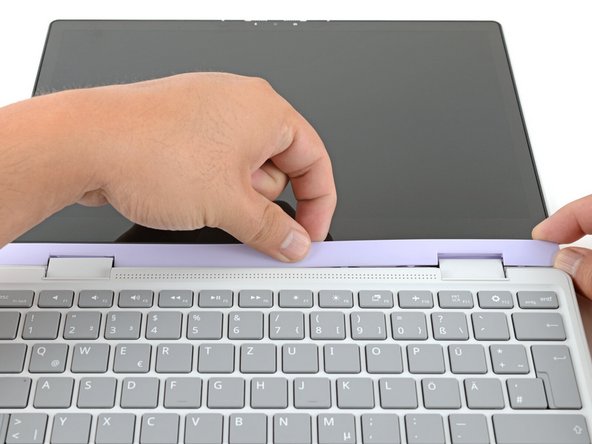
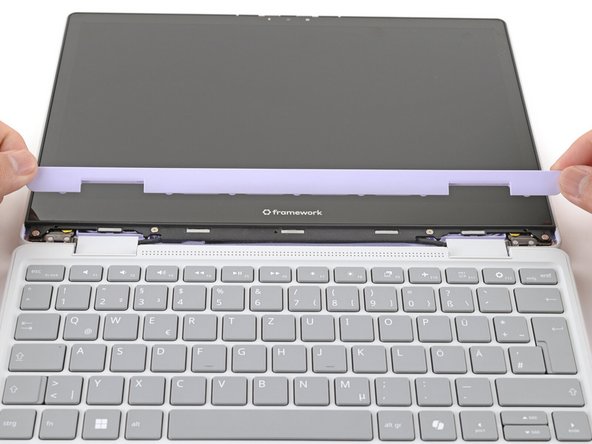
Slide your fingers under the top edge of the Display Cover to release it from the laptop.
-
-
-
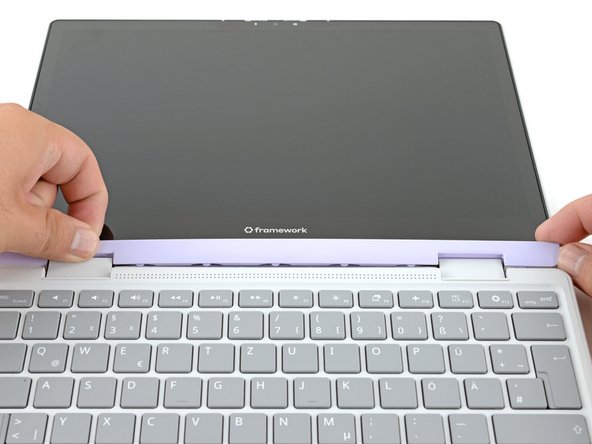
Remove the Display Cover.
-
-
-
Congratulations on completing disassembly! The remaining steps will show how to reassemble your Framework Laptop.
-
-
-
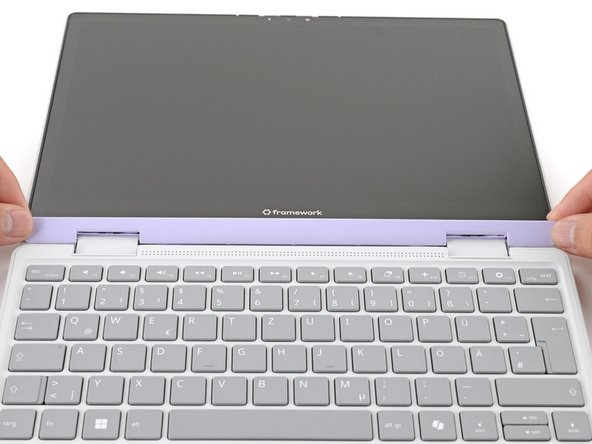
Align the Display Cover to the bottom of the display.
-
-
-
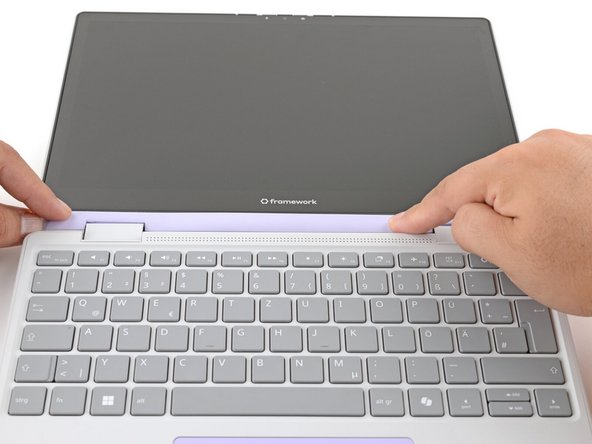
Use your finger to press along the length of the Display Cover to snap it onto the laptop.
-
Make sure all the clips along the left, top, and right edges are fully seated.
-


You finished fixing your Framework Laptop!
If you need help, contact Framework support.
You finished fixing your Framework Laptop!
If you need help, contact Framework support.